








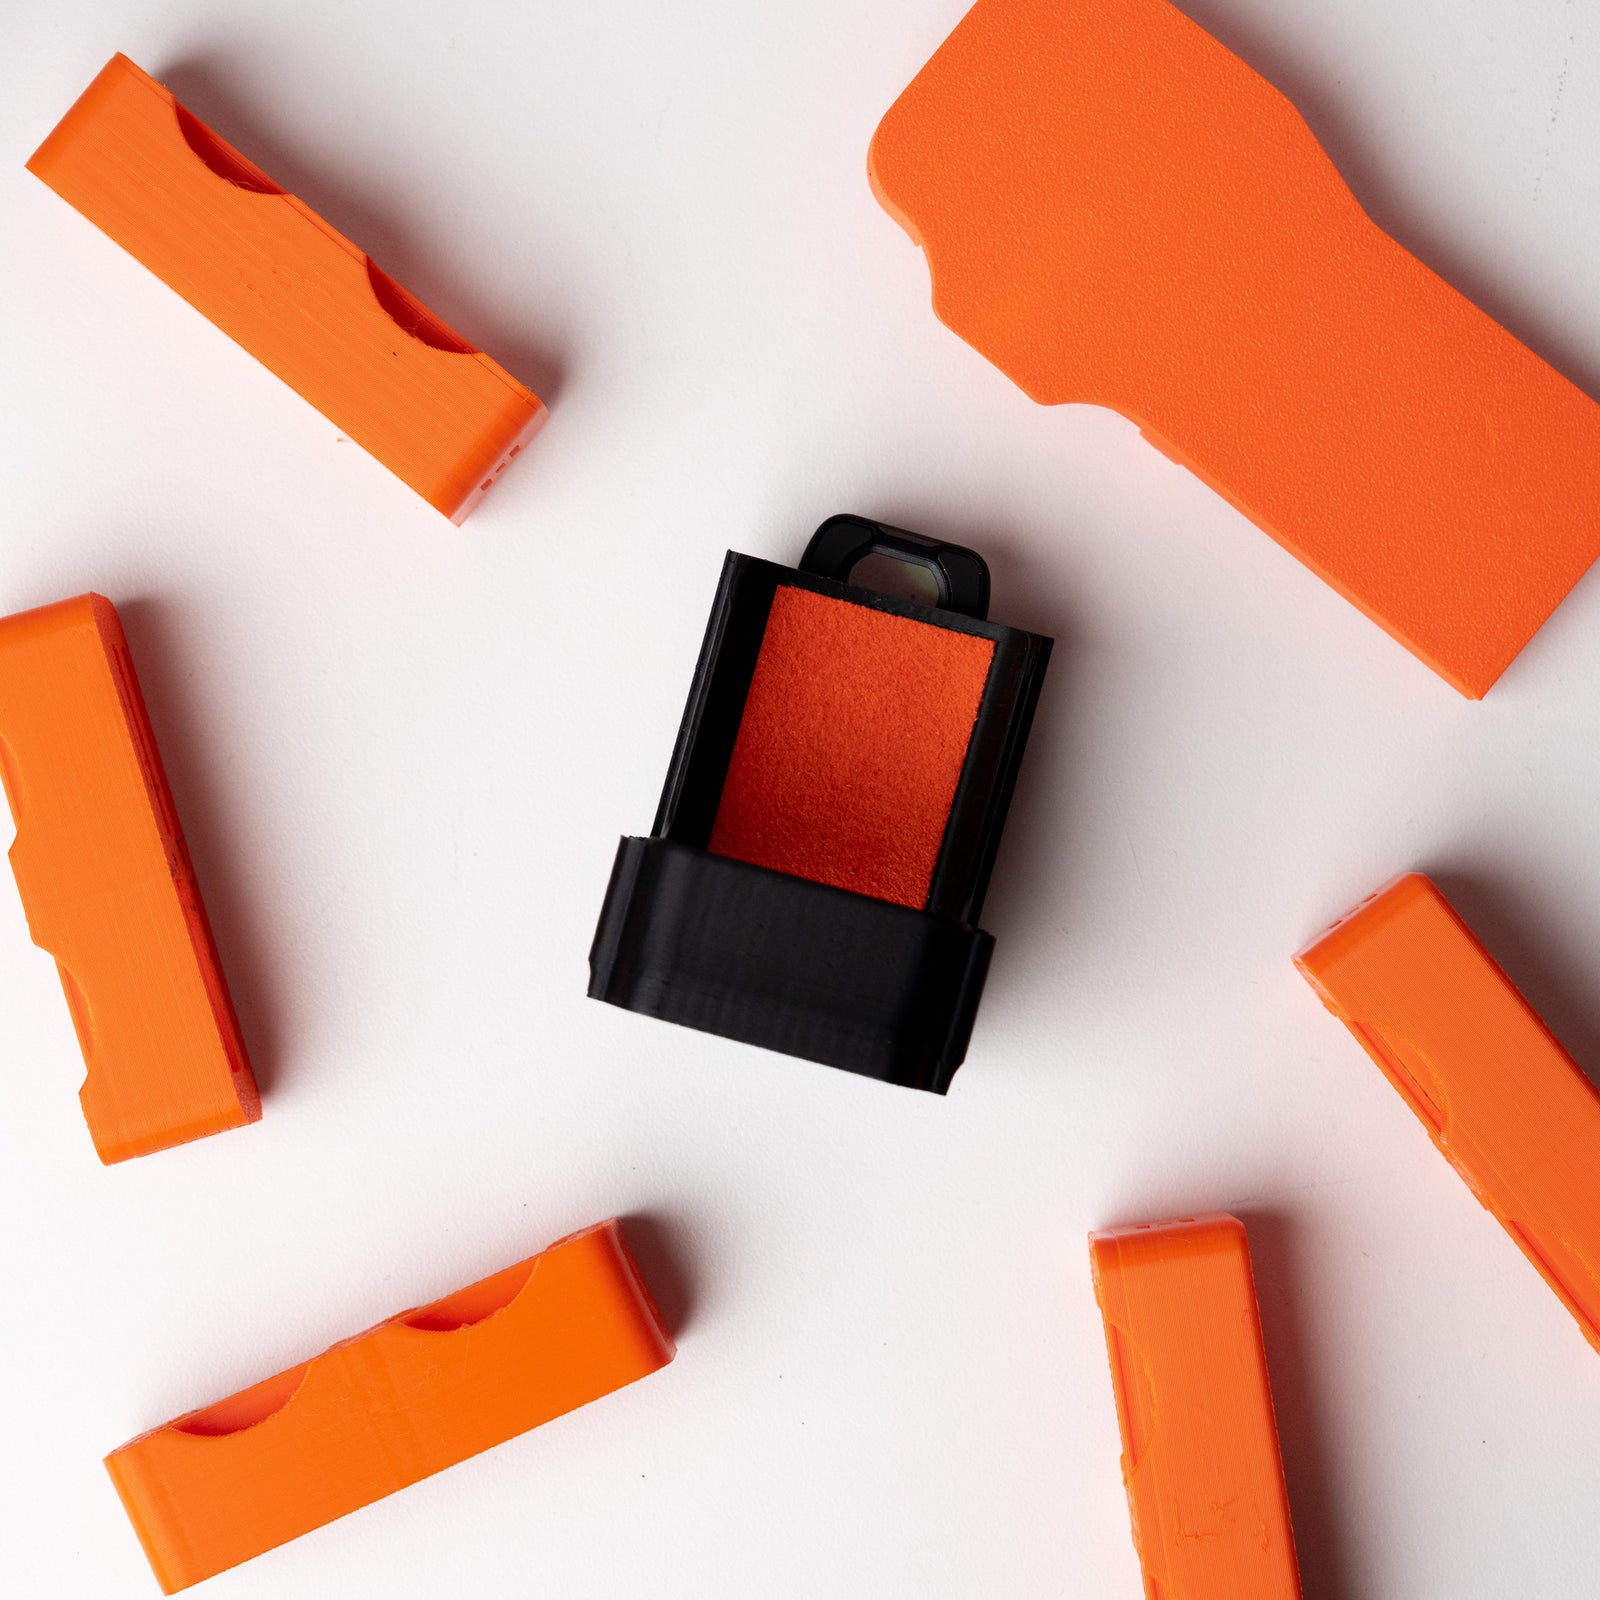


Check your mount
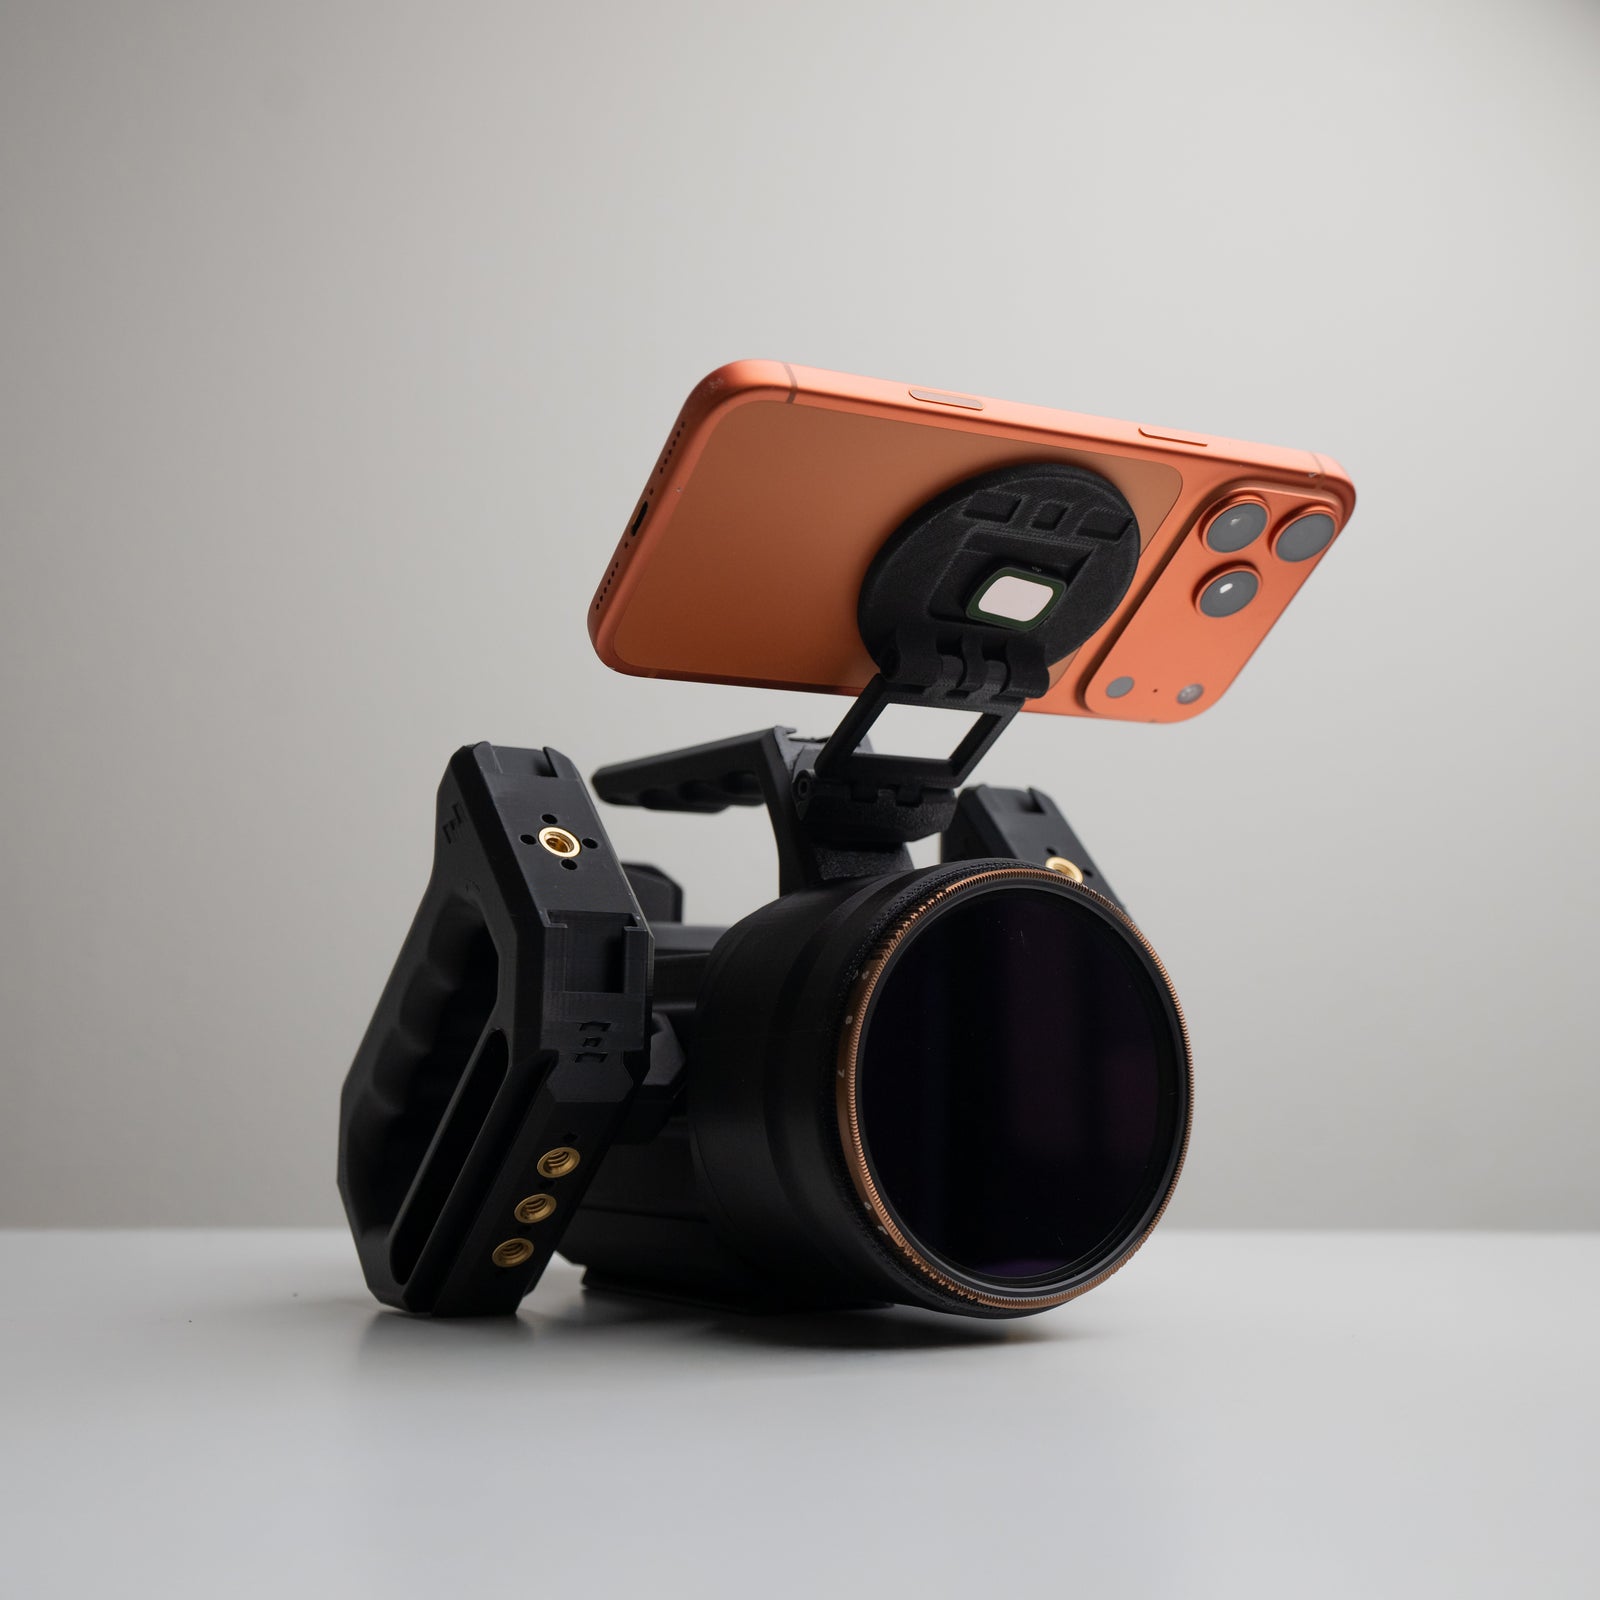
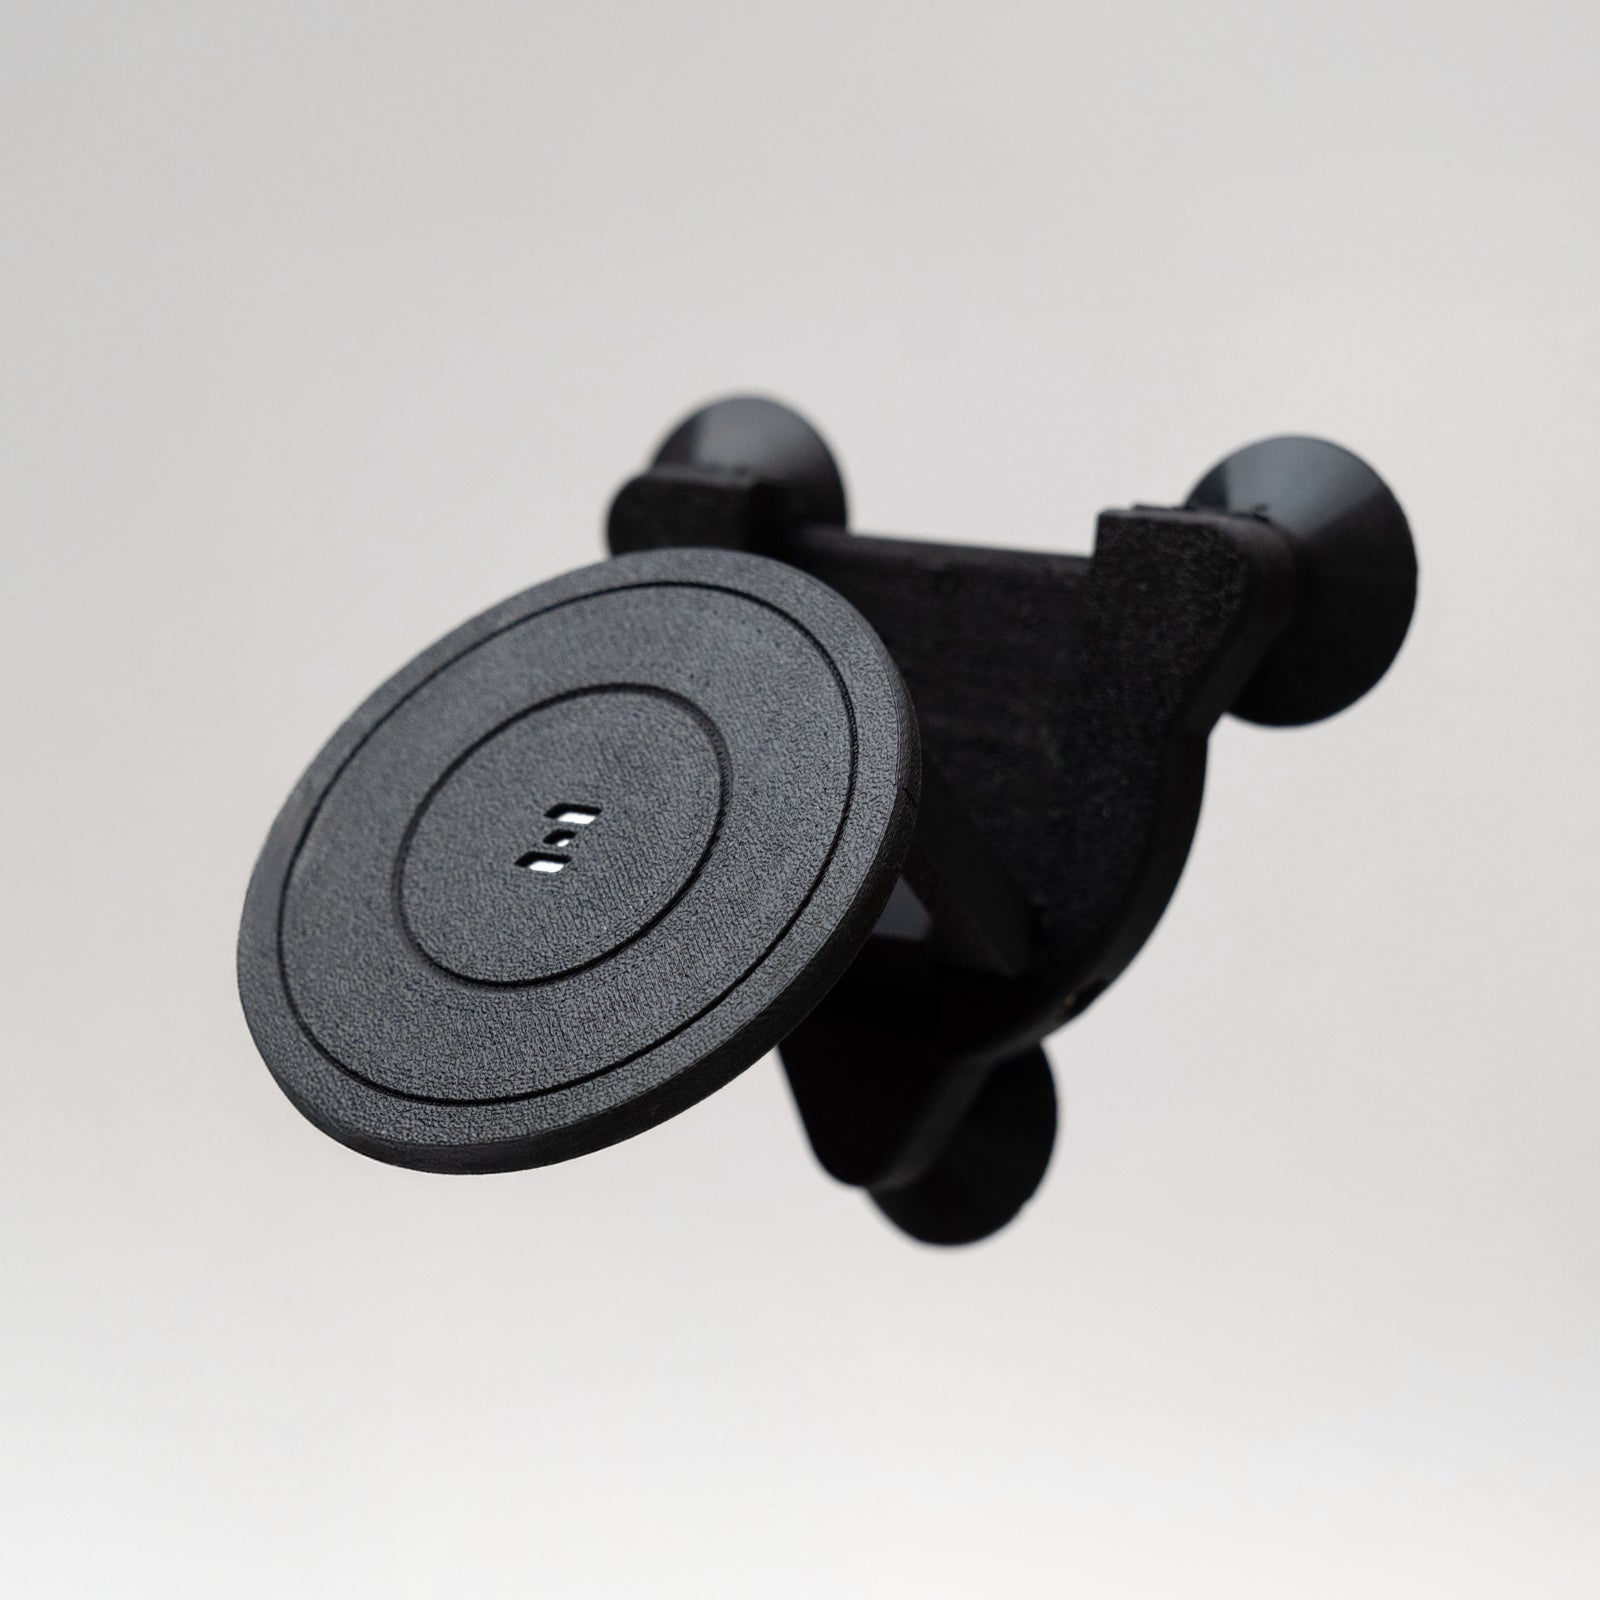
This guide covers the MagDock Phone Mount (1/4-20), supplied with a mounting screw and installation tools. Use a MagSafe-compatible phone or case.
- Standard: the compact hinge keeps your phone close to the rig and provides viewing-angle adjustment.
- XL: the longer hinge adds reach and an additional tilt point for more phone positions.
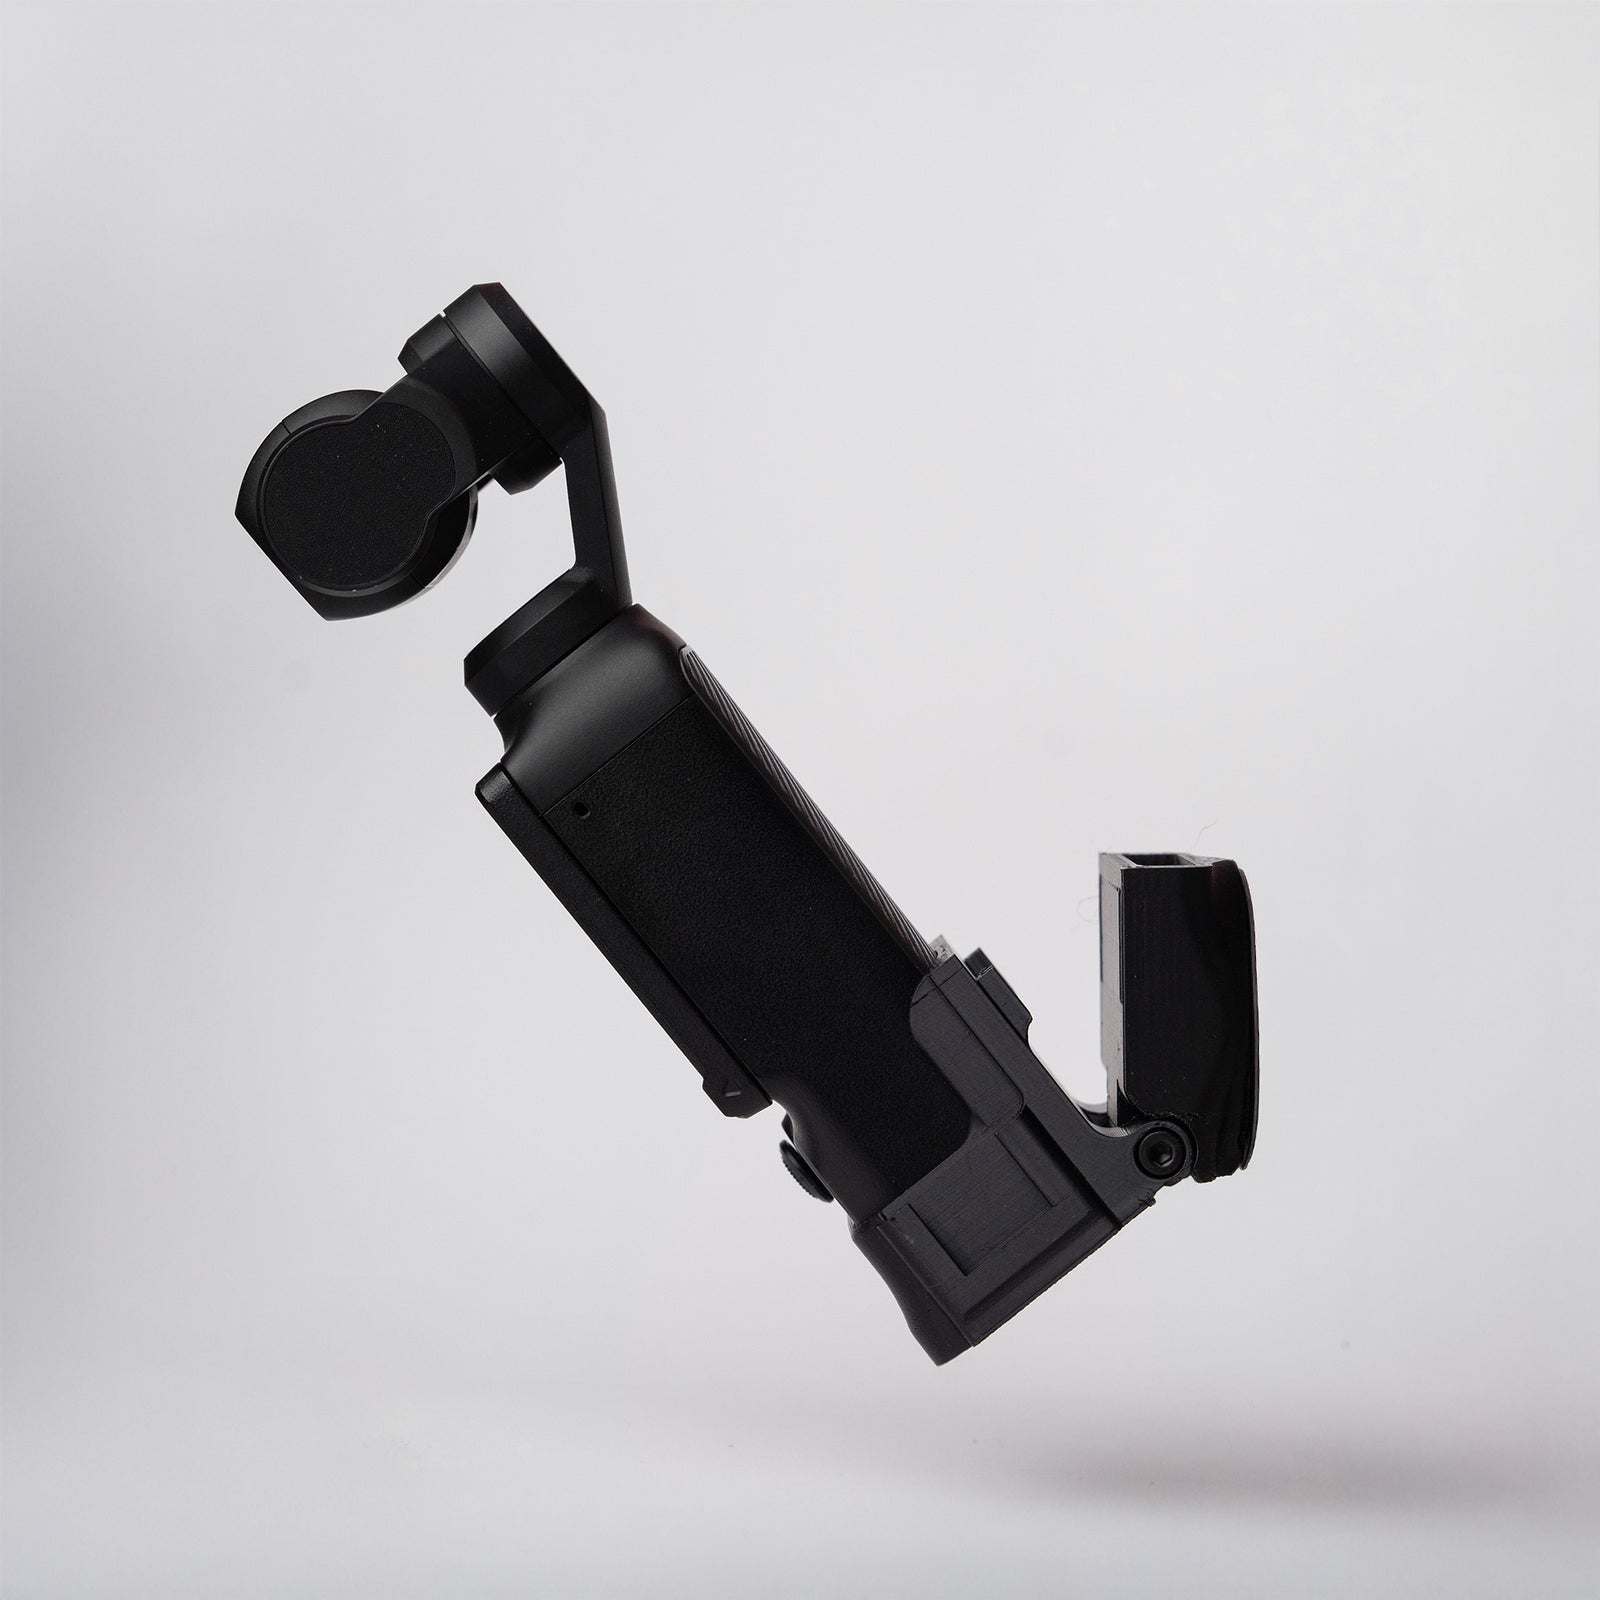
Both OSMODO 2 prebuilt configurations ship with the MagDock detached for travel. Identify the hinge you received before positioning it.
Mount it to your rig
- Set the rig on a stable surface. Remove the phone from the magnetic pad while installing or moving the mount to another mounting point.
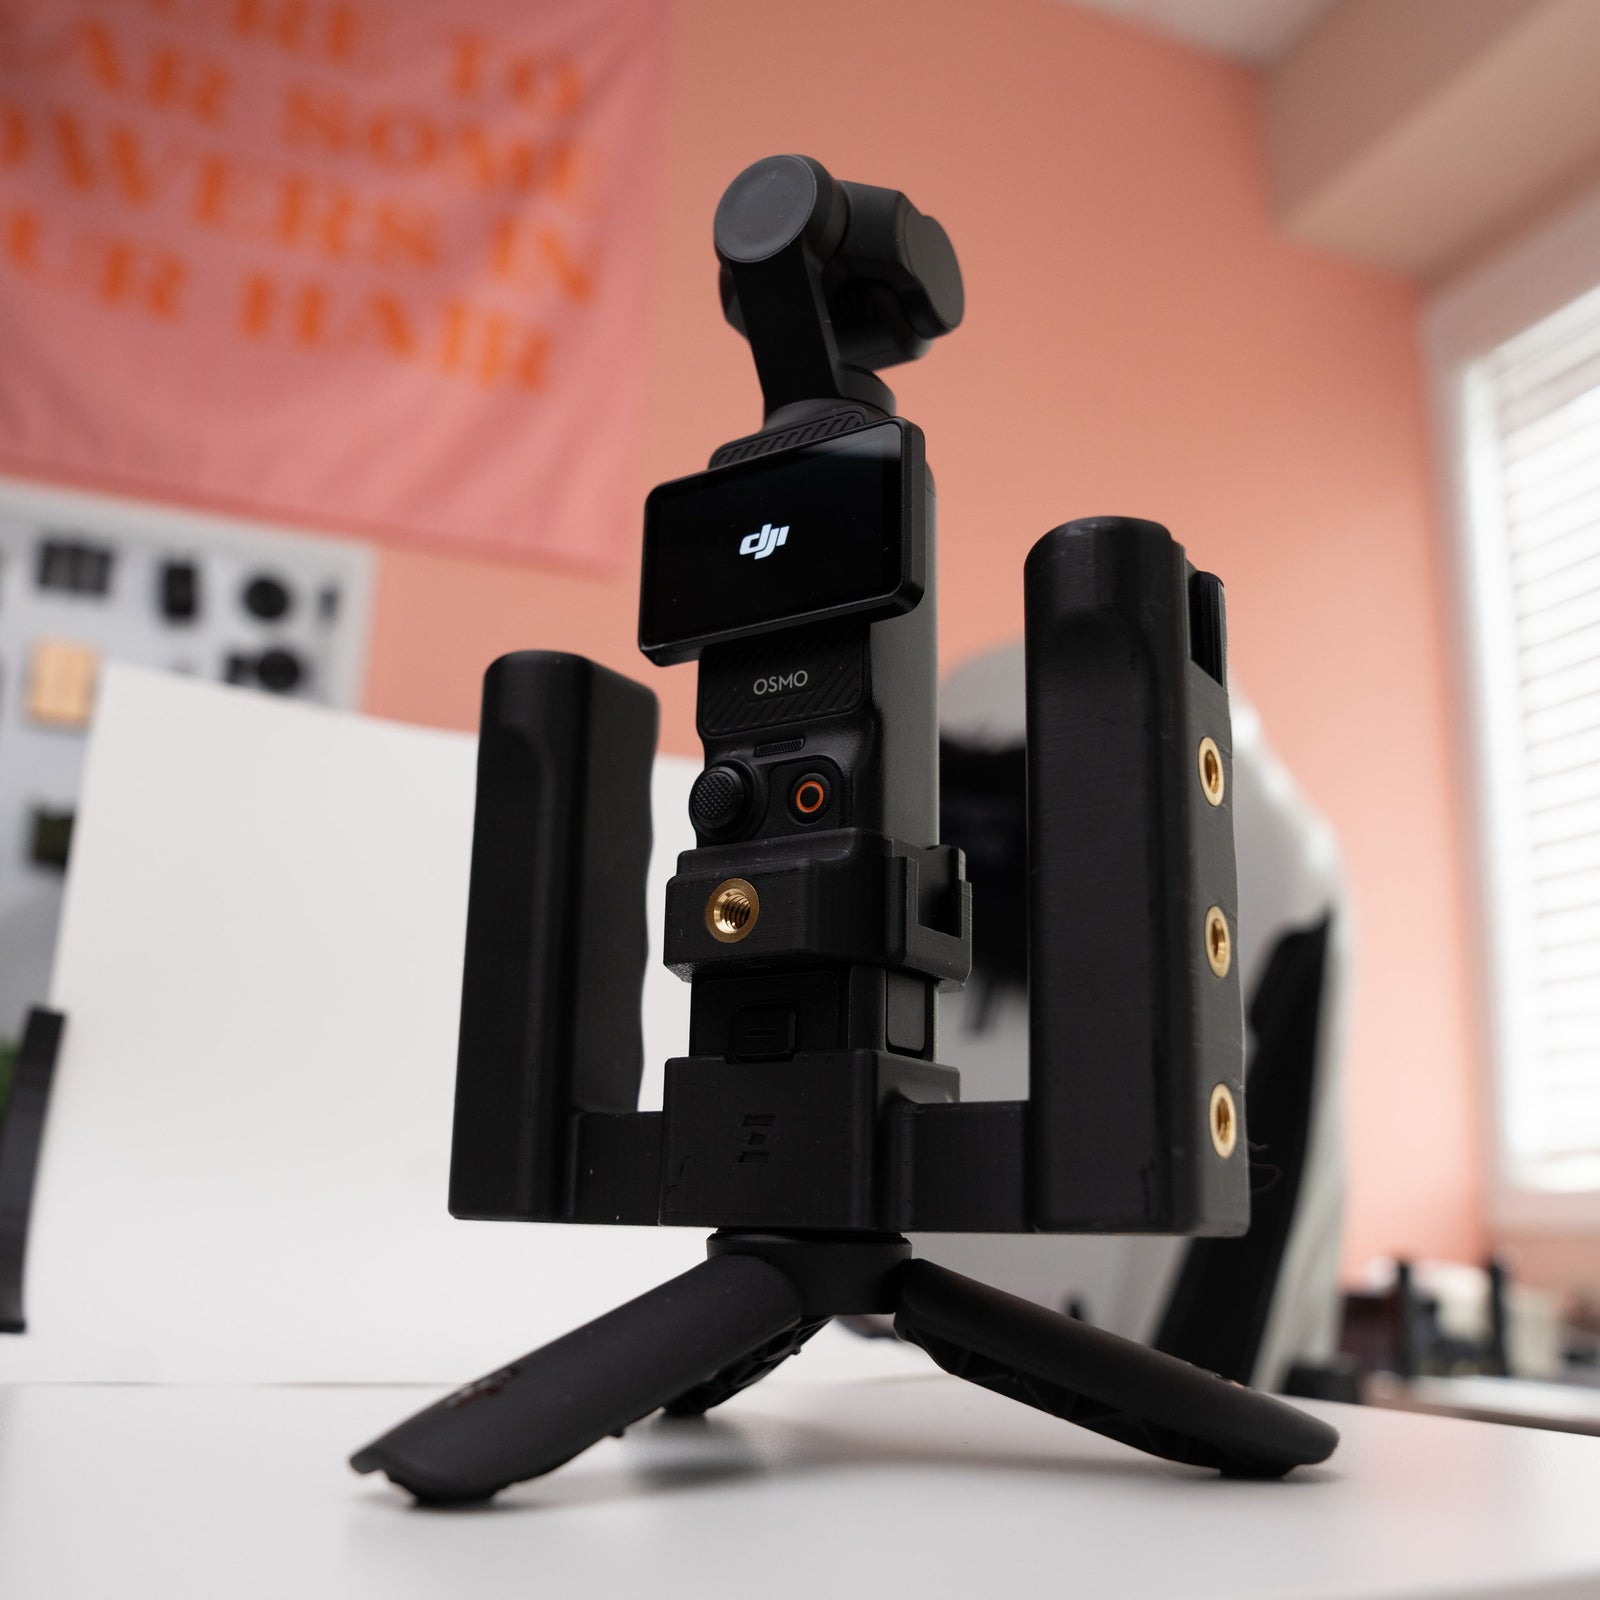
- PRO Prebuilt: use the front-facing 1/4-20 accessory point on Top Handle PRO. Standard Prebuilt with Mini: use a compatible 1/4-20 point in your Mini handle or accessory arrangement, choosing a position that leaves the camera and controls clear.
- Align the MagDock’s supplied 1/4-20 mounting screw with the threaded point. Start it straight, then tighten with the supplied tool until the mount is secure. Stop and check alignment if the screw binds.
- Support the rig and check that the mount does not rotate or rock at its attachment point before adding your phone.
The MagDock uses a 1/4-20 connection. The M3 screws used to secure OSMODO accessory-port attachments are for a different joint. See the Top Handles quick start if you need to fit or reposition the handle first.
If your phone setup loads the back cover: We recommend fitting the supplied M3 back-cover securing screws for extra security when an NP-F battery/plate or other accessories add weight to the back cover. For a setup without added rear weight, the strong latch can be used without these screws after checking that both sides stay latched. Remove any fitted securing screws before squeezing the clamps to open the cover.
If removing the back cover: Squeeze both back-cover quick-release clamps before pulling the cover away from the OSMODO. There is one clamp on each side at the top, beside the side cold shoes. Pulling before releasing both clamps can damage the cover or latch. Support the mount and remove the phone before opening.
Position and attach your phone
- With the phone removed, position the mount using its hinge. The XL version has an additional tilt point to help place the phone around the handle and other accessories. Move only within the hinge’s available travel; do not force it.
- Seat your MagSafe-compatible phone or case against the magnetic pad. Keep a hand under the phone while checking that it is securely attached.
- Support the phone and mount while making small viewing-angle adjustments. Keep the camera screen, gimbal, cables and rear-cover release clear; on PRO rigs, keep cooling openings clear too.
- Check both the phone’s magnetic attachment and the mount’s position before recording. If either slips or will not hold, remove the phone and follow the troubleshooting below.
MagDock holds the phone mechanically. For camera monitoring or control, connect through the app supported by your camera; attaching the phone to the pad does not pair it.
See it on a PRO rig
Jump to MagDock phone mounting at 4:10 in the OSMODO 2 PRO overview. The video shows the PRO rig arrangement; use the mounting steps above for a Mini handle setup.
 7:03
7:03
What’s new with OSMODO 2 PRO
New features · Cooling · Complete PRO build
Jump to a chapter
- 0:00 — Introducing OSMODO 2 Pro
- 0:06 — Active Cooling Fan
- 0:25 — Dual USB-C I/O Back Cover
- 0:43 — Quick-Release System and Base Plate
- 1:08 — Installing the Camera
- 1:54 — Top Handle Pro
- 2:25 — Adding NP-F Battery Power
- 2:56 — Fan Charging and Battery Life
- 3:17 — OSMODO Hood
- 4:10 — MagDock Phone Mount and Teleprompter
- 4:39 — Installing the Side Handles
- 5:24 — Adding an 82mm VND Filter
- 5:59 — Installing a Matte Box
- 6:32 — Finished Build and Pre-Orders
Troubleshooting
The entire mount turns at the handle.
Remove the phone and support the rig. Check the 1/4-20 connection between the MagDock and handle, then check that the handle itself is secure. Tighten the supplied mounting screw only when it is correctly seated. If it turns without tightening or the mount still rocks, contact support before refitting the phone.
My phone will not stay on the magnetic pad.
Check that the phone or case is MagSafe-compatible. Remove anything preventing it from sitting against the pad and align it with the magnetic attachment. Support the phone while testing retention. An ordinary nonmagnetic case may not attach securely; use a compatible case and contact support if retention remains weak.
The phone stays attached, but the viewing angle drops.
Remove the phone and identify which joint moves. If the mount turns at the handle, check its 1/4-20 mounting screw. If the hinge itself will not hold position, contact support with a photo and your Standard or XL version for the correct adjustment method. Do not force the hinge or remove an unidentified screw.
The phone blocks the camera or another accessory.
Remove the phone, then reposition the hinge within its available travel or choose another compatible 1/4-20 mounting point. XL offers extra reach and a second tilt point; Standard has a more compact arrangement. Reattach the phone and check clearance and retention before filming.
The phone is mounted, but I cannot see the camera feed.
The magnetic mount does not carry video or connect the phone to the camera. Open the app supported by your camera and follow its pairing and monitoring instructions. For Pocket 3, use DJI Mimo; use the camera manufacturer’s instructions for other models.
Still need help?
Contact ZOSS support. Include your order number, Standard or XL hinge, rig and handle model, and a photo showing whether the movement is at the mounting screw, hinge or phone pad.