










Choose your handle
These steps cover the three top handles on OSMODO 2 and OSMODO 2 PRO, including prebuilts. The mounting method depends on the handle, not the camera variant.
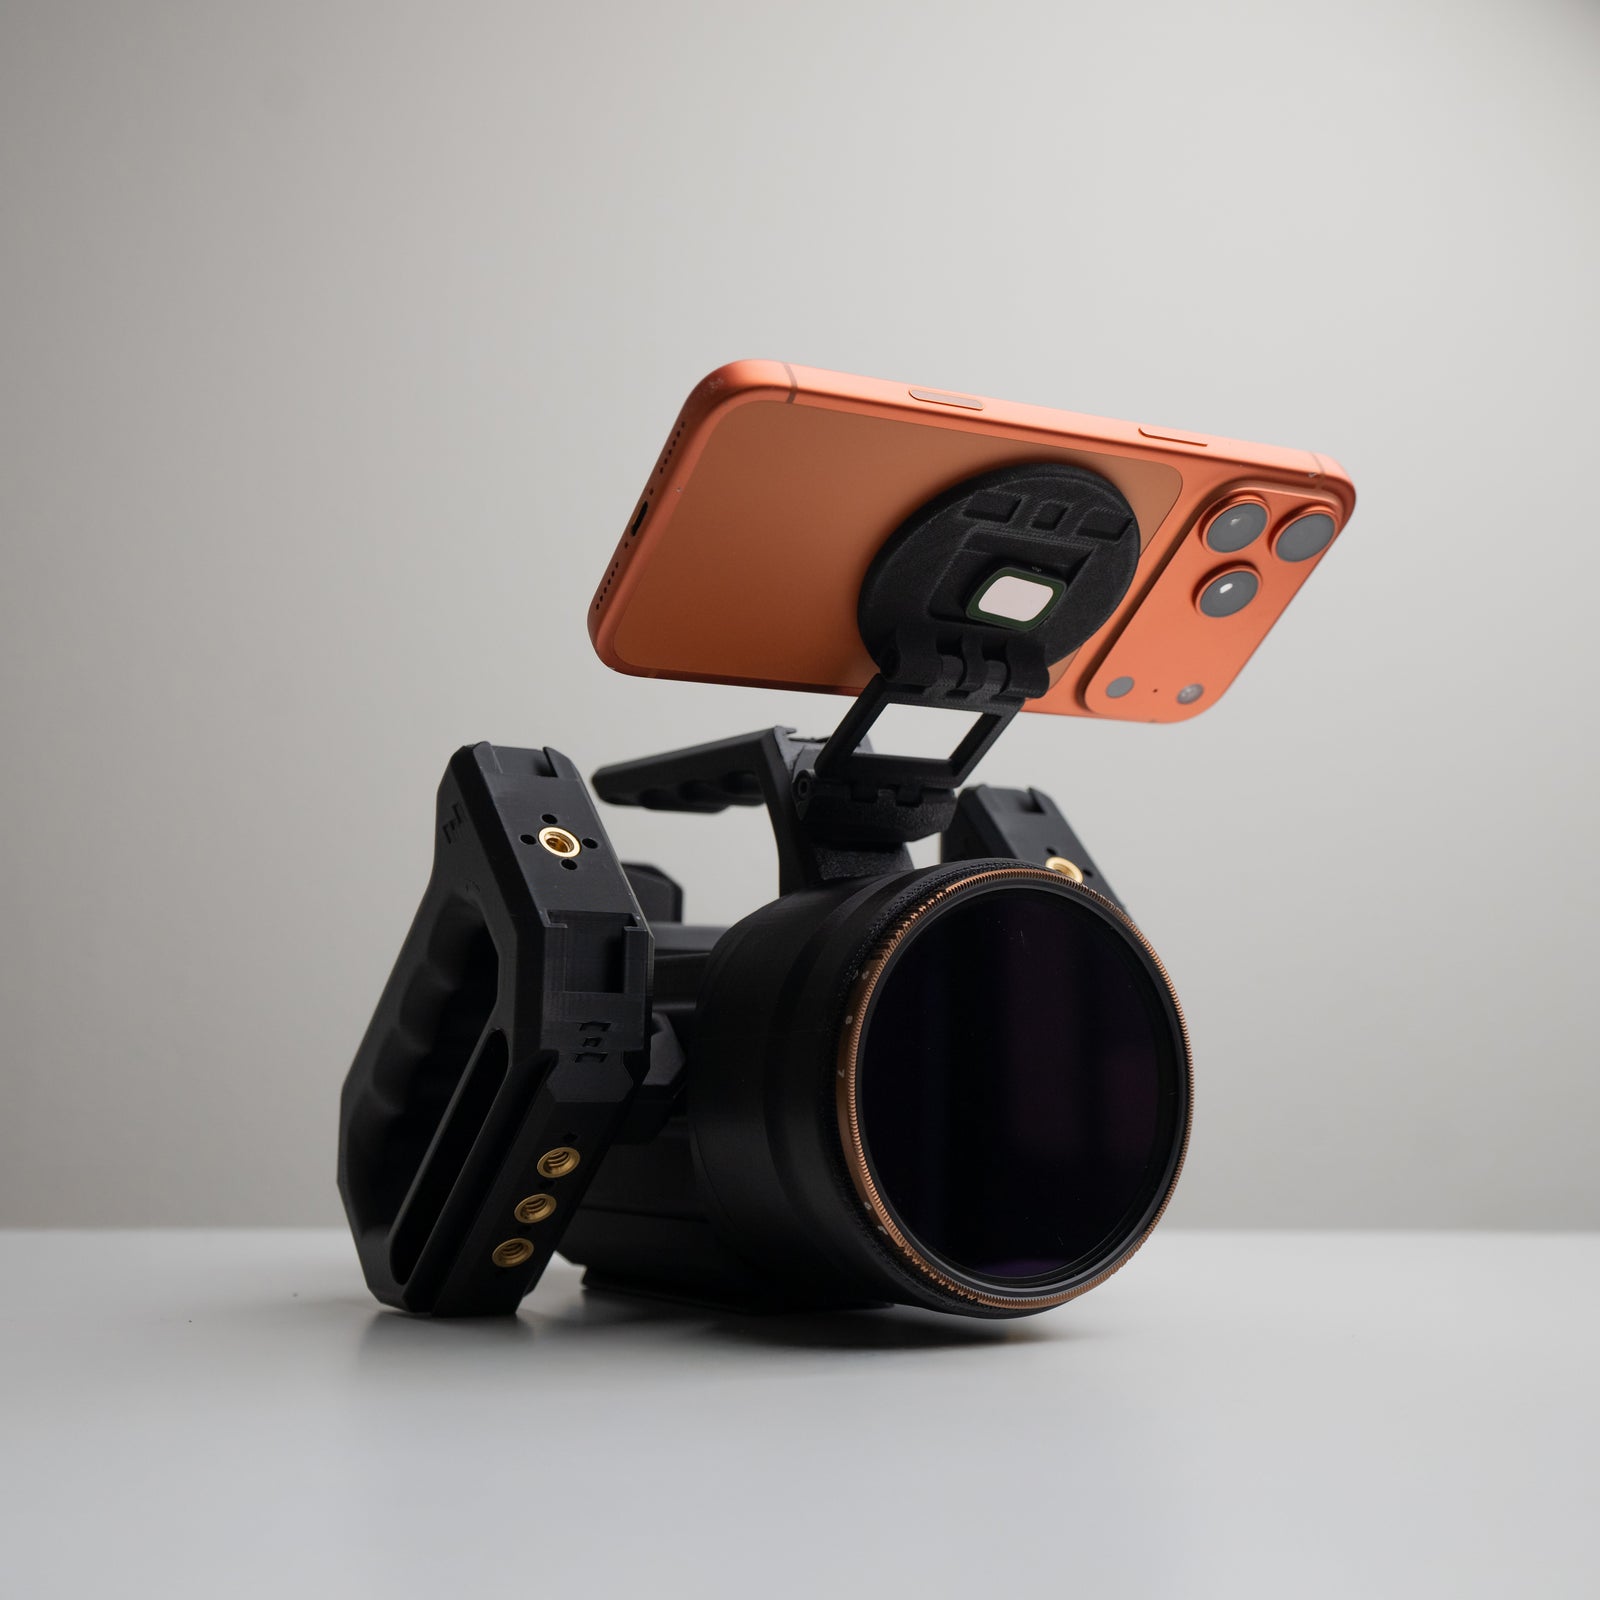
- OSMODO 2 Top Handle: open rear design. Push onto the square accessory port, slide until seated and snapped in, then secure with two M3 screws. Includes dual cold shoes and a front-facing 1/4-20 accessory point.
- OSMODO 2 Top Handle PRO: rear support, dual cold shoes, and a front-facing 1/4-20 accessory point. Uses the same port and two M3 screws; add its 1/4-20 securing screw for maximum security.
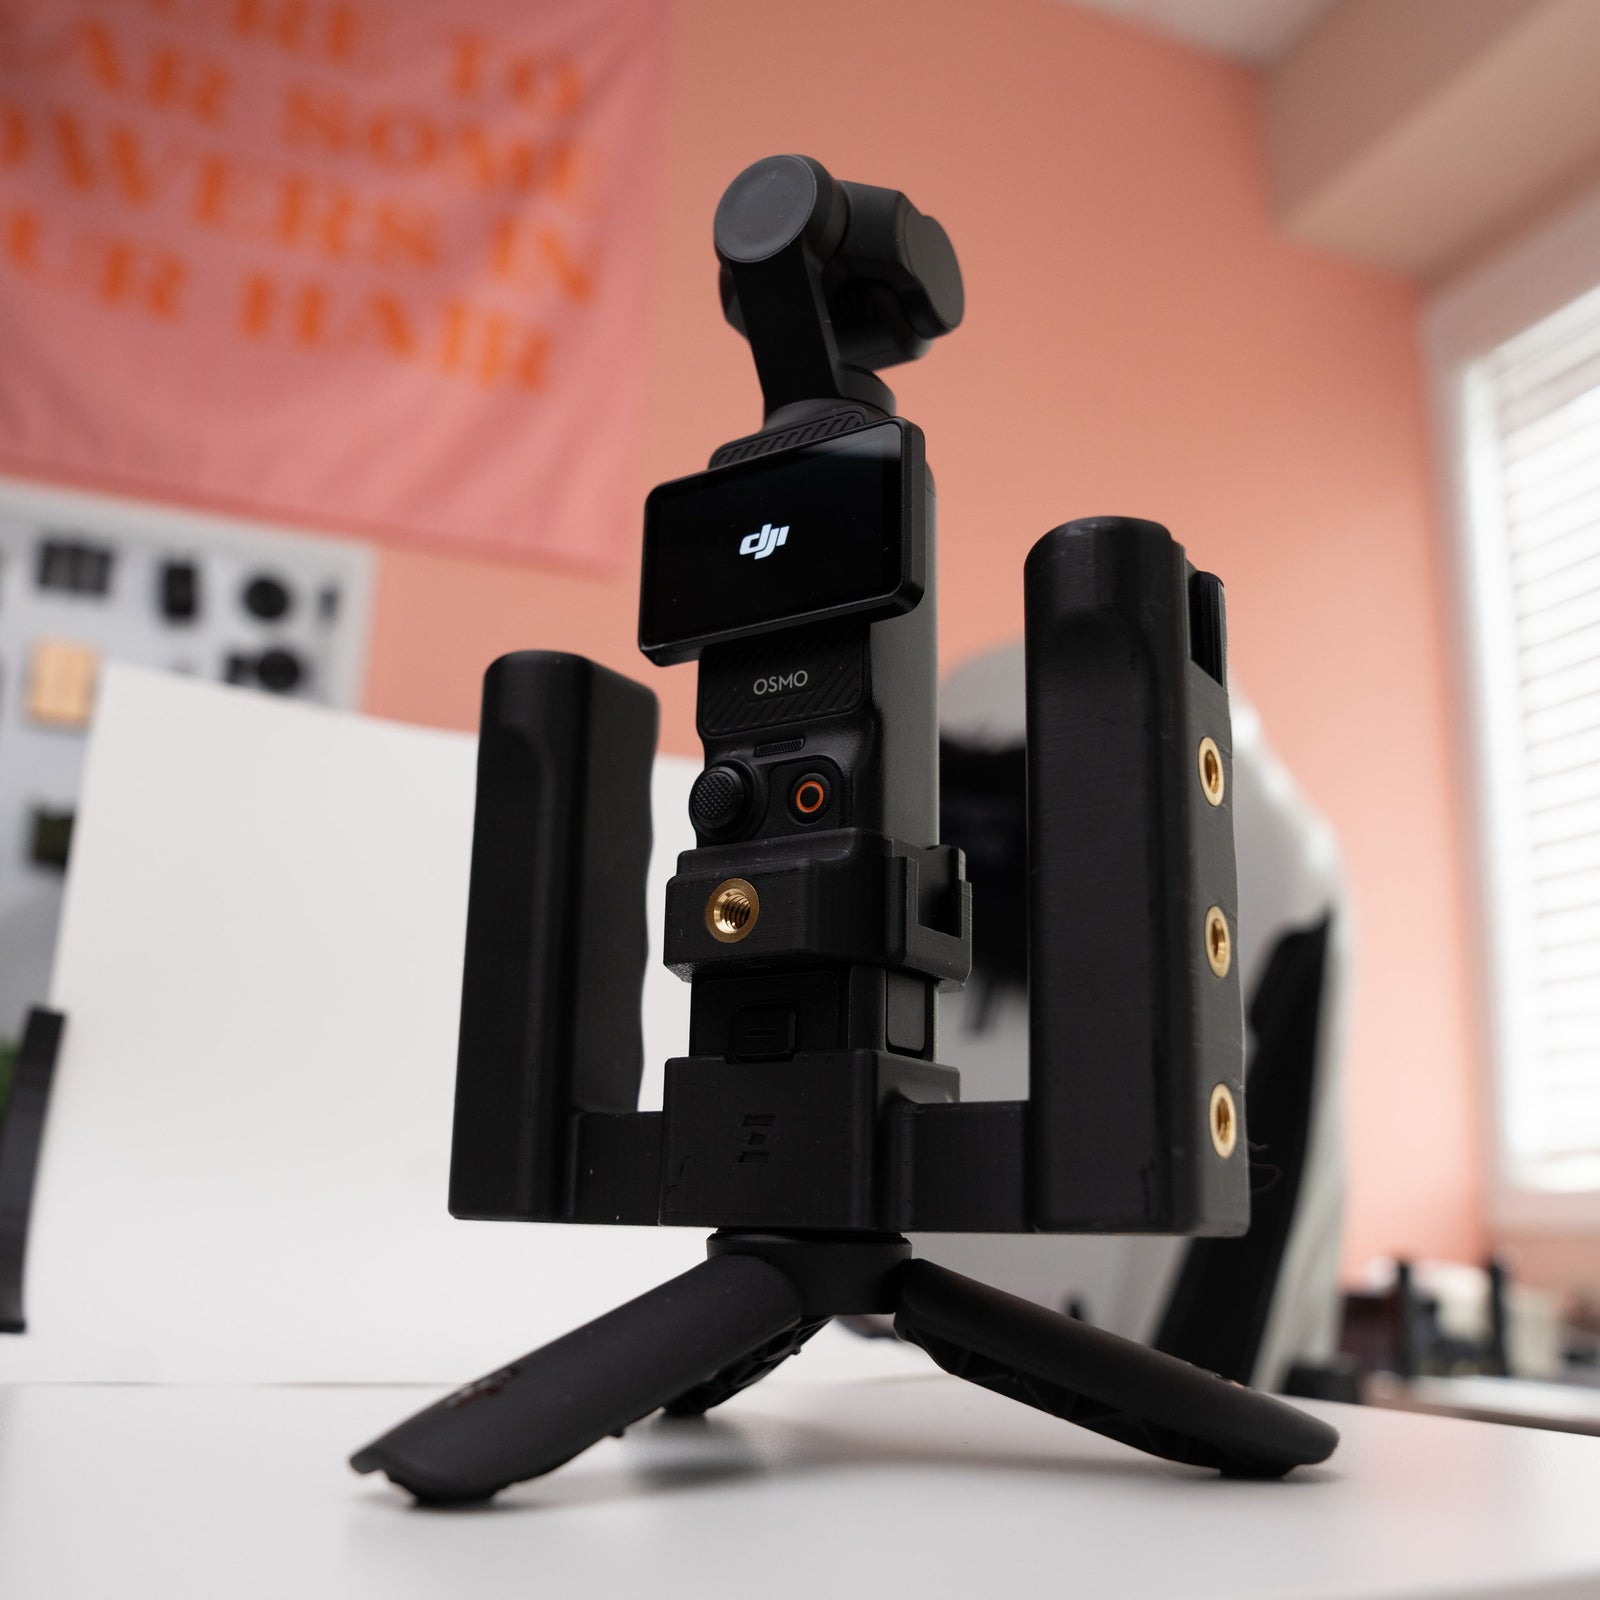
- OSMODO Top Handle Mini: compact handle with dual cold shoes and three 1/4-20 accessory points. Mount with one 1/4-20 screw on the back cover, or at the front through the NATO Rail + 1/4-20 adapter.
Top Handle PRO is included with both OSMODO 2 PRO configurations. Top Handle Mini is included with the standard OSMODO 2 Prebuilt. Check your order for separately purchased accessories.
Before you start
- Set the rig on a stable surface and support the housing during installation. Keep attached cameras, phones, and cables clear of the mounting area.
- Use the mounting hardware supplied for your handle. M3 screws secure a port attachment; 1/4-20 screws fit the threaded handle connections. They are not interchangeable.
- Only one attachment can occupy the front top accessory port at a time. Remove an existing port attachment before installing a full-size handle or the Mini’s front adapter.
- For a rear-mounted Mini, first check that the back cover is correctly fitted and retained. Use the supplied M3 back-cover securing screws for extra security with this added rear load.
Install Top Handle or Top Handle PRO
- Align the handle’s mounting base with the square accessory-port mount on the OSMODO housing.
- Push the handle onto the port, then slide it until it is fully seated and snaps into place. If it resists or sits at an angle, remove it and check the alignment.
- Fit both provided M3 screws and tighten them until the handle is secure. The snap-fit positions the handle; it does not replace the screws. Do not use the screws to pull a partly seated handle into place.
- Top Handle PRO: for maximum security, also fit and tighten the handle’s additional 1/4-20 securing screw. This is an extra fastening step, separate from its front-facing 1/4-20 point for accessories.
- Keep the housing supported and gently check the handle for movement. It should stay seated without rocking before you lift or use the rig.
Install Mini on the back cover
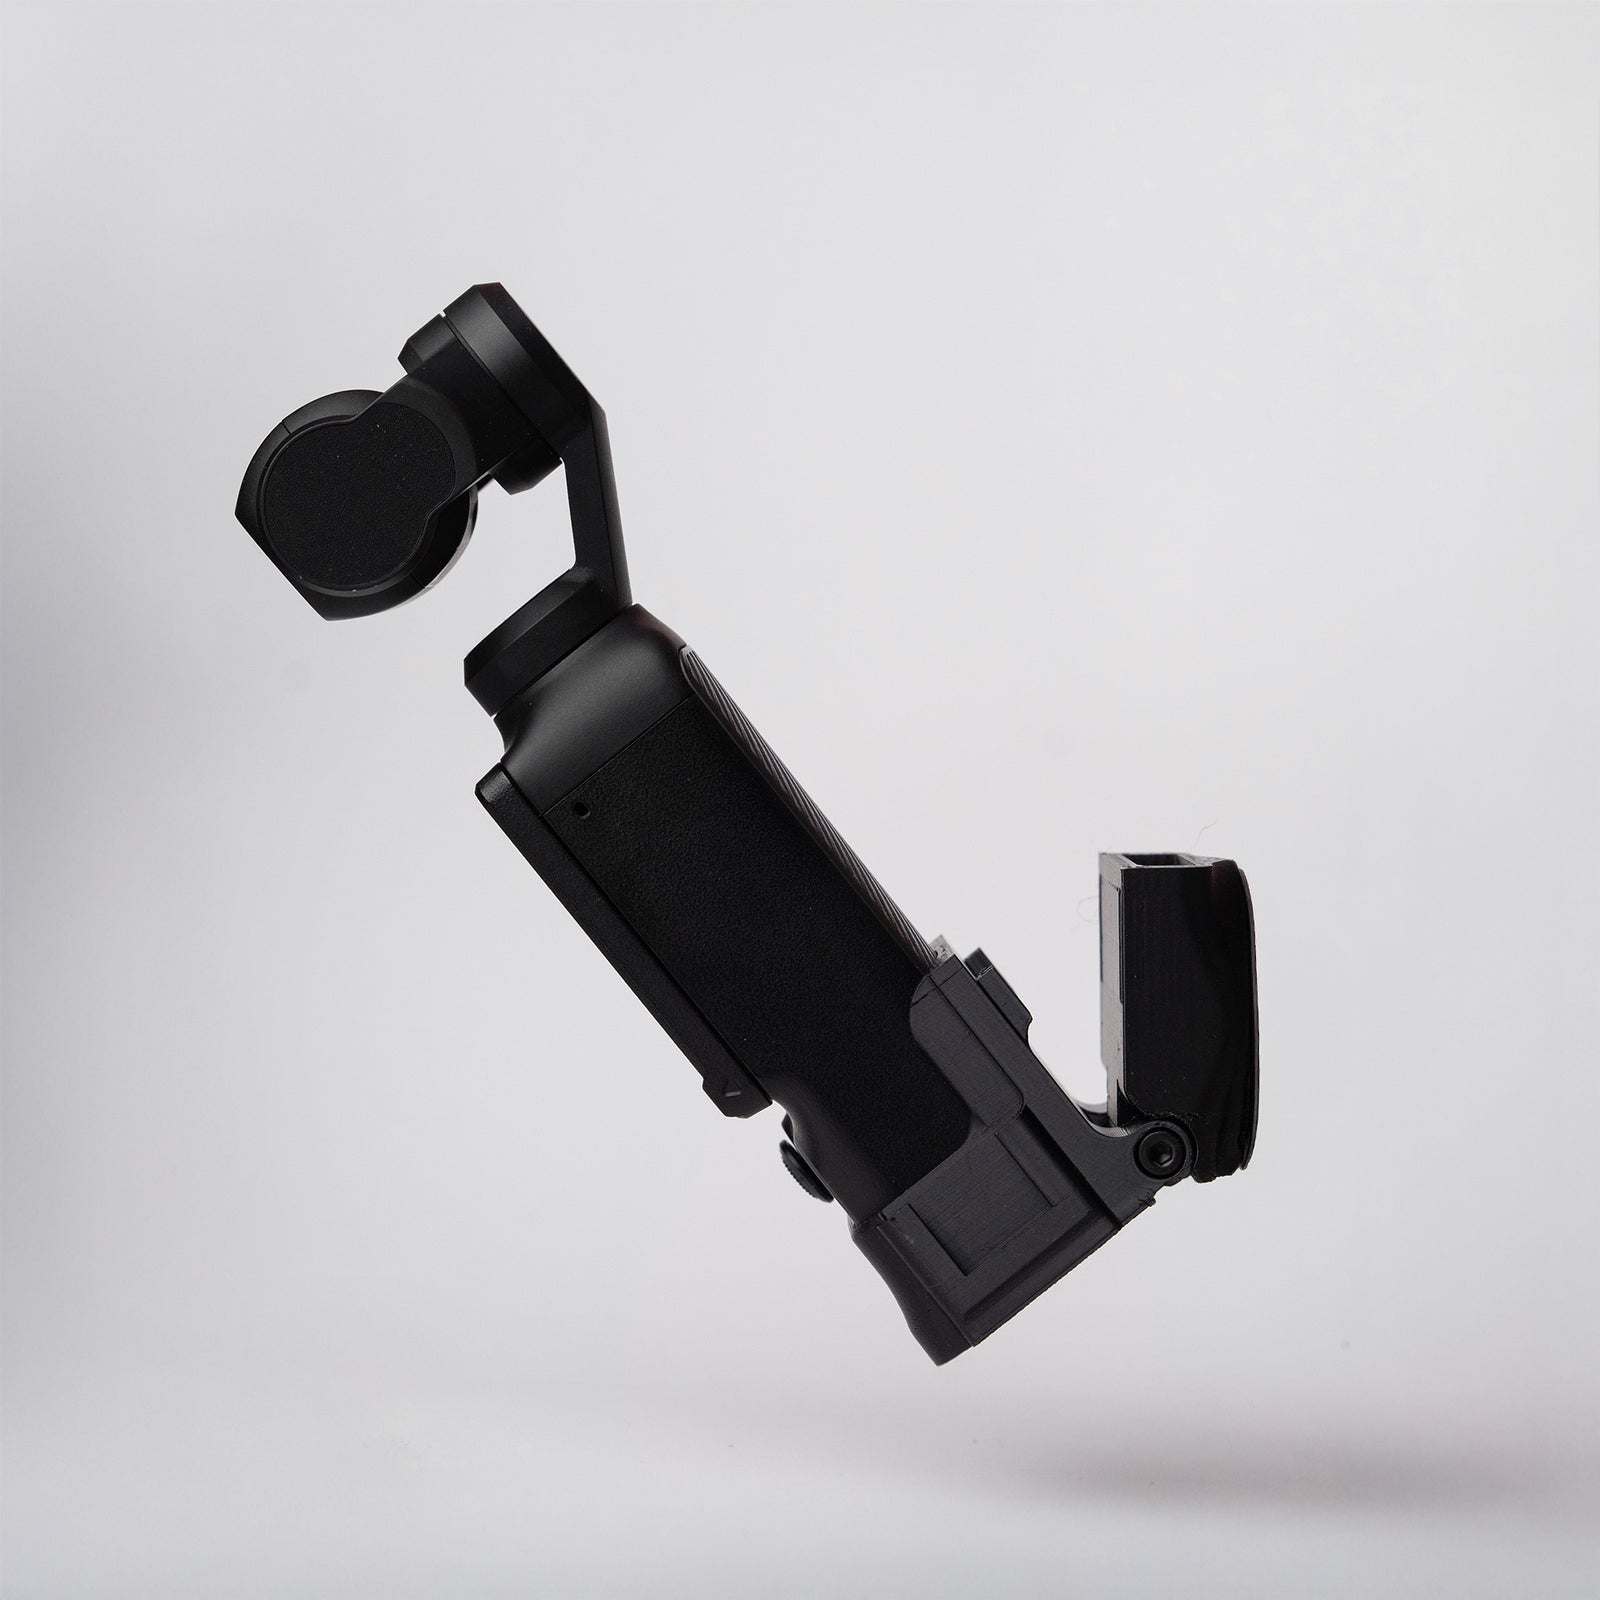
- Align the back cover and press its latch prongs onto the metal pins on the housing. Check that both sides are fully engaged, then gently check retention while supporting the housing.
- Fit the supplied M3 back-cover securing screws for extra security before using the rear-mounted handle. These secure the cover to the housing; the Mini’s separate 1/4-20 screw secures the handle to the cover.
- Position the Mini at the back cover’s 1/4-20 mounting point and align its mounting screw.
- Start the single 1/4-20 screw straight, then tighten it until the handle is secure. Stop if it resists before seating; check alignment rather than forcing the thread.
- Support the housing and check that neither the handle nor the back cover moves before lifting the rig.
Opening the back cover later: remove its fitted securing screws first. Squeeze both back-cover quick-release clamps before pulling the cover away from the OSMODO. There is one clamp on each side at the top, beside the side cold shoes. Pulling before releasing both clamps can damage the cover or latch. Support the handle and cover as you remove them.
This rear mounting method leaves the front accessory port available. For an original OSMODO or OSMODO PRO, the Mini listing specifies the OSMODO Back Cover PRO; use the original OSMODO PRO guide for that housing.
Install Mini at the front
- Remove any attachment already occupying the front accessory port.
- Press the OSMODO 2 NATO Rail + 1/4-20 Mount fully onto the accessory port, then secure it with both supplied M3 screws. See the Accessory Port quick start for the shared installation steps.
- Align the Mini with the adapter’s centered 1/4-20 thread and secure the handle using its single 1/4-20 mounting screw. The Mini uses the threaded connection; no NATO clamp is needed for this setup.
- Support the housing and check both connections: adapter to housing, then Mini to adapter.
The NATO Rail + 1/4-20 adapter is a separate accessory. It is the single attachment occupying the port; the Mini mounts on top of it.
Add a phone, microphone, or light
- Standard and PRO handles each provide two cold shoes and a front-facing 1/4-20 accessory point. The Mini provides two cold shoes and three 1/4-20 accessory points.
- Fit a compatible cold-shoe accessory and secure its own locking mechanism. A cold shoe provides a mechanical mount; connect any required audio or power separately.
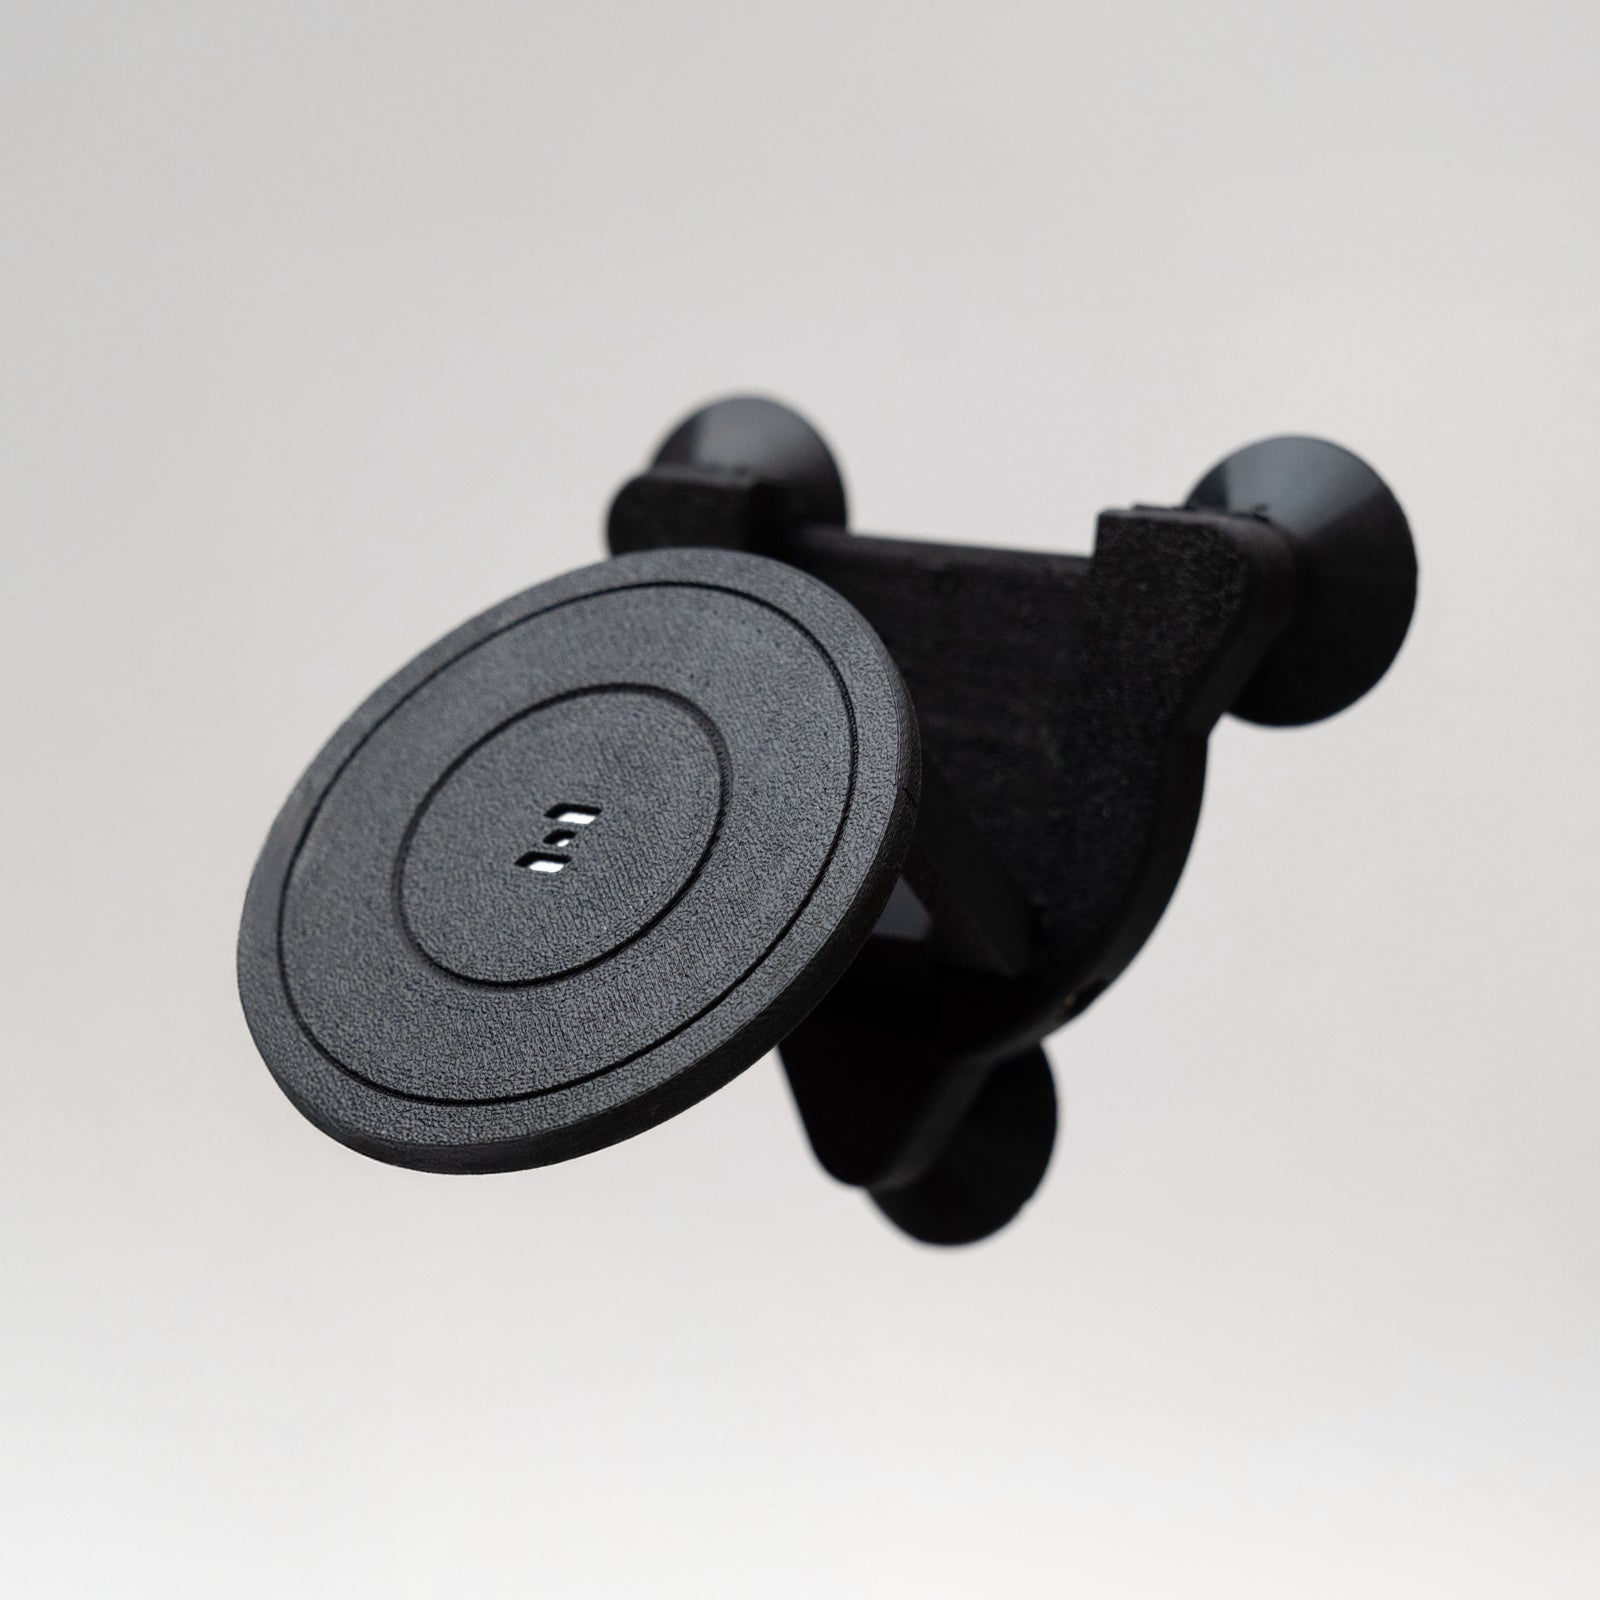
- Use a compatible 1/4-20 accessory screw or mount for threaded accessories such as the MagDock Phone Mount. Keep the accessory supported while tightening or adjusting it.
- Keep the camera screen, gimbal, cables, rear-cover release, and PRO airflow openings clear. Recheck the handle after positioning accessories.
Remove or change a handle
Set the rig down and support the handle and any attached accessories. For the standard or PRO handle, remove both M3 screws and, on PRO, its additional 1/4-20 securing screw if fitted. Then release the handle from the port. For the Mini, undo its single 1/4-20 mounting screw while supporting the handle. If changing the Mini’s front adapter too, remove the adapter’s two M3 screws before releasing it from the port.
Do not pull a handle or adapter off while a securing screw is still installed. Refit the next attachment fully before tightening its hardware.
Watch the Top Handle PRO overview
Jump to Top Handle PRO at 1:54 in the OSMODO 2 PRO video. Use the written steps above for standard and Mini mounting.
 7:03
7:03
What’s new with OSMODO 2 PRO
New features · Cooling · Complete PRO build
Jump to a chapter
- 0:00 — Introducing OSMODO 2 Pro
- 0:06 — Active Cooling Fan
- 0:25 — Dual USB-C I/O Back Cover
- 0:43 — Quick-Release System and Base Plate
- 1:08 — Installing the Camera
- 1:54 — Top Handle Pro
- 2:25 — Adding NP-F Battery Power
- 2:56 — Fan Charging and Battery Life
- 3:17 — OSMODO Hood
- 4:10 — MagDock Phone Mount and Teleprompter
- 4:39 — Installing the Side Handles
- 5:24 — Adding an 82mm VND Filter
- 5:59 — Installing a Matte Box
- 6:32 — Finished Build and Pre-Orders
Troubleshooting
The back cover moves when I use my rear-mounted Mini.
Support the housing and handle. Align the back cover and press its latch prongs onto the metal pins on the housing. Check that both sides are fully engaged, then gently check retention while supporting the housing. Fit the supplied M3 back-cover securing screws for extra security with the rear-mounted handle or other added weight. Check the Mini’s separate 1/4-20 screw as well. Do not lift by the handle if the cover still will not stay secure; contact support.
It snapped into place. Do I still need the M3 screws?
Yes. Fit and tighten both supplied M3 screws after the standard or PRO handle is fully seated. The snap-fit alone is not the completed installation. The PRO’s additional 1/4-20 screw gives maximum security; it does not replace the two M3 screws.
The handle will not slide on or the screw holes do not line up.
Remove any existing attachment from the port. With the rig supported, remove the handle and check the square mount’s alignment and for trapped cables or debris. Re-seat the handle fully before starting either M3 screw. Do not tighten screws to pull misaligned parts together. If it still will not seat, contact support with a photo of both mating parts.
The handle rocks or rotates after tightening.
Set the rig down. On a standard or PRO handle, check full port seating and both M3 screws; check the additional PRO 1/4-20 securing screw if fitted. On a rear Mini, check its single screw and that the back cover is retained. On a front Mini, check both adapter screws and the Mini’s 1/4-20 screw. If a screw turns without tightening or the joint still moves, stop lifting by the handle and contact support.
Why does my Mini not snap into the accessory port?
The Mini mounts with a single 1/4-20 screw. Fit it directly to the OSMODO 2 back cover, or use the OSMODO 2 NATO Rail + 1/4-20 Mount at the front. First secure that adapter to the port with two M3 screws, then attach the Mini to its centered 1/4-20 thread.
Is the PRO’s front-facing 1/4-20 point the extra securing screw?
No. The front-facing 1/4-20 point mounts an accessory such as a phone holder. The additional 1/4-20 securing screw fastens the PRO handle to the rig for maximum security. Keep both M3 port screws installed as well.
Can I use a top handle and another accessory-port attachment together?
The standard and PRO handles each occupy the accessory port, so remove the handle before fitting a different port attachment. A Mini mounted on the back cover leaves that port free. A front-mounted Mini uses the NATO Rail + 1/4-20 adapter already in the port; this is one port attachment supporting the handle.
The Mini still covers part of my screen. Is it mounted incorrectly?
The Mini leaves more of the screen visible than the larger handles, but its listing notes that a small portion remains covered. Partial coverage alone does not mean it is incorrectly installed. Confirm the handle is seated and secure; do not loosen its mounting screw just to gain screen clearance.
A screw will not start. Which screw should I use?
Use the supplied M3 screws for the accessory port and the correct 1/4-20 hardware for the Mini or PRO’s extra securing connection. Start the screw straight and stop if it binds. Do not substitute a longer screw or force a different thread. Contact support if the correct supplied hardware will not engage.
Still need help?
Still stuck? Contact ZOSS support. Include your order number, rig model, accessory name, and clear photos of the mounting point, screws, and where the parts will not seat.