
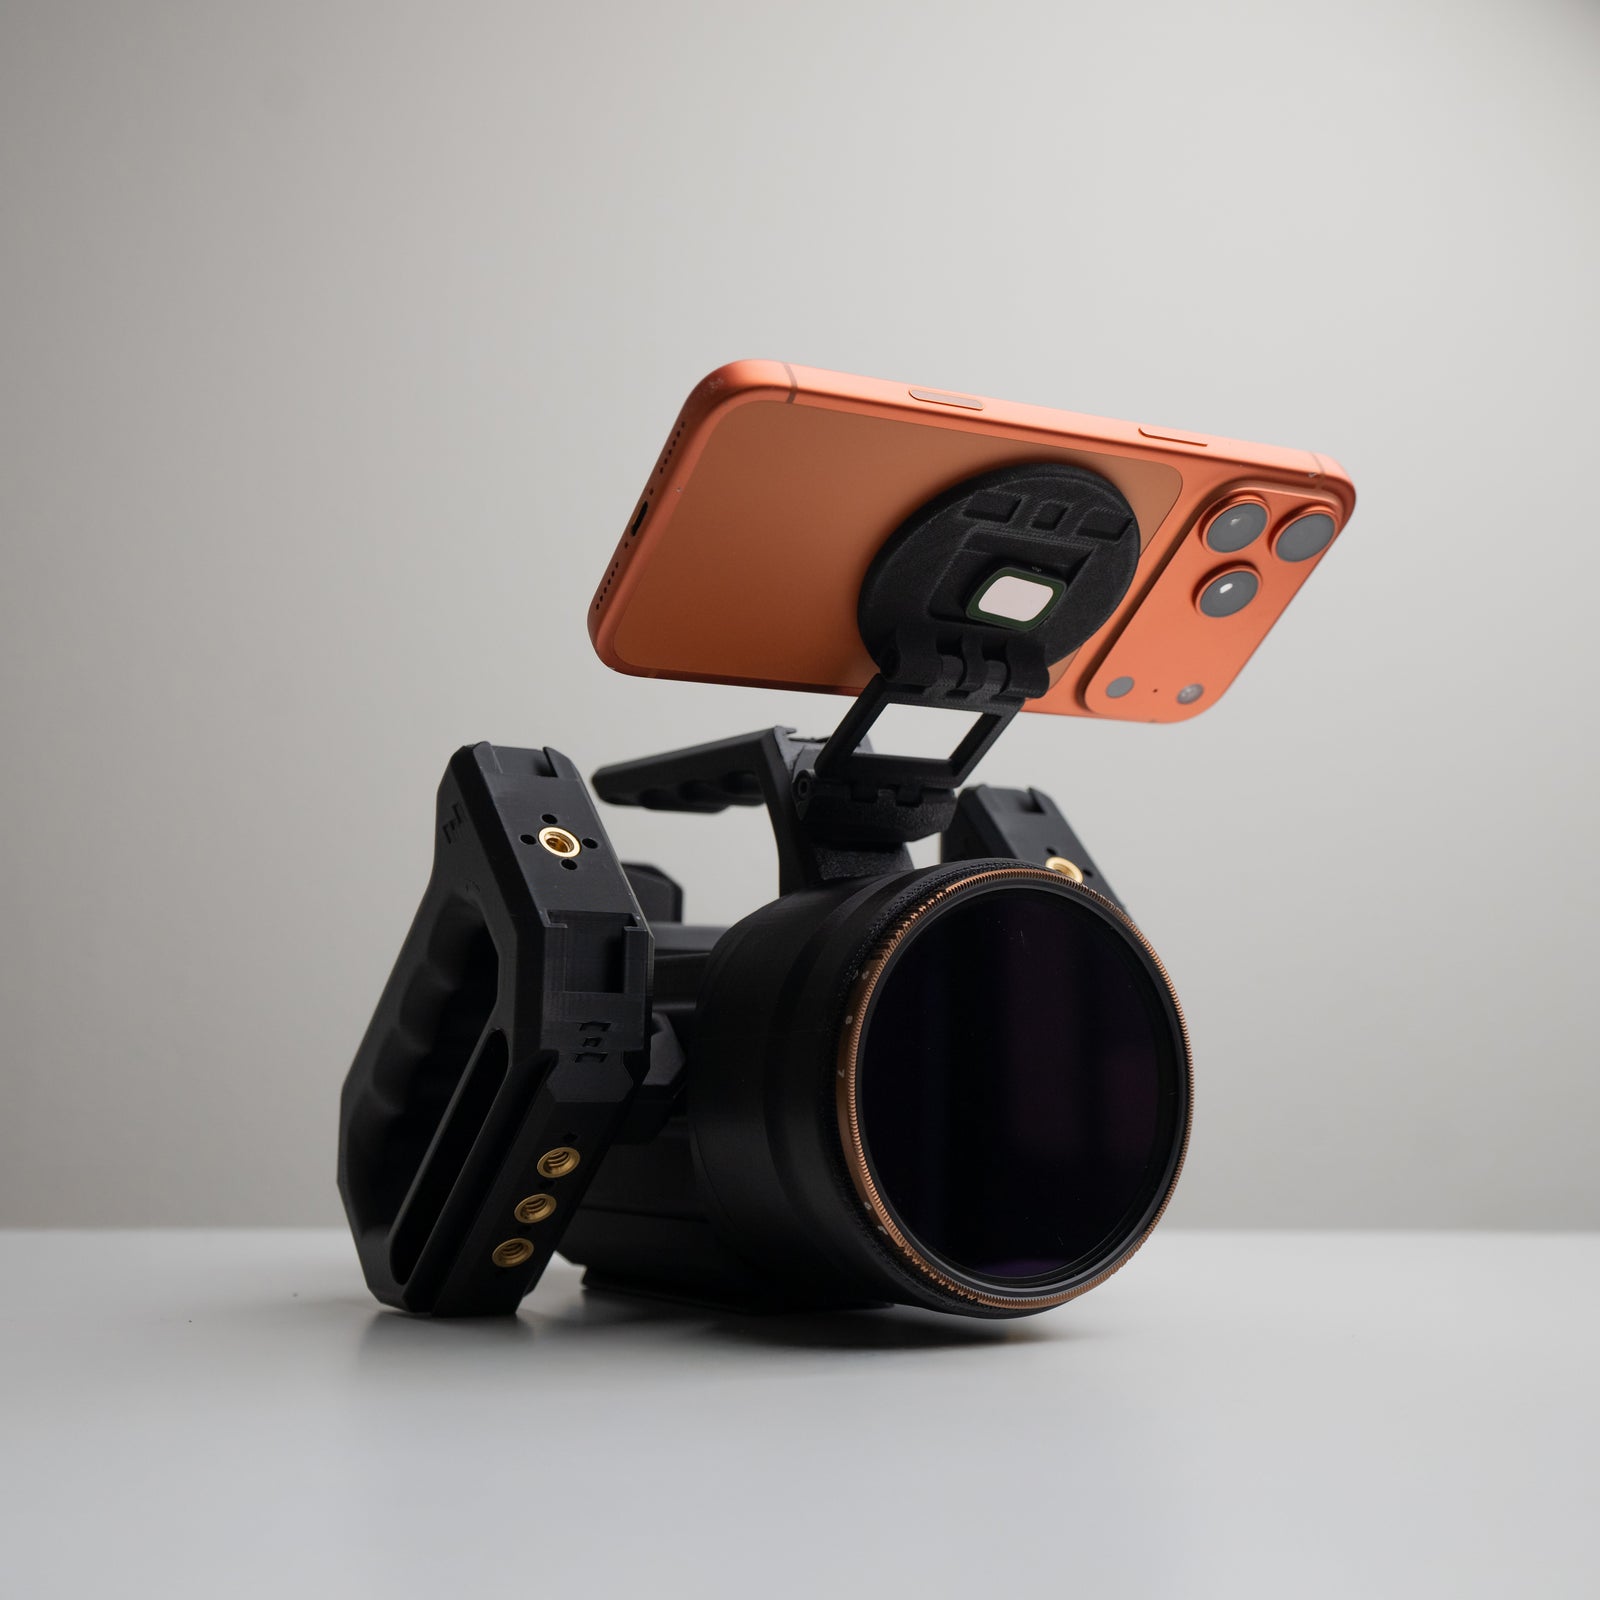

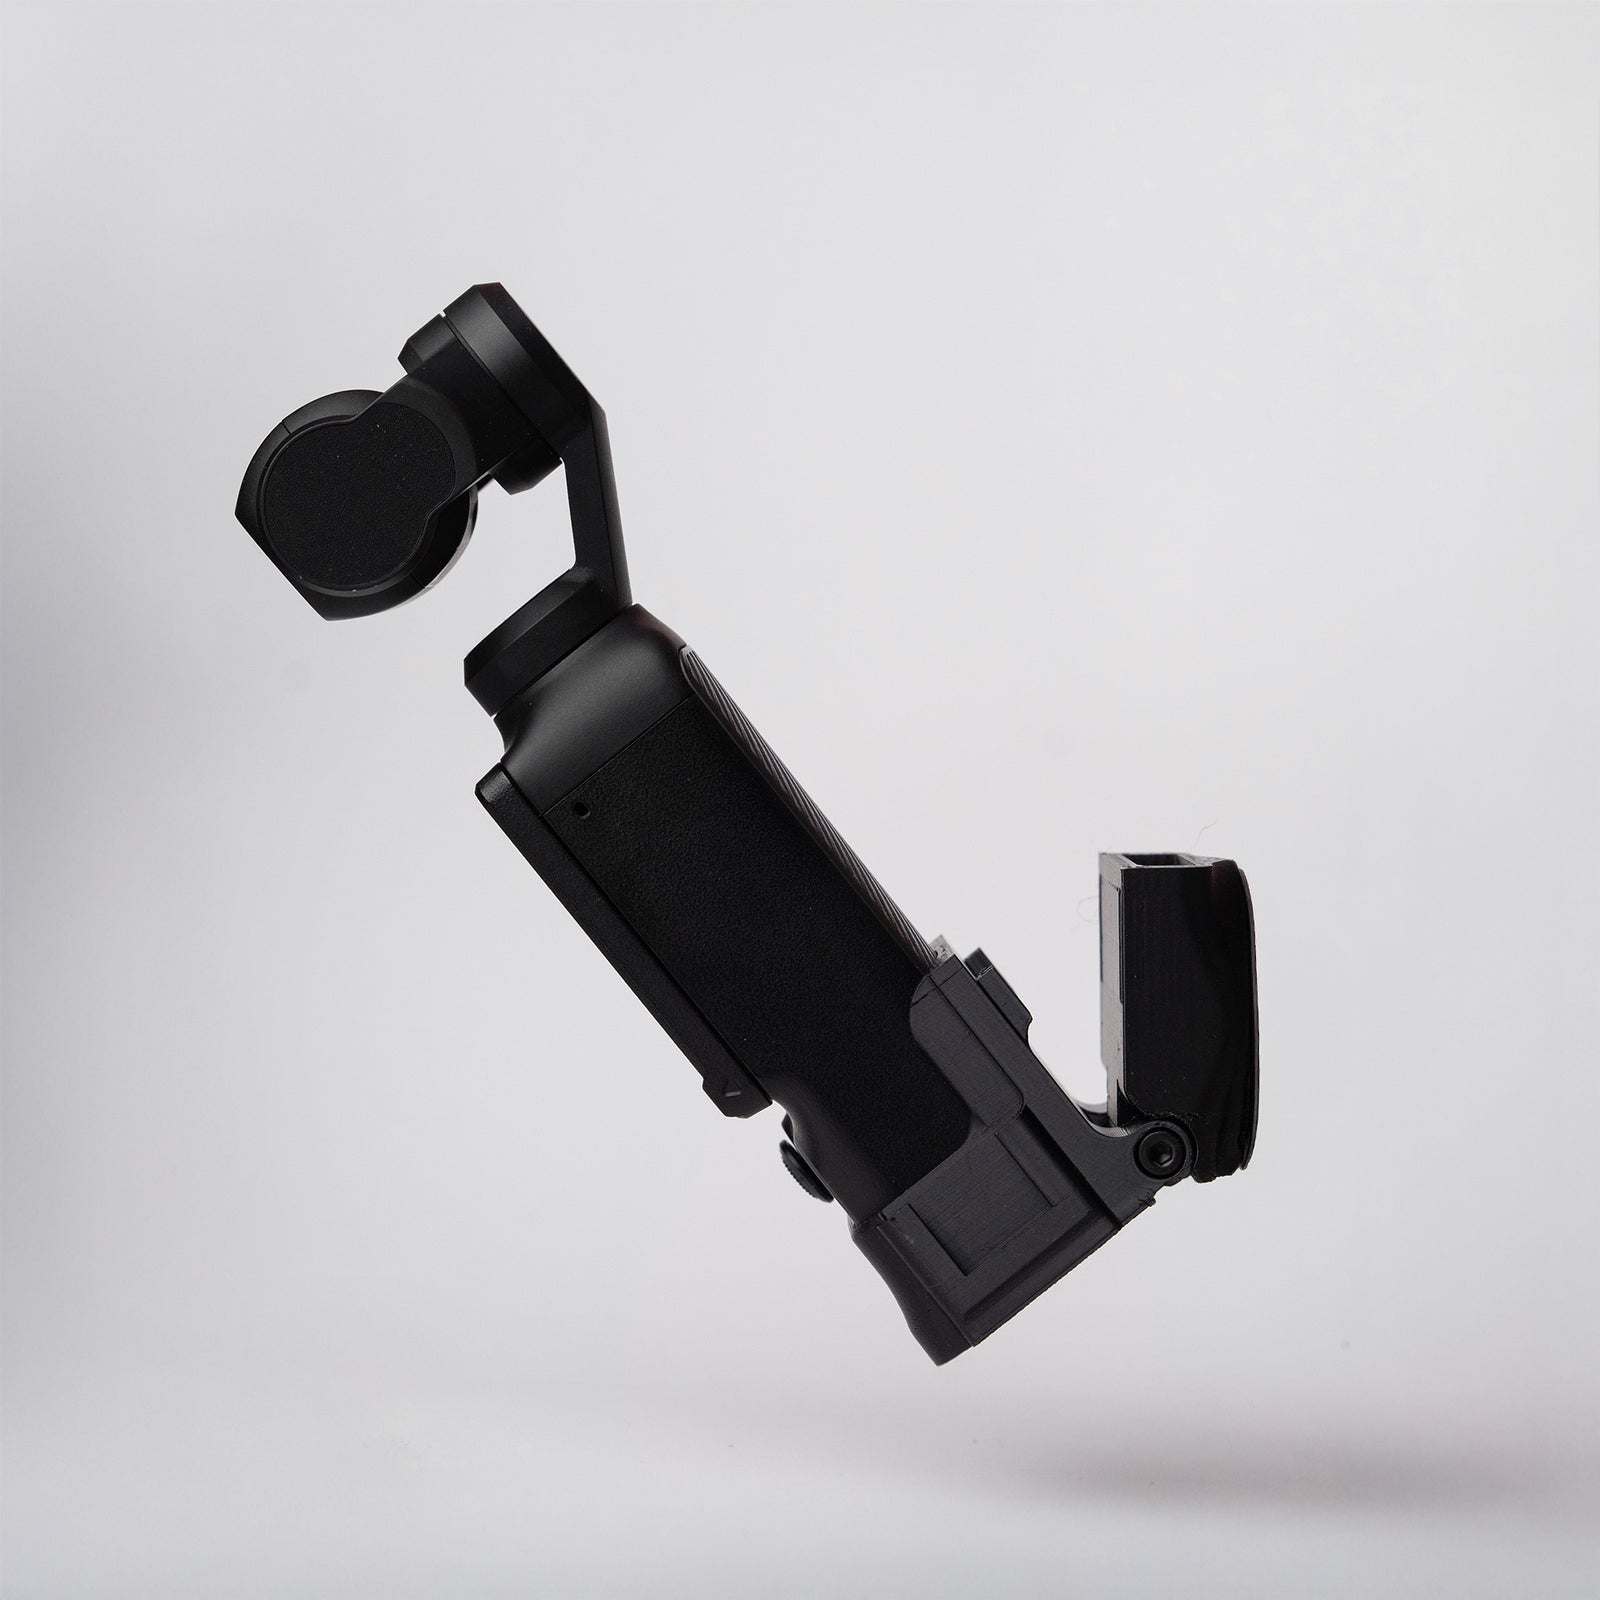

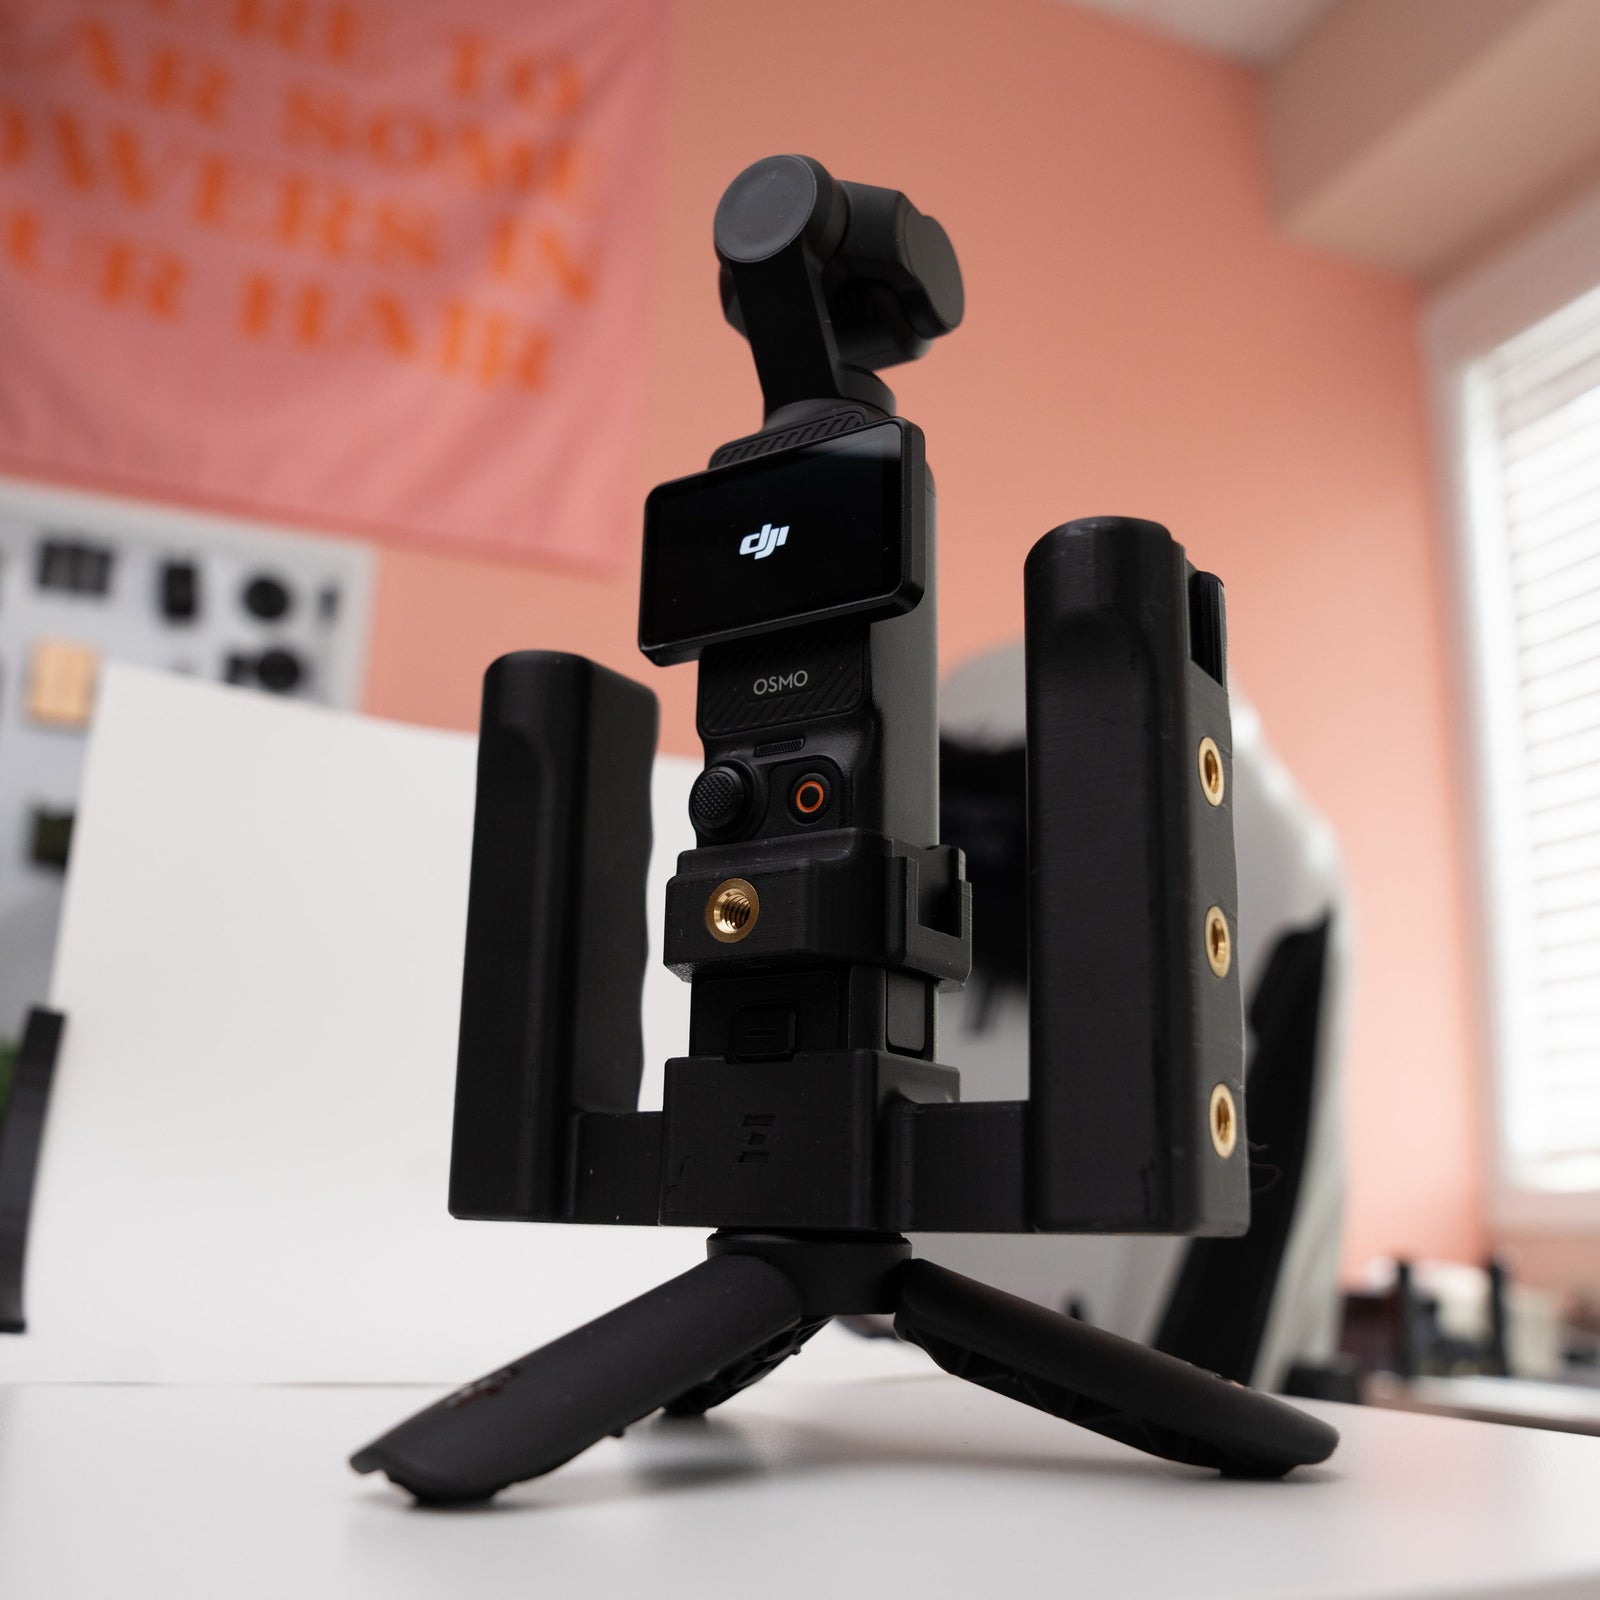

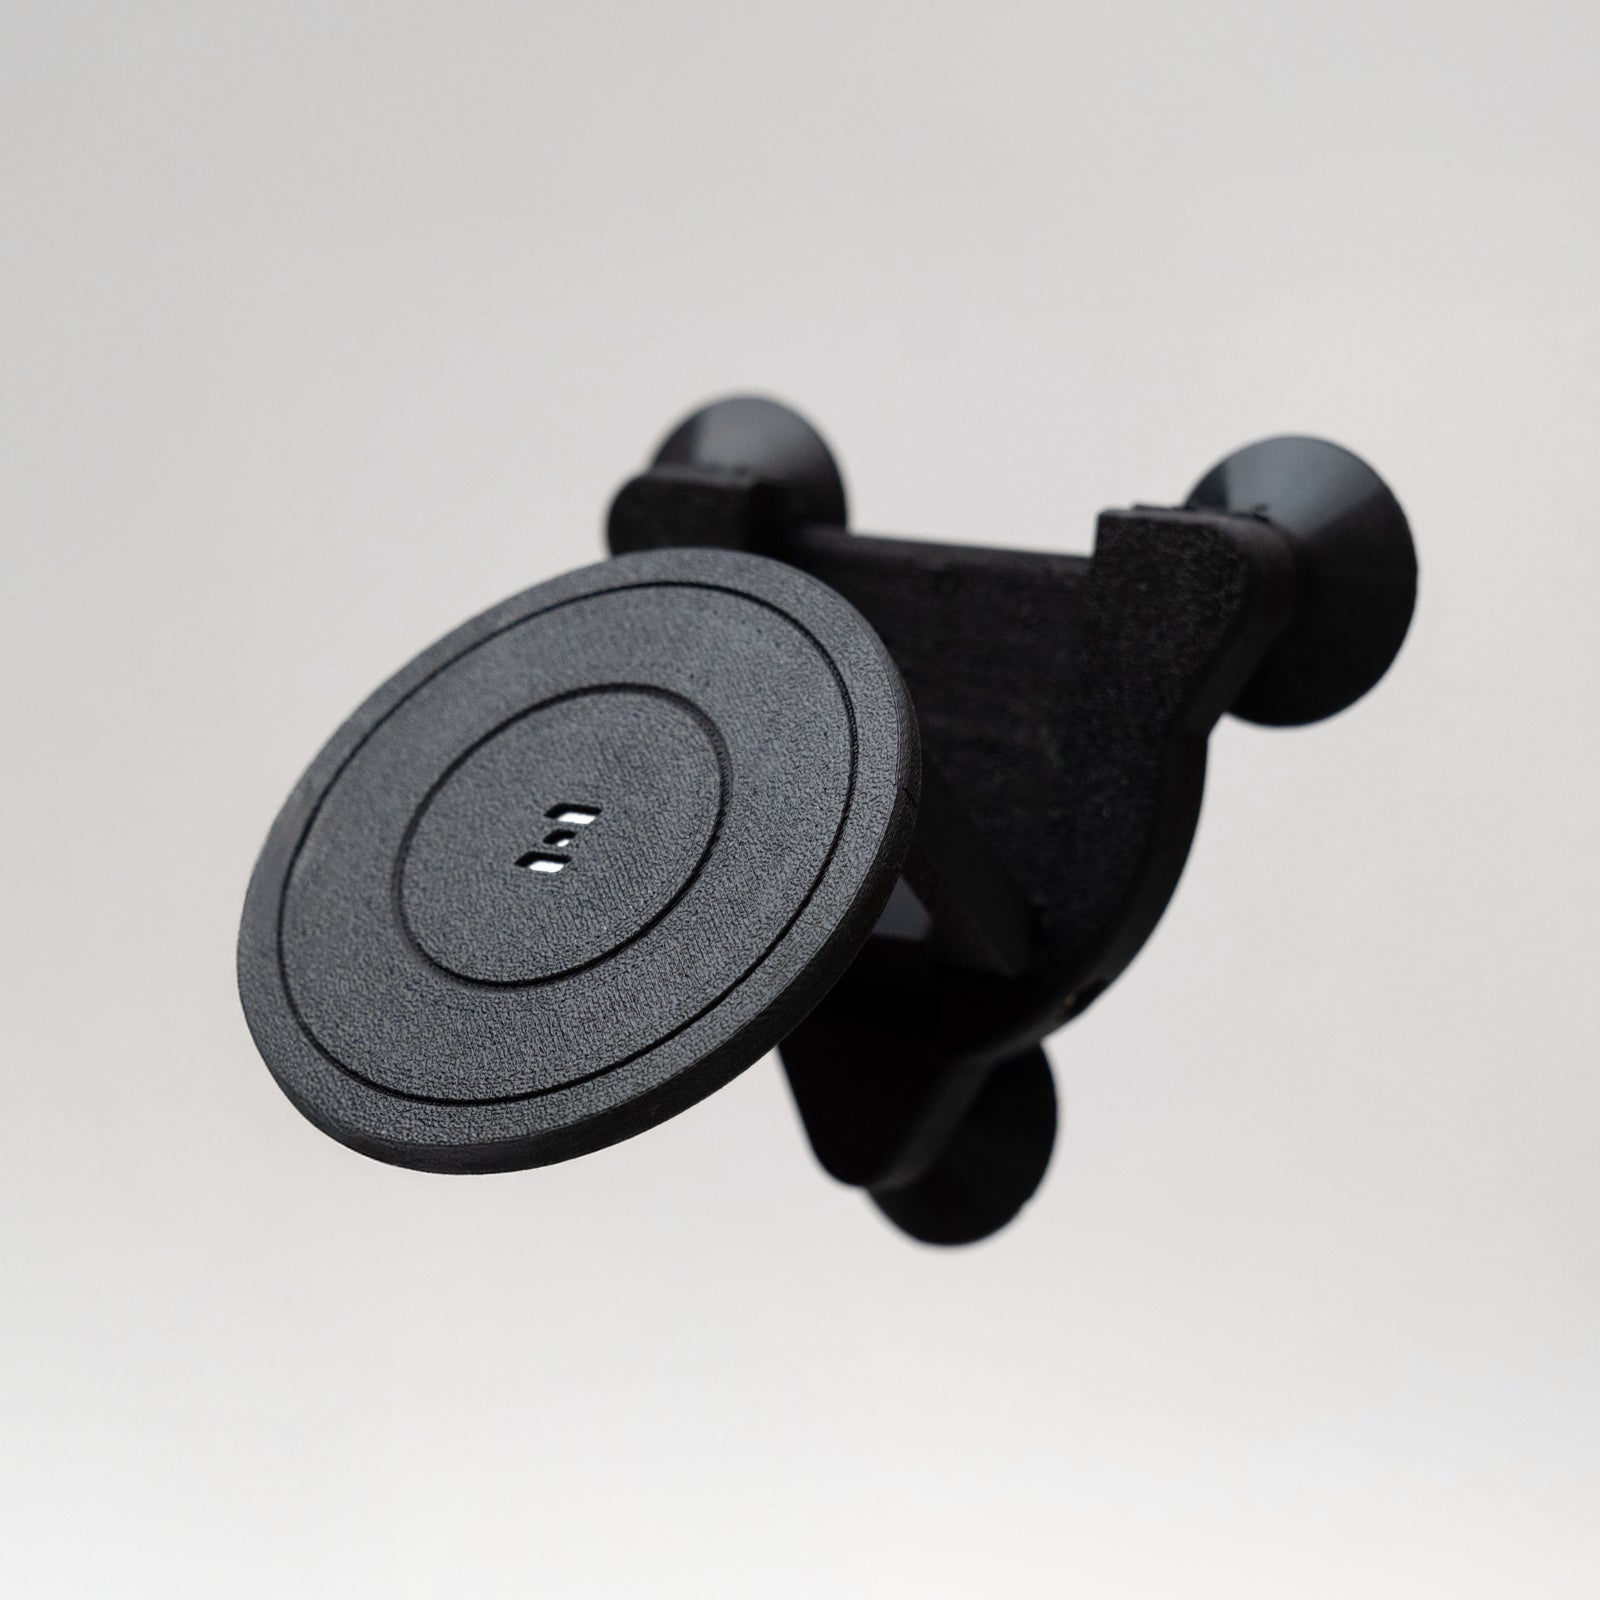

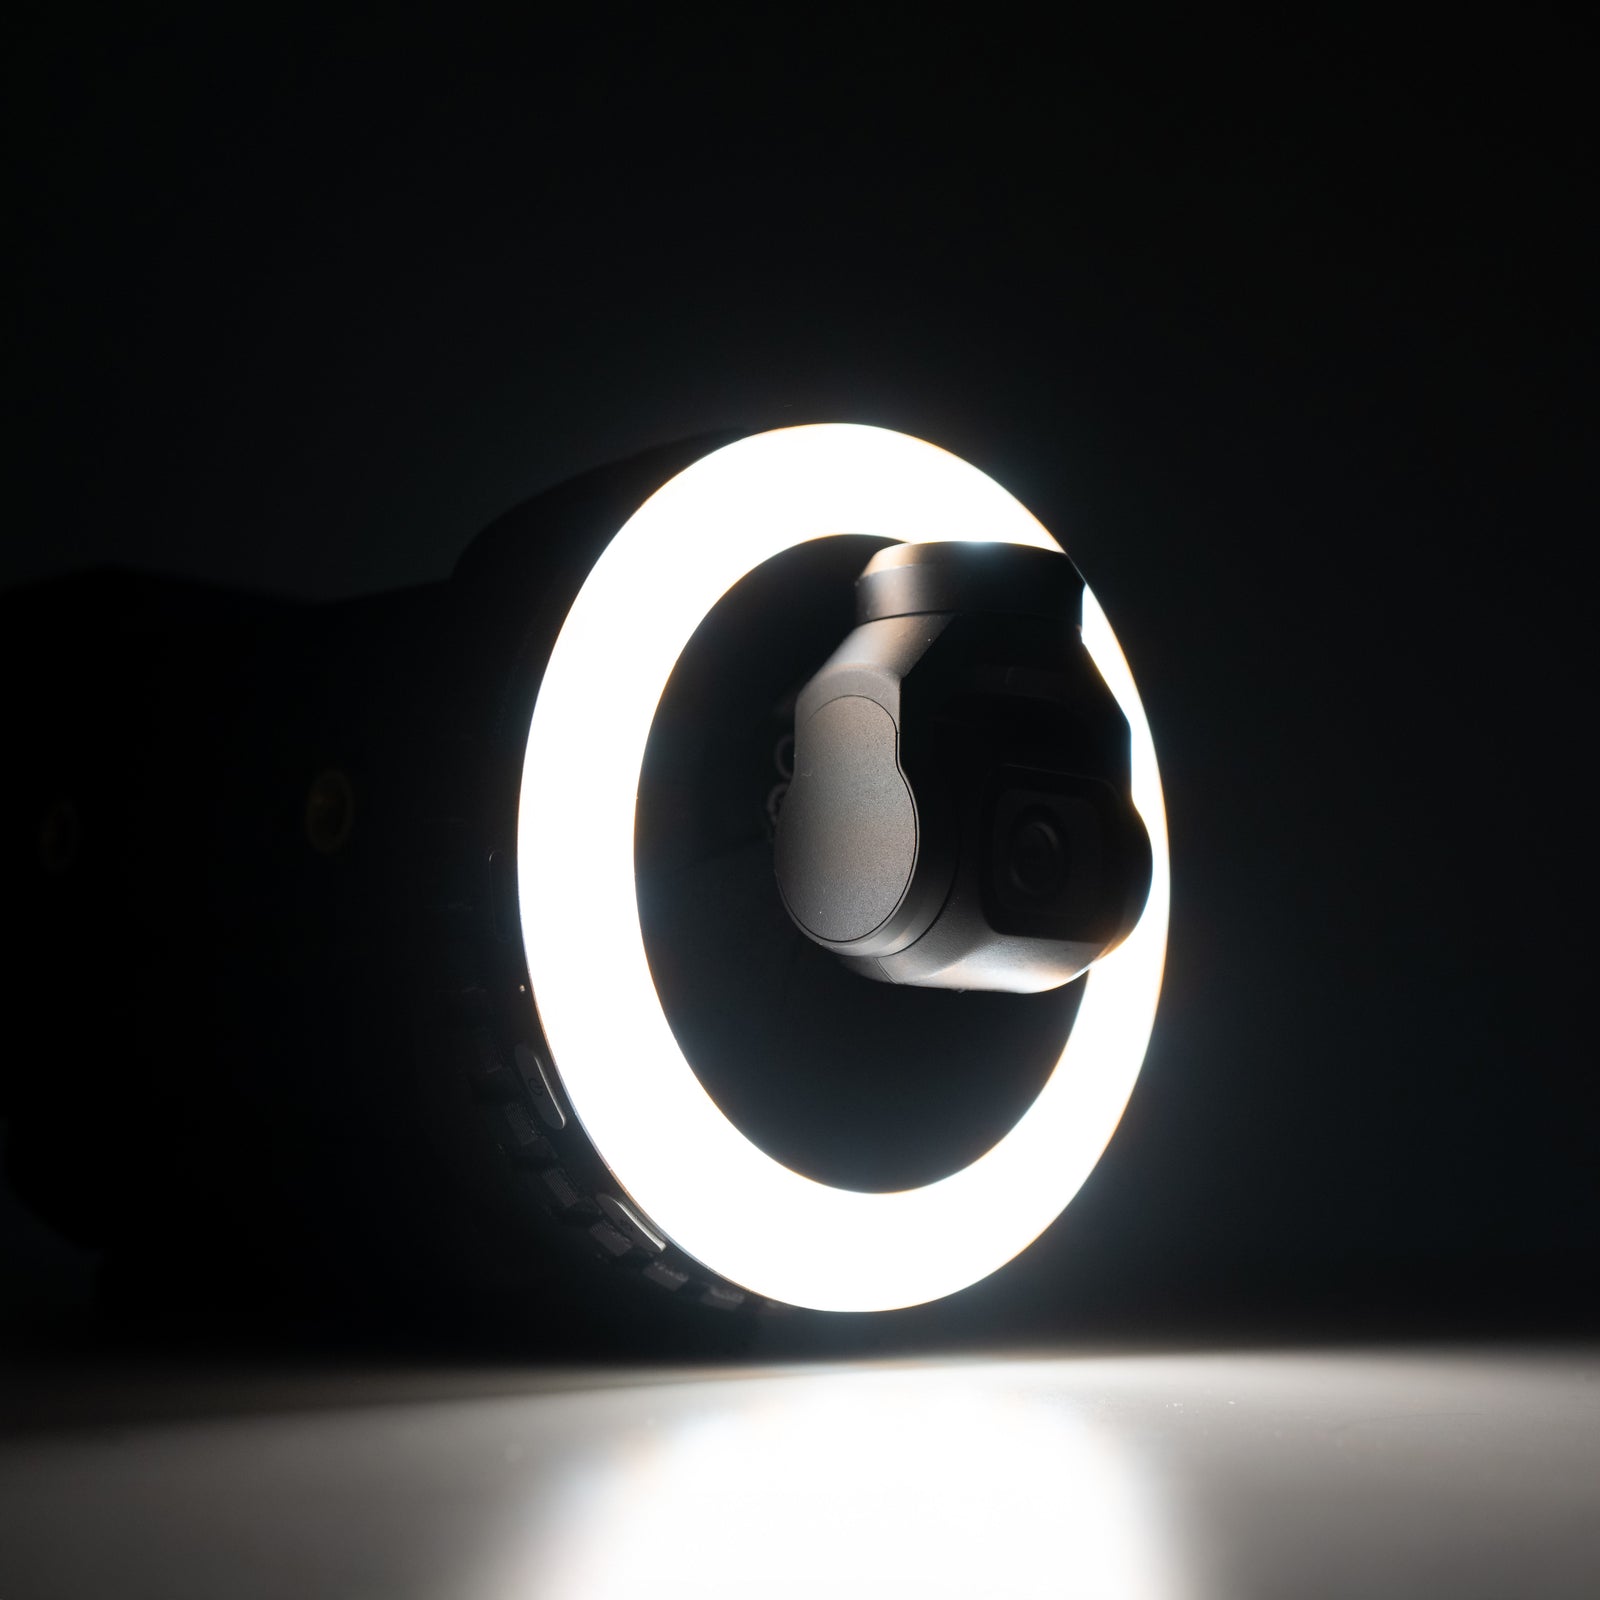


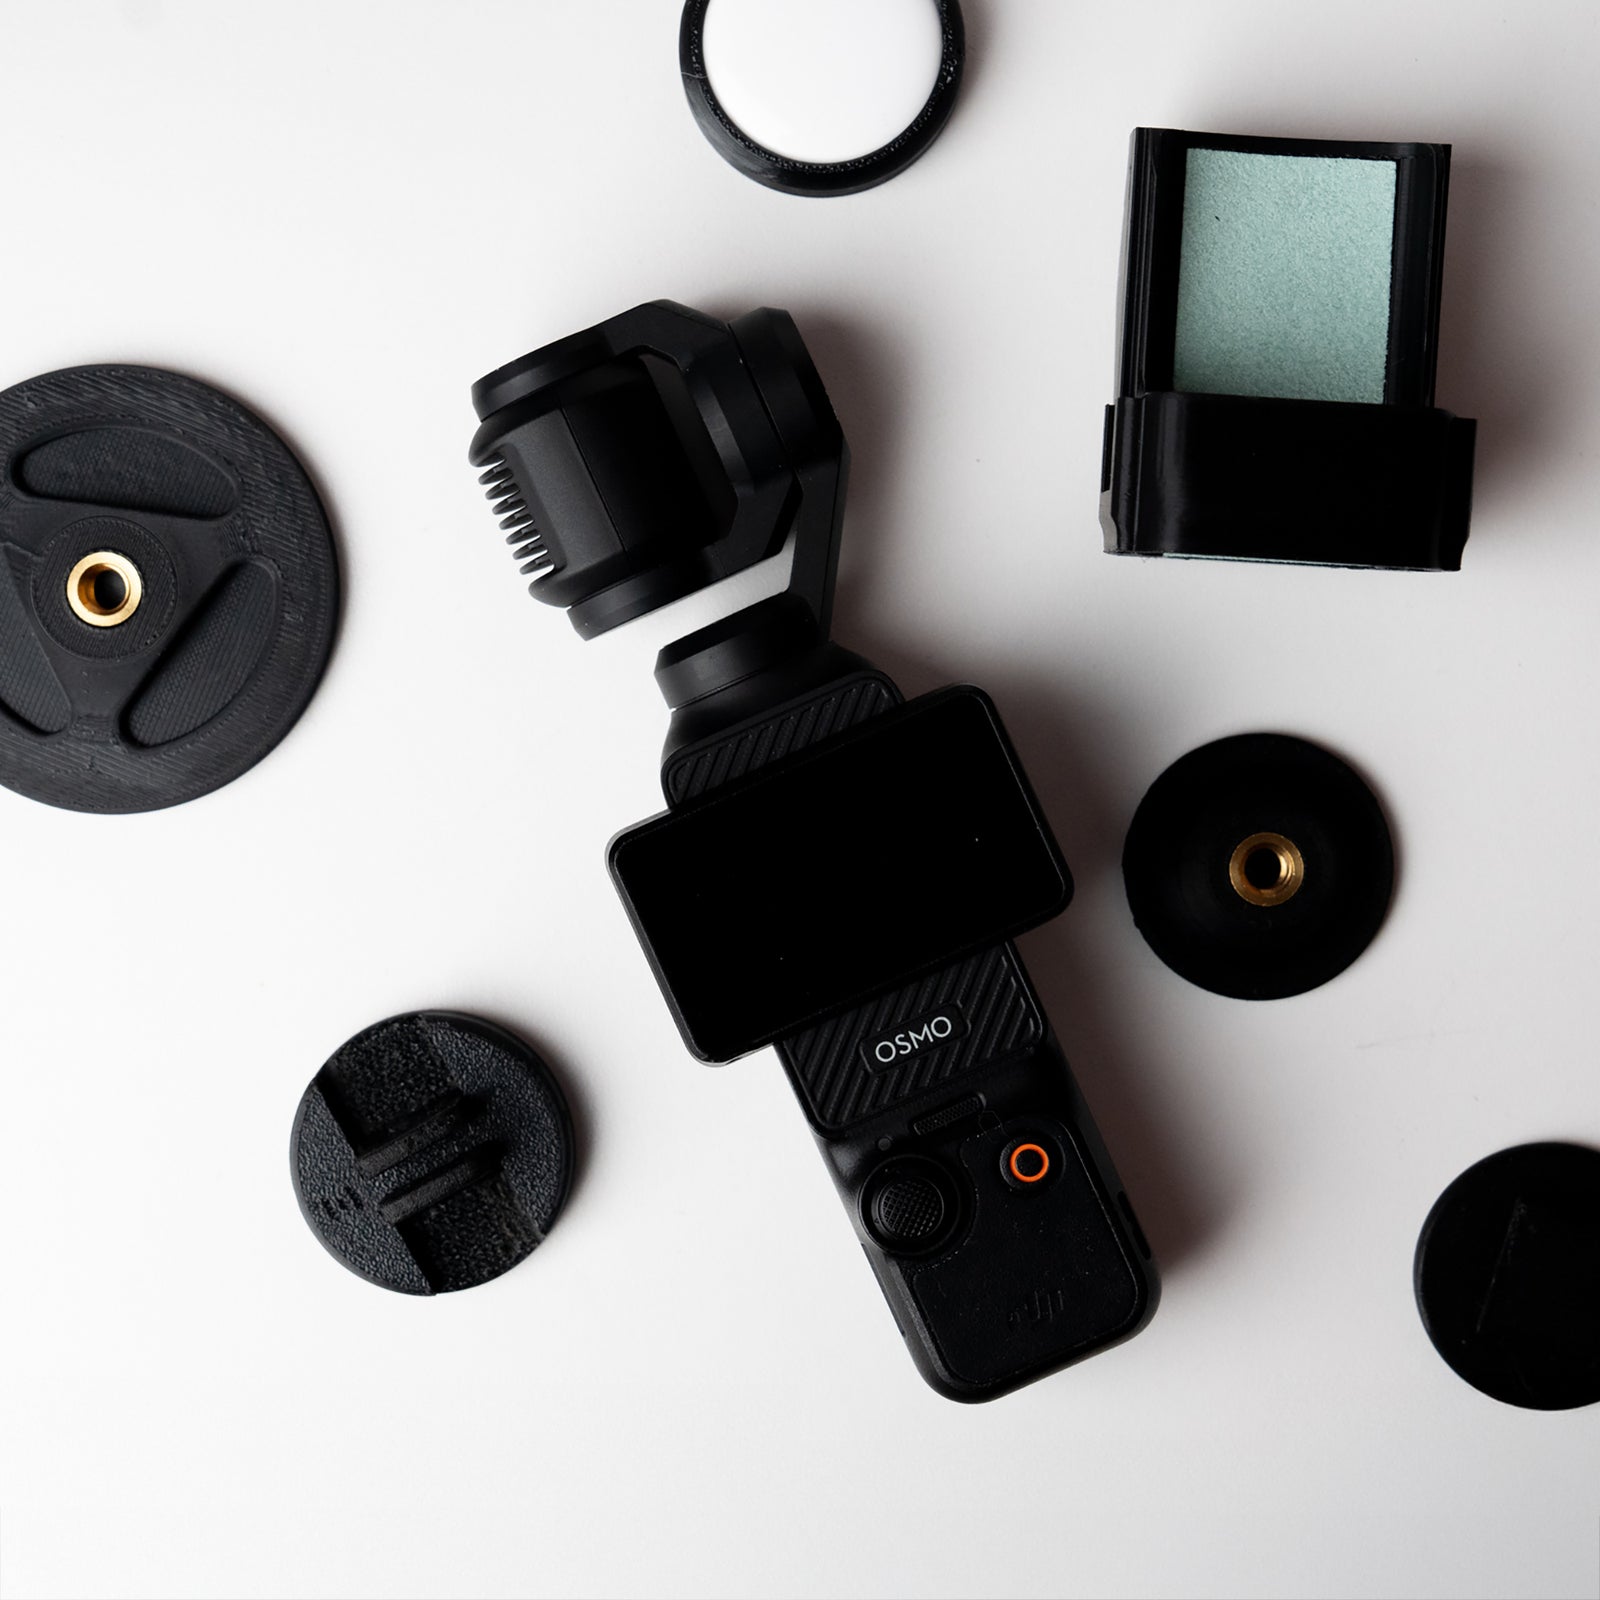

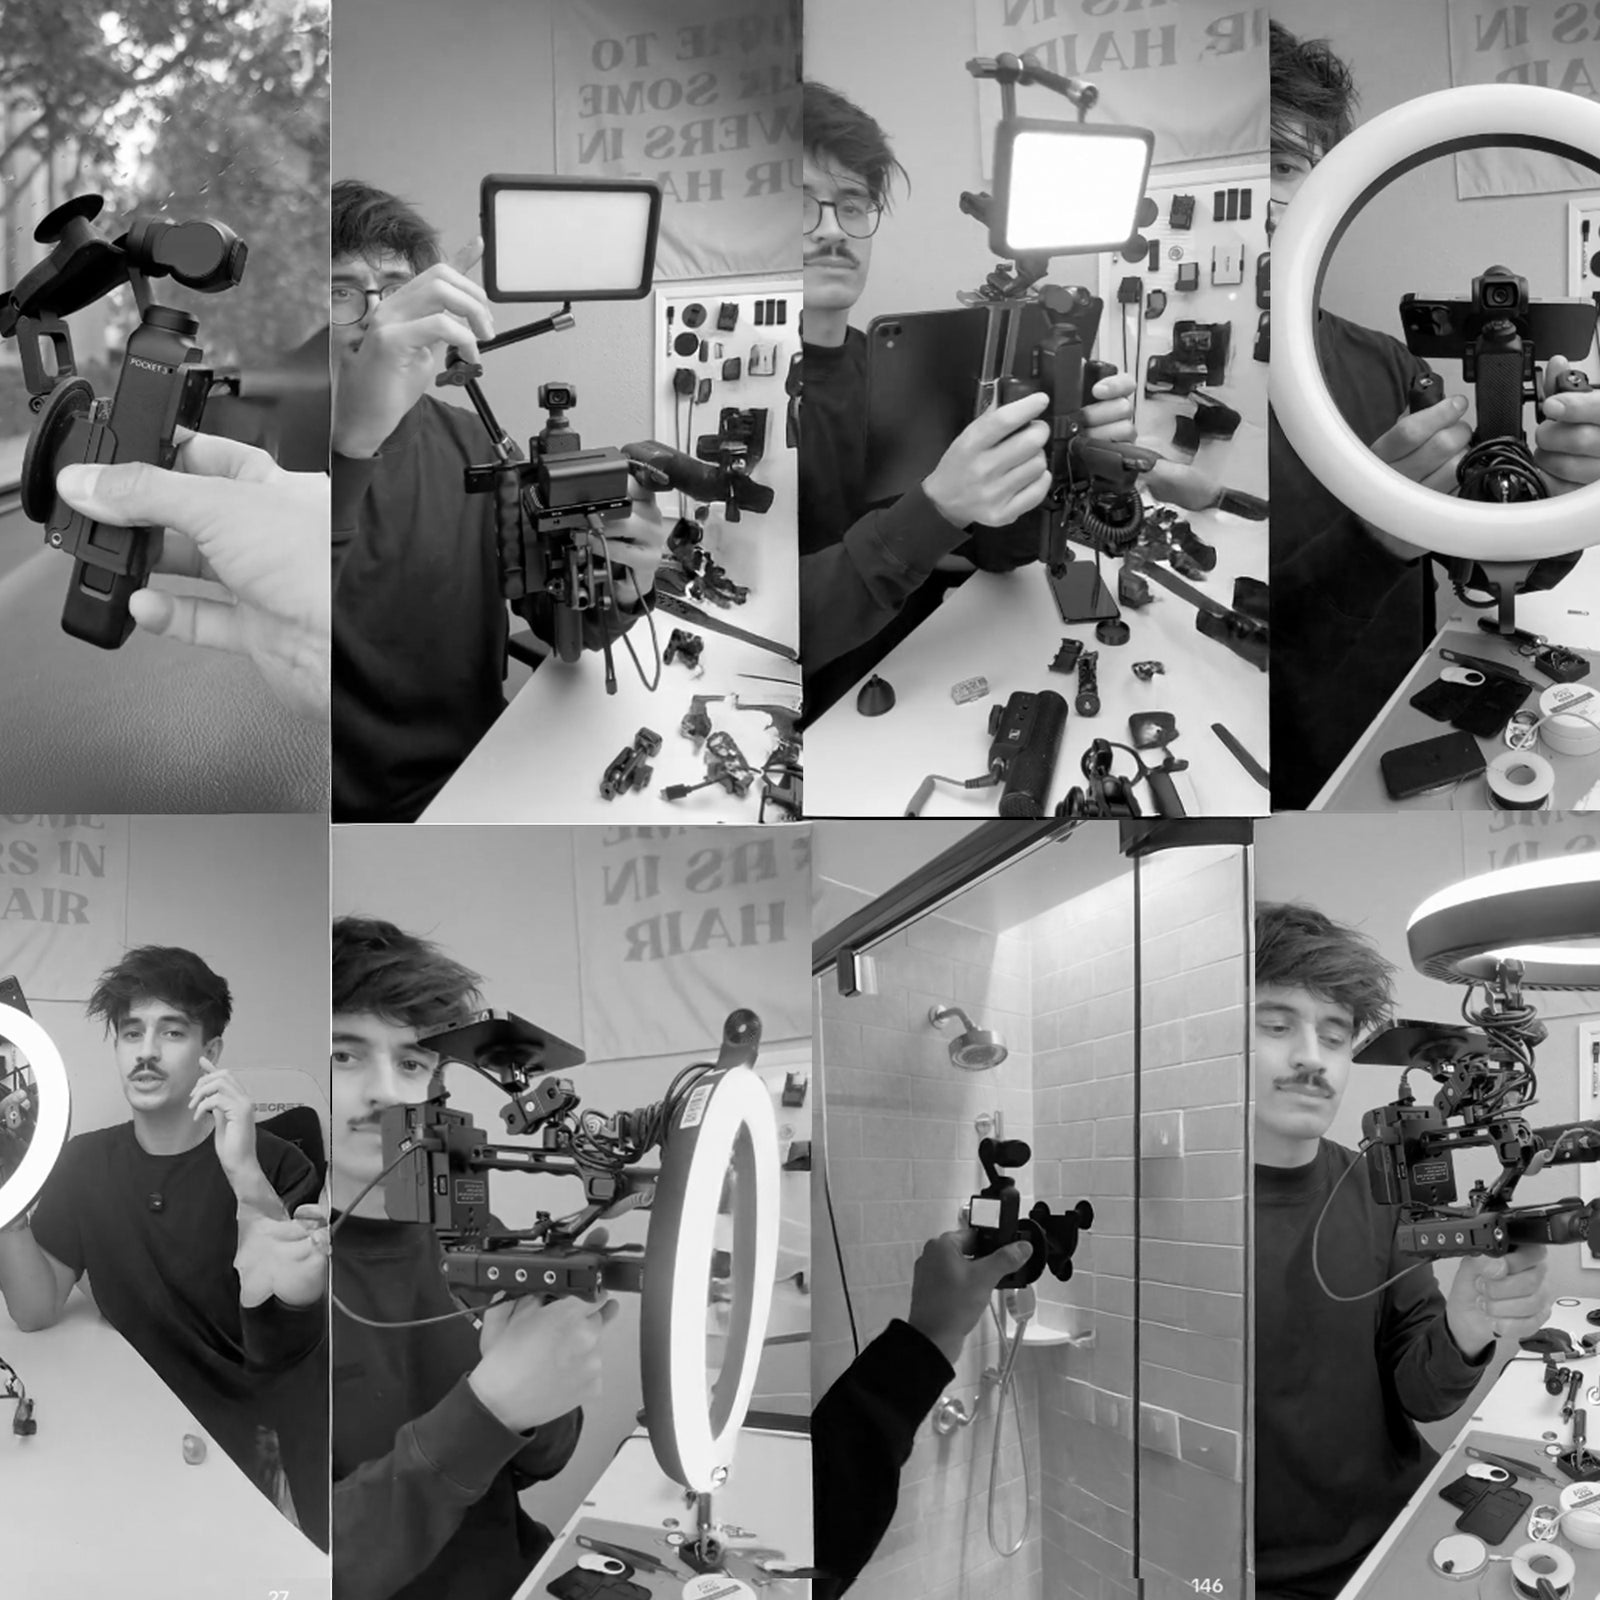

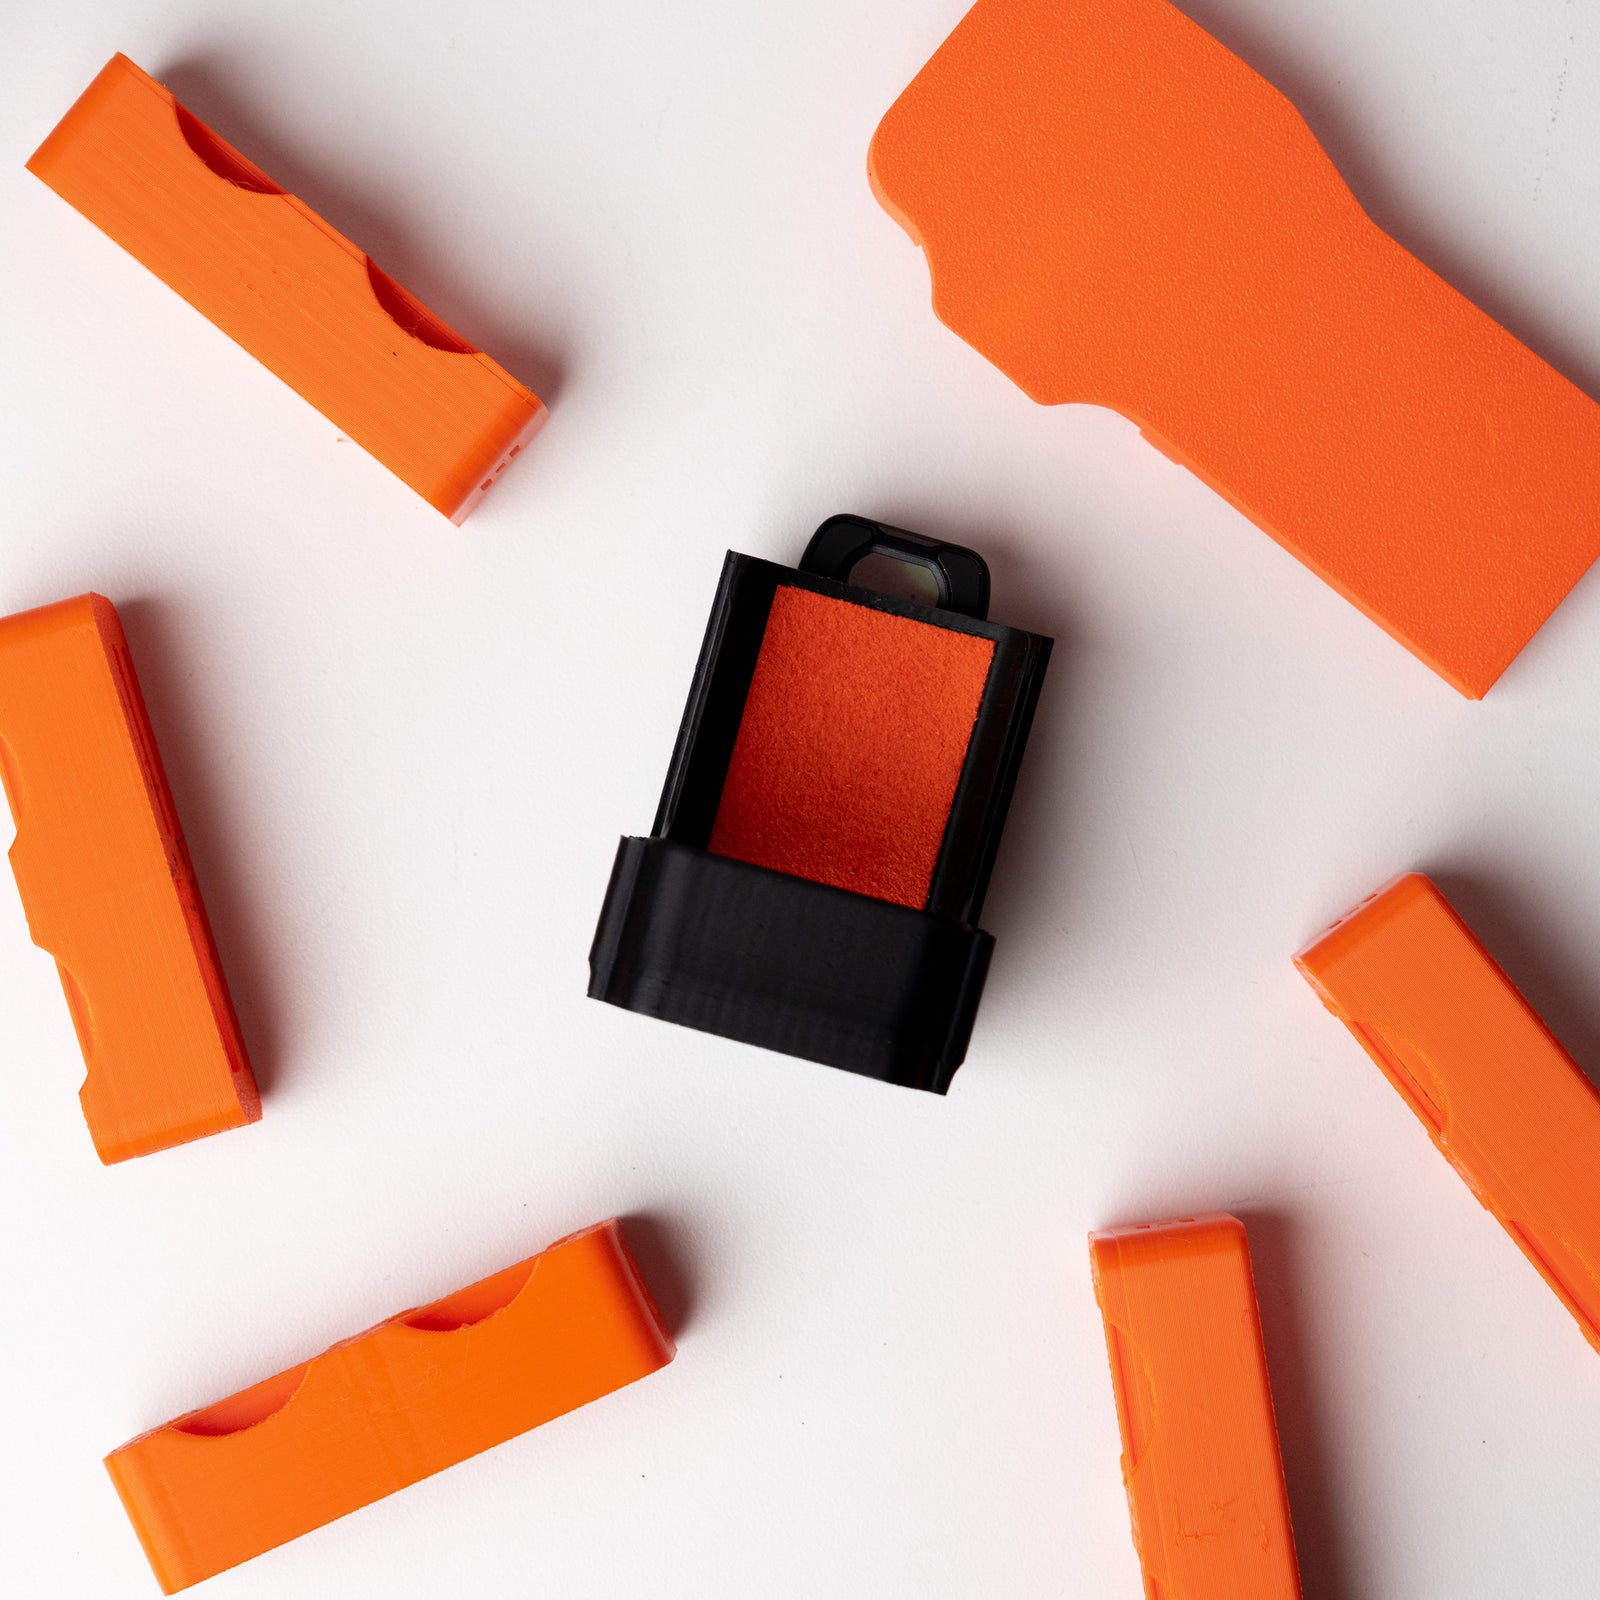


Choose your accessory-port attachment
These three attachments fit the OSMODO 2 and OSMODO 2 PRO top accessory port, including prebuilts. Each presses onto the port first and is then secured with two M3 screws. Choose the connection needed by your accessory.
- Cold Shoe + 1/4-20 Mount: a cold shoe and a threaded 1/4-20 connection in one compact attachment. Useful for a microphone, wireless receiver, compact light, phone clamp, small monitor, or arm with the matching connection.
- 1/4-20 Mount: the simplest, low-profile threaded mounting point for a compatible arm, phone holder, monitor mount, light, or microphone accessory. It does not add a cold shoe or NATO rail.
- OSMODO 2 NATO Rail + 1/4-20 Mount: a standard NATO rail for a compatible NATO clamp or handle, plus a centered 1/4-20 thread for direct mounting. Use the centered thread for the Top Handle Mini’s front mounting setup.
Each attachment includes its accessory-port mounting screws. Housing, NATO clamps, handles, and mounted accessories are sold separately. Top Handle and Top Handle PRO are also port attachments; their steps are in the Top Handles quick start.
One port, one attachment
Only one attachment can occupy the accessory port at a time. Remove the existing Top Handle, Top Handle PRO, or adapter before installing a different one. Do not stack two port adapters.
An accessory mounted on the adapter is different from a second port attachment. For example, the Mini can screw into the NATO adapter’s centered 1/4-20 thread while that adapter remains secured in the port. A Mini mounted directly on the back cover leaves the accessory port available.
Install any of the three adapters
- Place the rig on a stable surface. Support the housing and existing port attachment. Remove its two M3 screws and, for a Top Handle PRO, its additional 1/4-20 securing screw if fitted. Then release the existing attachment from the port.
- Align the adapter with the square accessory-port mount and press it onto the OSMODO until it is fully seated. Keep cables and other objects out of the joint.
- Fit both supplied M3 screws only after the adapter is seated. Start each screw straight, then tighten both until the adapter is secure. Do not use the screws to draw a misaligned adapter into place.
- Keep the rig supported and gently check that the adapter does not rock or lift away. Attach your accessory only after this connection is secure.
Attach your accessory
Using the cold shoe
Use an accessory with a compatible cold-shoe foot. Seat the foot in the shoe and secure its own locking mechanism. Check retention while supporting the accessory. A cold shoe is a mechanical connection; audio and power require their own connections.
Using a 1/4-20 thread
Align your accessory’s compatible 1/4-20 screw with the threaded mounting point. Start it straight and tighten using the accessory’s instructions. Support the accessory while positioning it. The port’s M3 screws do not fit this thread.
Using the NATO rail
Fit a compatible NATO clamp or NATO handle onto the rail and secure its clamp according to the accessory’s instructions. The rail does not include a clamp. If your accessory mounts directly with a 1/4-20 screw, use the centered thread instead; a NATO clamp is not required for that connection.
For the Top Handle Mini, follow Install Mini at the front. After adding any accessory, check that the camera, screen, rear-cover release, cables, and PRO airflow openings remain clear.
Change or remove an adapter
- Set the rig down. Remove or support the attached accessory so it cannot fall or pull on the mount.
- Remove both M3 mounting screws. If removing a Top Handle PRO instead of an adapter, also remove its additional 1/4-20 securing screw if fitted. Then release the attachment from the port. Do not pull it off with screws still fitted.
- Press the replacement attachment fully into place, secure it with its two M3 screws, and check retention before reattaching accessories.
For handle-specific mounting and removal, see the Top Handles quick start.
Troubleshooting
The adapter will not press in or the screw holes do not align.
Remove any attachment already in the port. Take the adapter off and check that its square mount is aligned and the joint is free of debris and cables. Press it fully into place before starting the two M3 screws. Do not force it or use the screws to pull it into position. If the correct OSMODO 2 adapter still will not seat, send support a photo of both mating surfaces.
The adapter is secure, but my accessory still moves.
With the rig supported, check the two connections separately: adapter to housing, then accessory to adapter. Check both M3 screws for the first connection. For the second, check the accessory’s cold-shoe lock, 1/4-20 mounting screw, or NATO clamp. Stop using the attachment if a screw turns without tightening or either joint remains loose.
Do the M3 screws go into the 1/4-20 hole?
No. The two supplied M3 screws fasten the adapter to the OSMODO accessory port. The 1/4-20 thread is for your accessory. Use the correct thread for each connection and do not force a screw that does not start straight.
Do I need a NATO clamp to use the NATO Rail + 1/4-20 Mount?
Only when using the rail connection. An accessory with a compatible 1/4-20 screw can mount directly into the centered thread. The Top Handle Mini’s front setup uses that thread, so it does not need a separate NATO clamp. Other NATO accessories need a compatible clamp, which is sold separately.
Can I install the Cold Shoe and NATO adapters at the same time?
No. The housing accepts one accessory-port attachment at a time. Choose the adapter that matches your accessory and remove it before fitting another port attachment. Mounting a compatible accessory on the chosen adapter does not require a second port adapter.
My microphone is mounted, but there is no audio or power.
The cold shoe only holds the accessory mechanically. Connect and power the microphone or receiver using its own instructions and your camera’s supported connection method. Check the camera’s audio input and record a short test; seating a microphone in the shoe alone does not connect audio.
Will an accessory for the original OSMODO PRO port fit?
These steps cover the OSMODO 2 attachments linked above. Do not assume that an original OSMODO PRO port attachment has the same fit. Check the exact product listing or contact support before fitting an older accessory. Do not modify the port or force an adapter to fit.
Still need help?
Still stuck? Contact ZOSS support. Include your order number, rig model, accessory name, and clear photos of the mounting point, screws, and where the parts will not seat.