




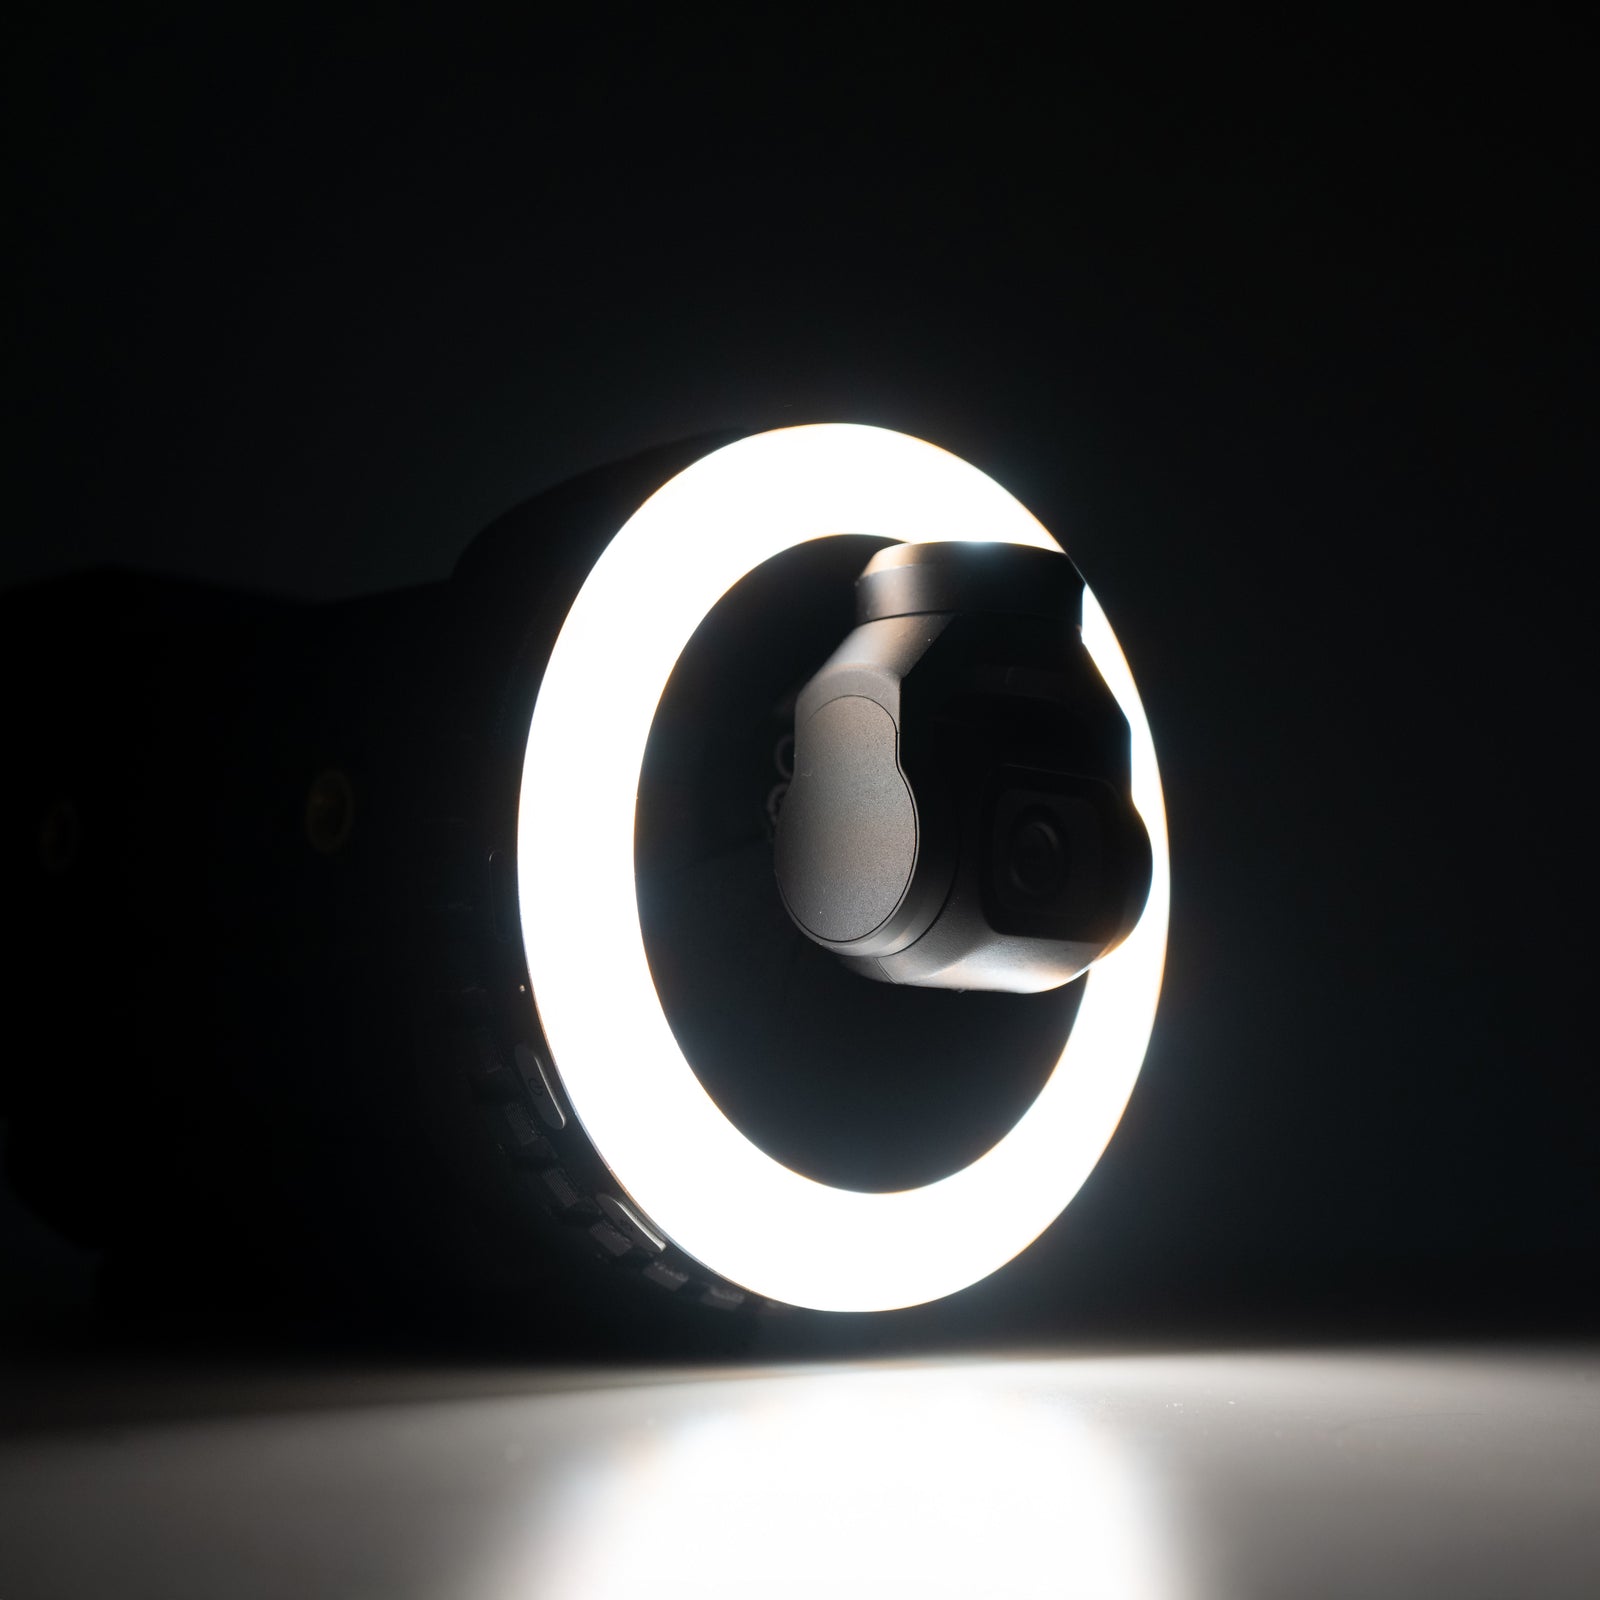


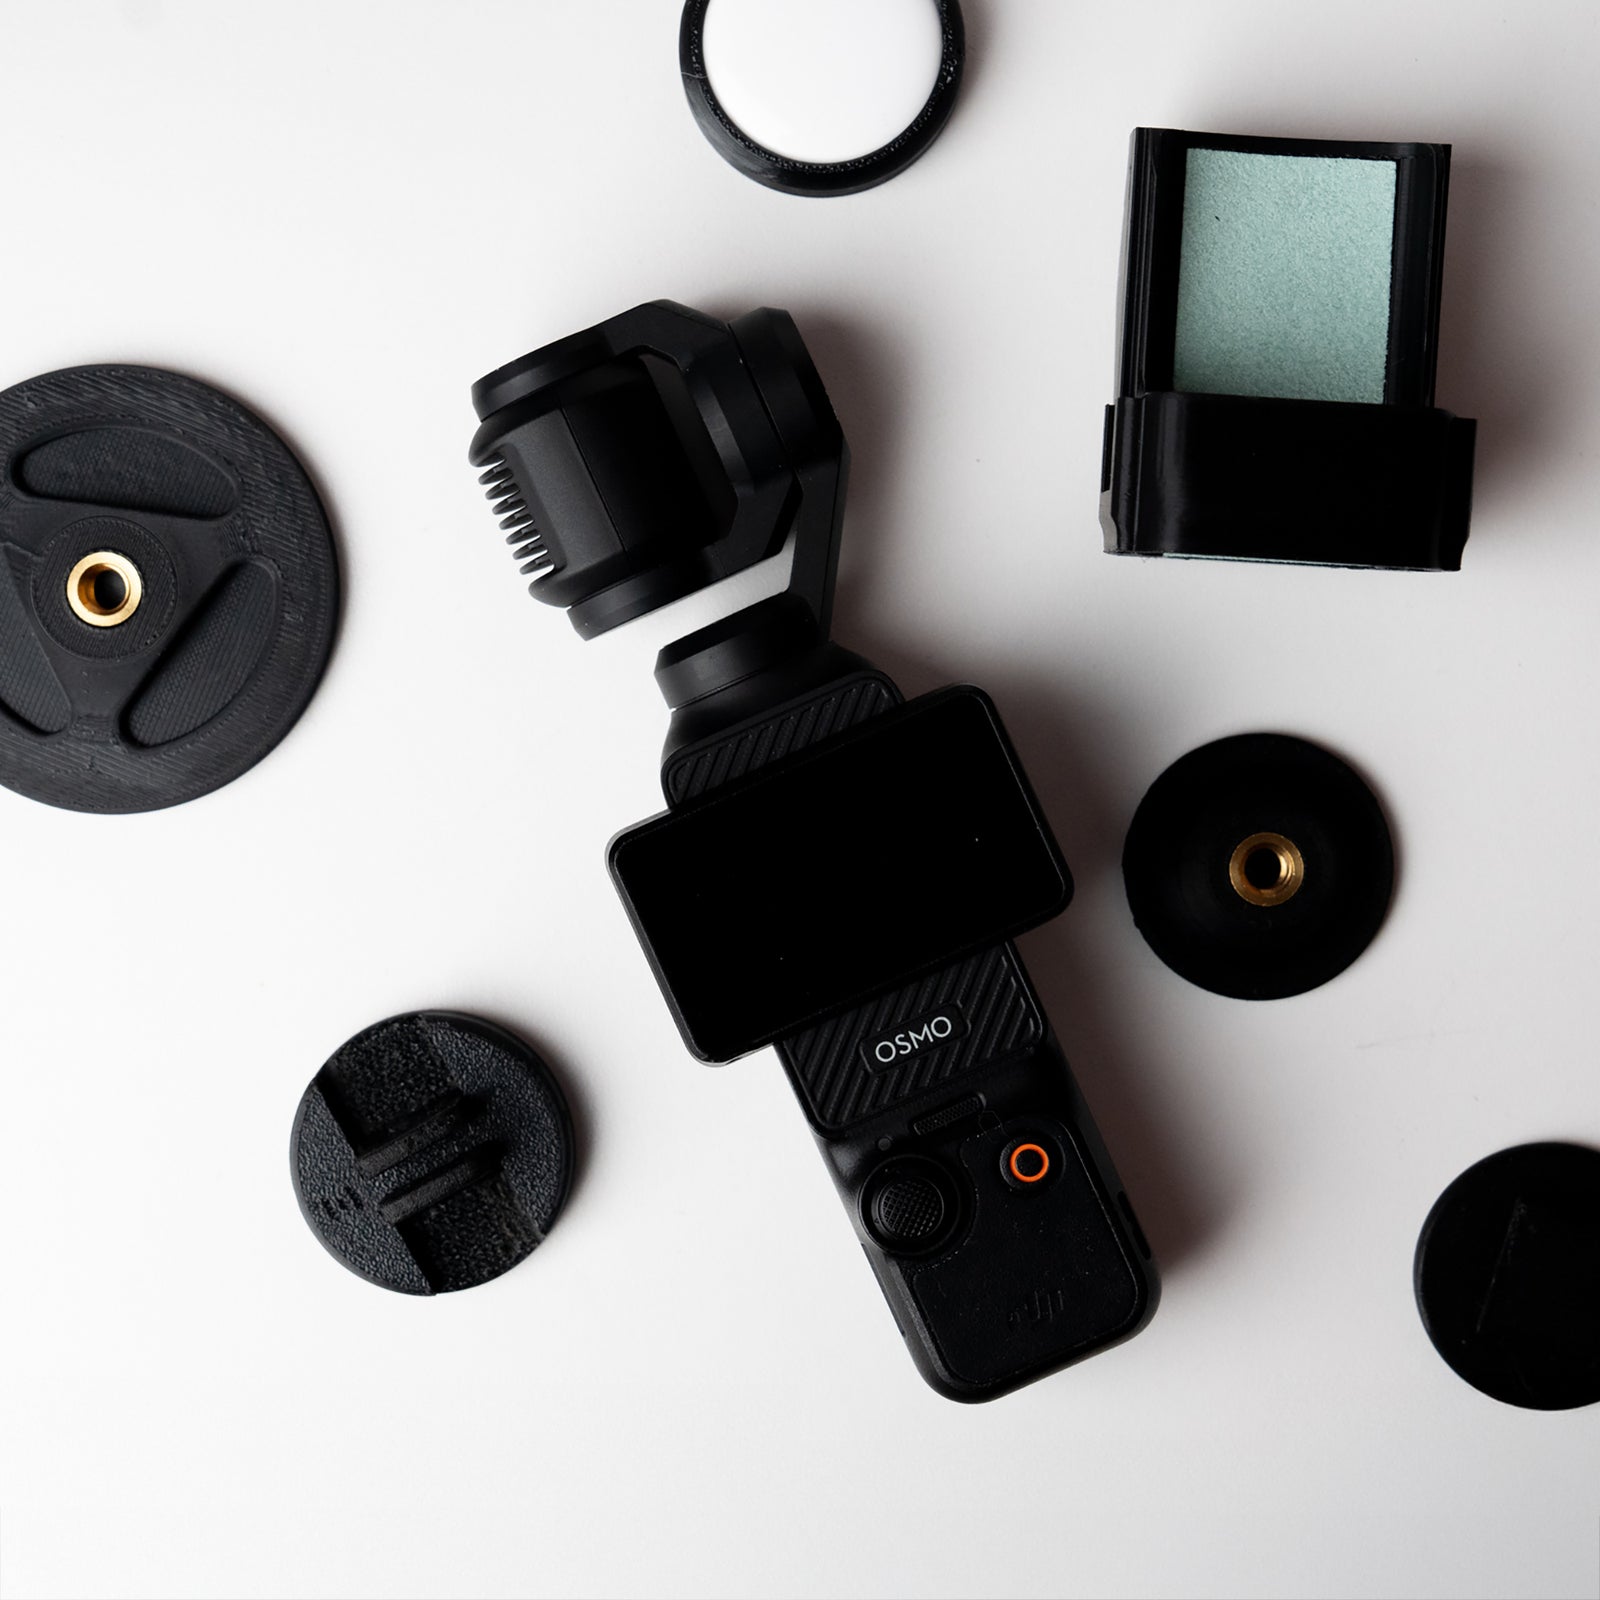


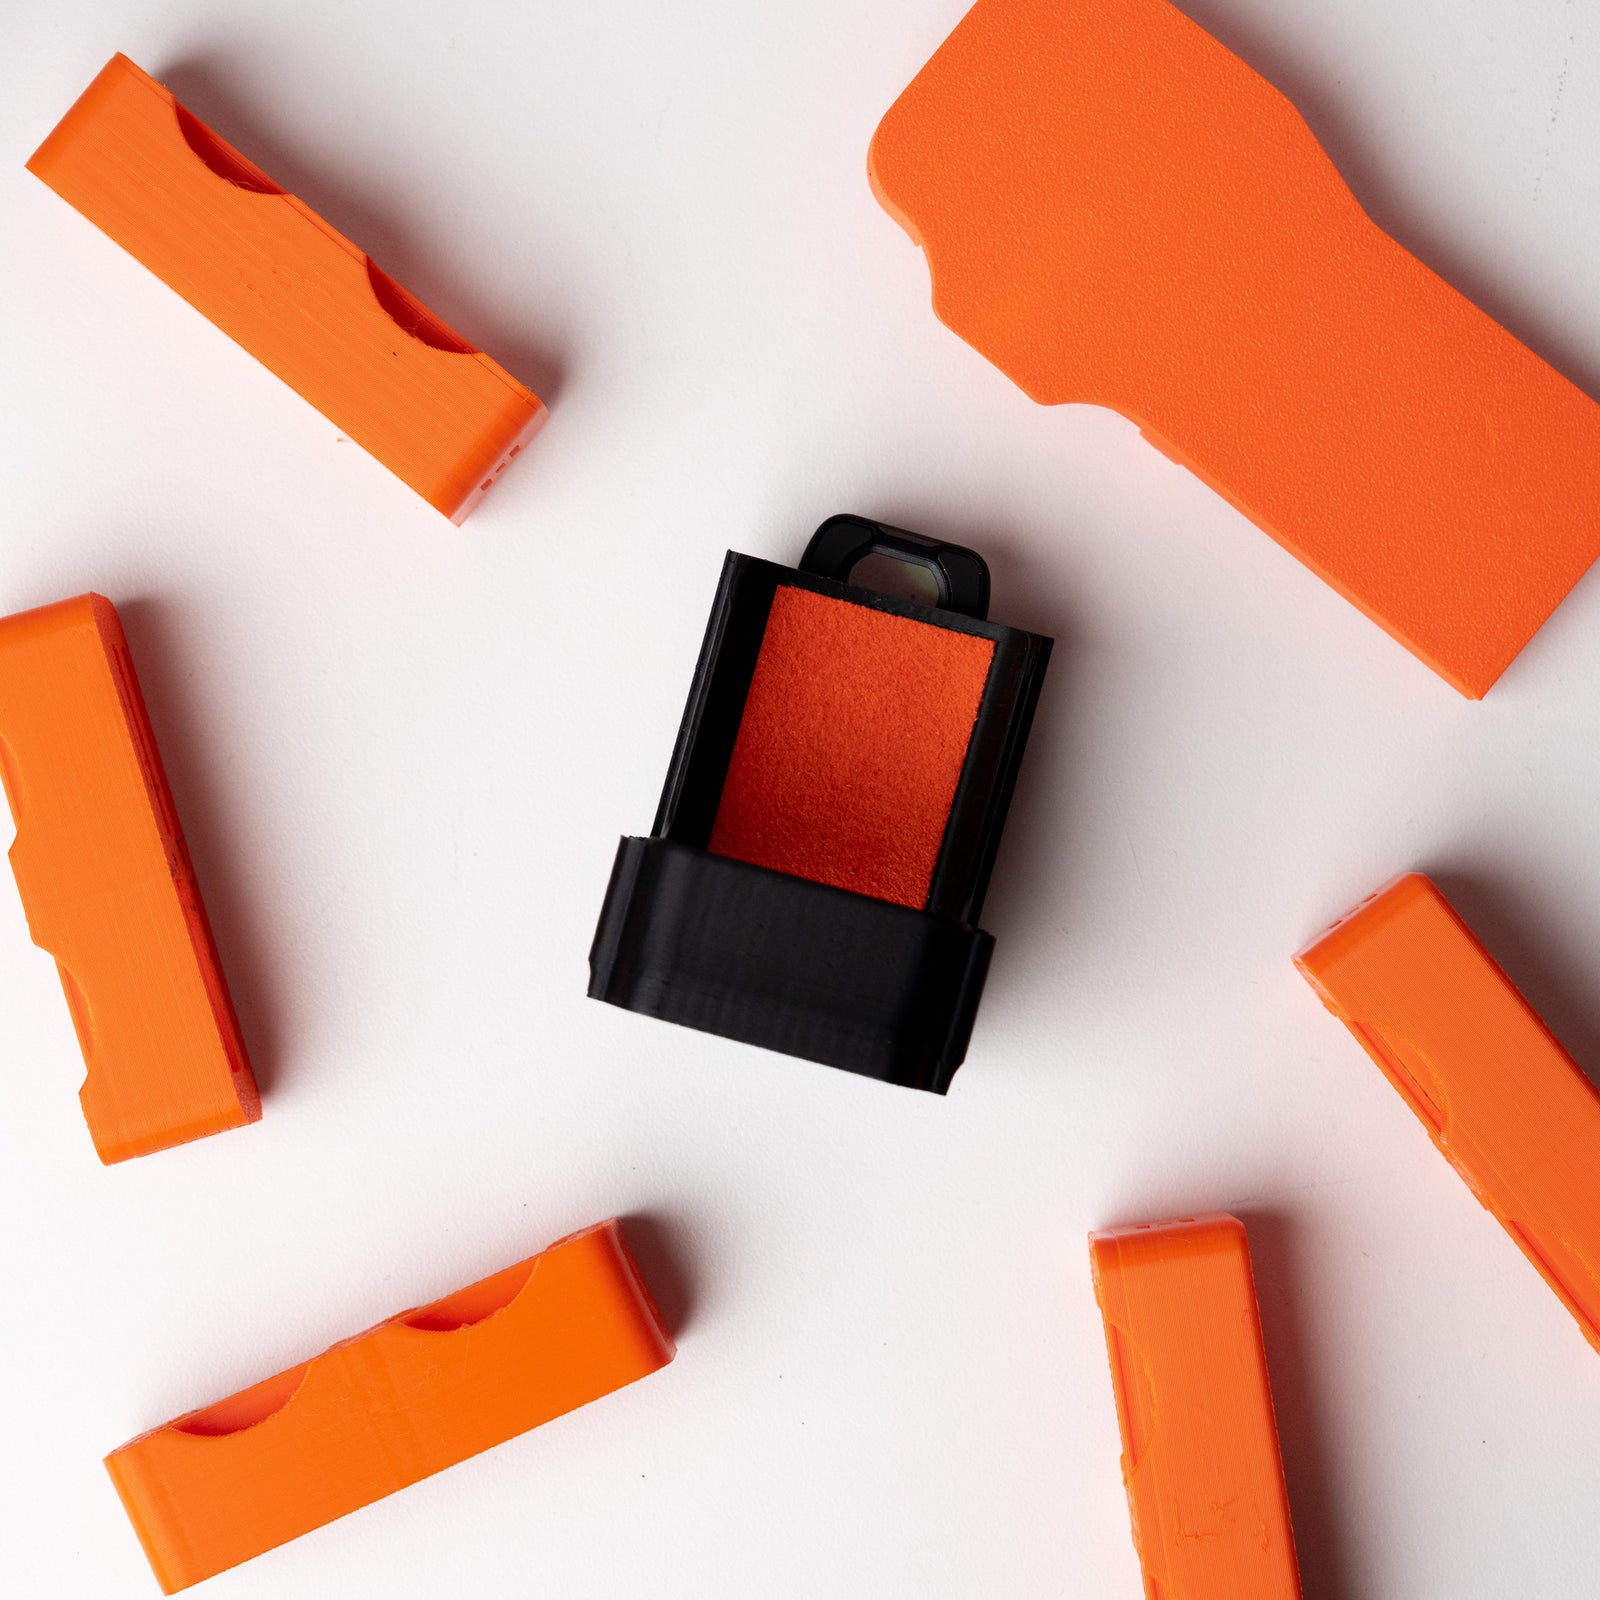


Check your kit
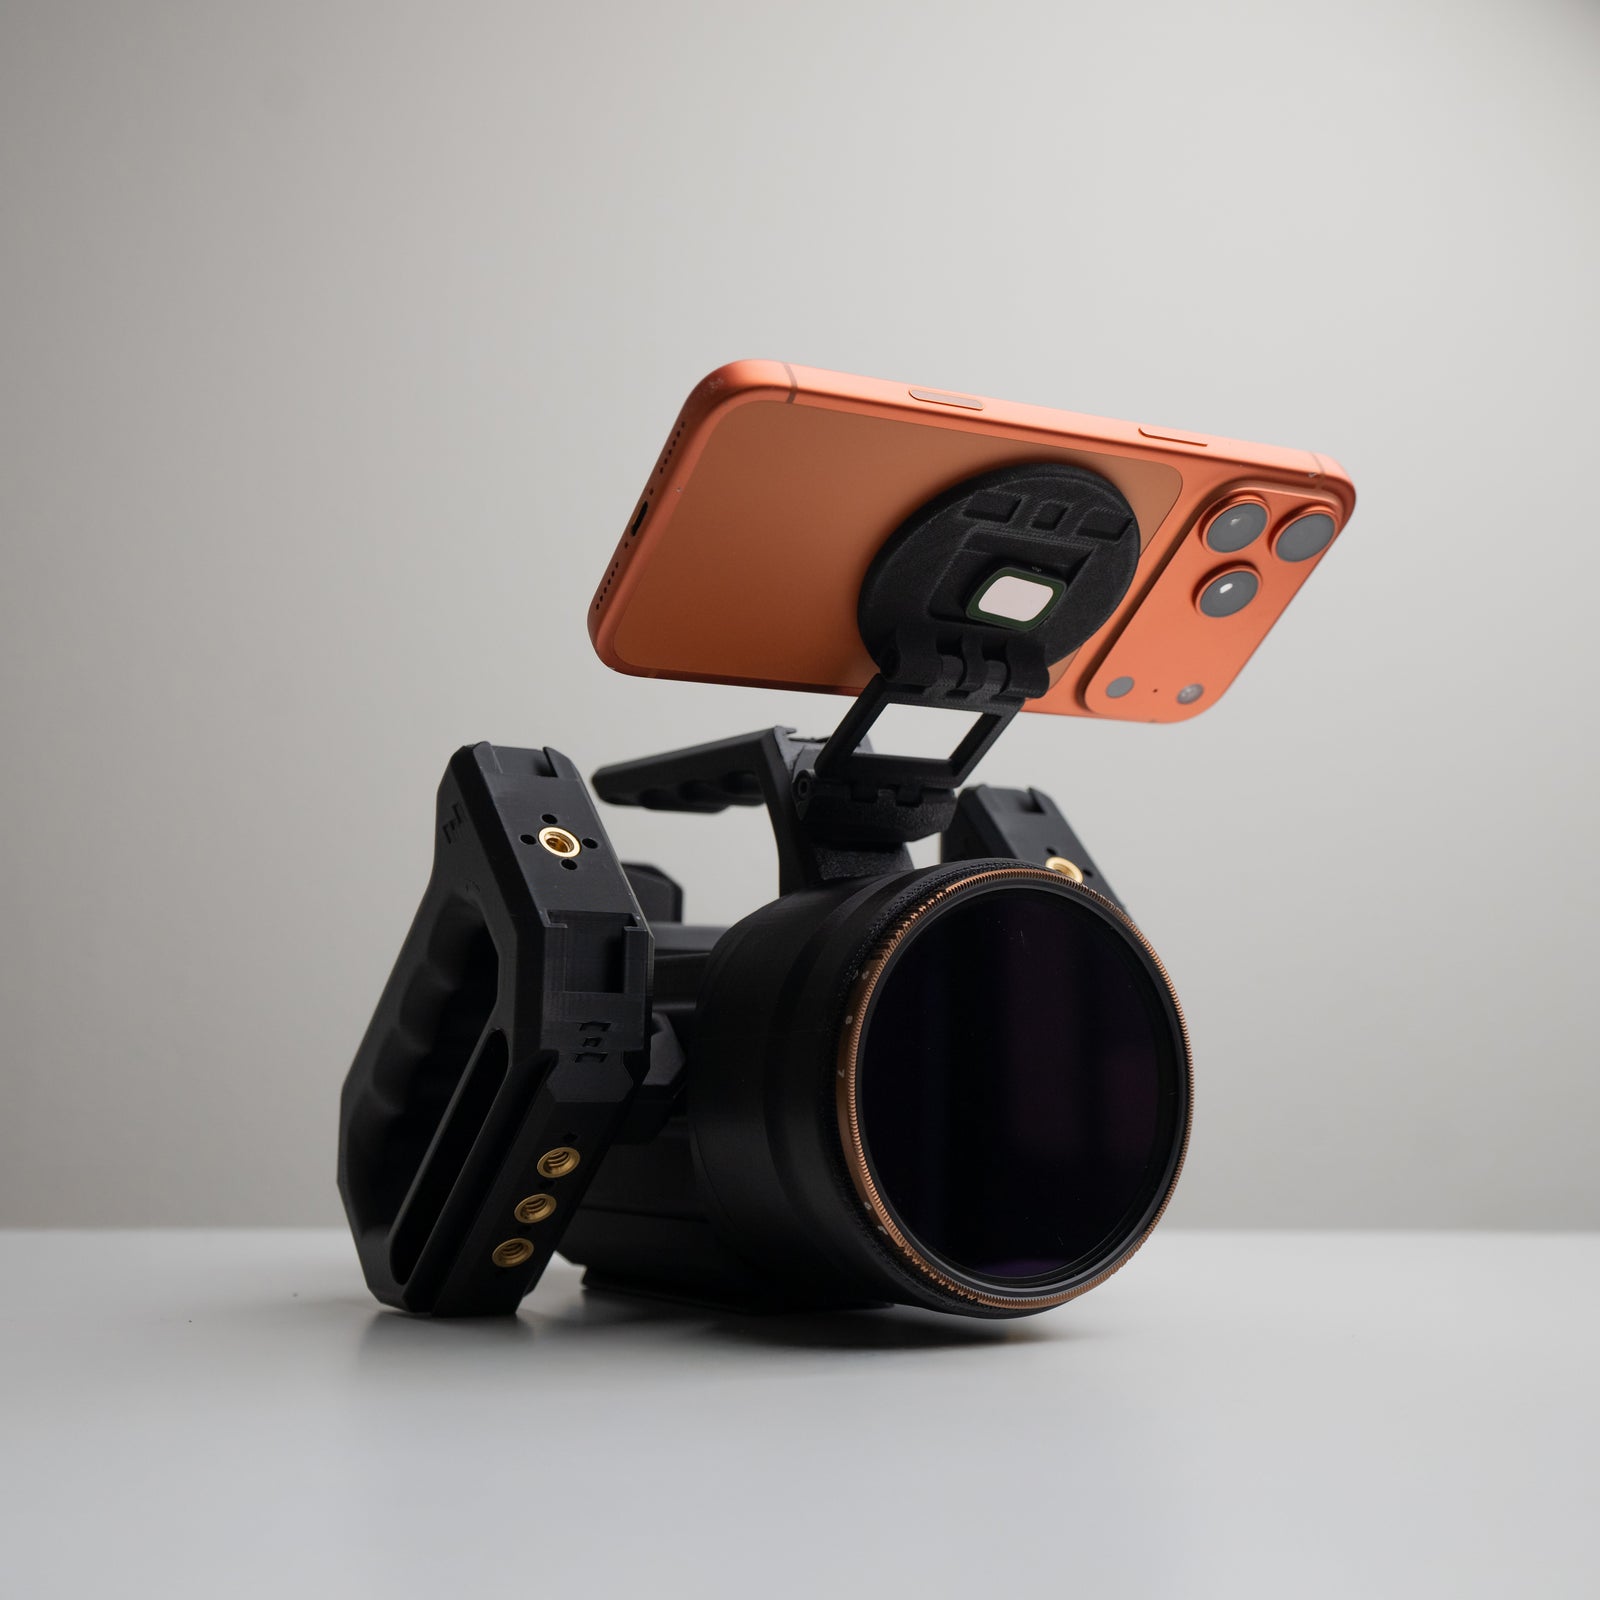
- OSMODO 2 Cinema Box Housing with internal Ultrasuede reflection hood
- Camera mount for the camera selected with your order
- Original front adapter: 82mm filter threads and a 95mm matte-box clamp surface
- OSMODO 2 Back Cover
- Mounting hardware and tool
- Internal cooling module
- Preinstalled Dual USB-C I/O Kit and internal cables
- OSMODO 2 Top Handle PRO
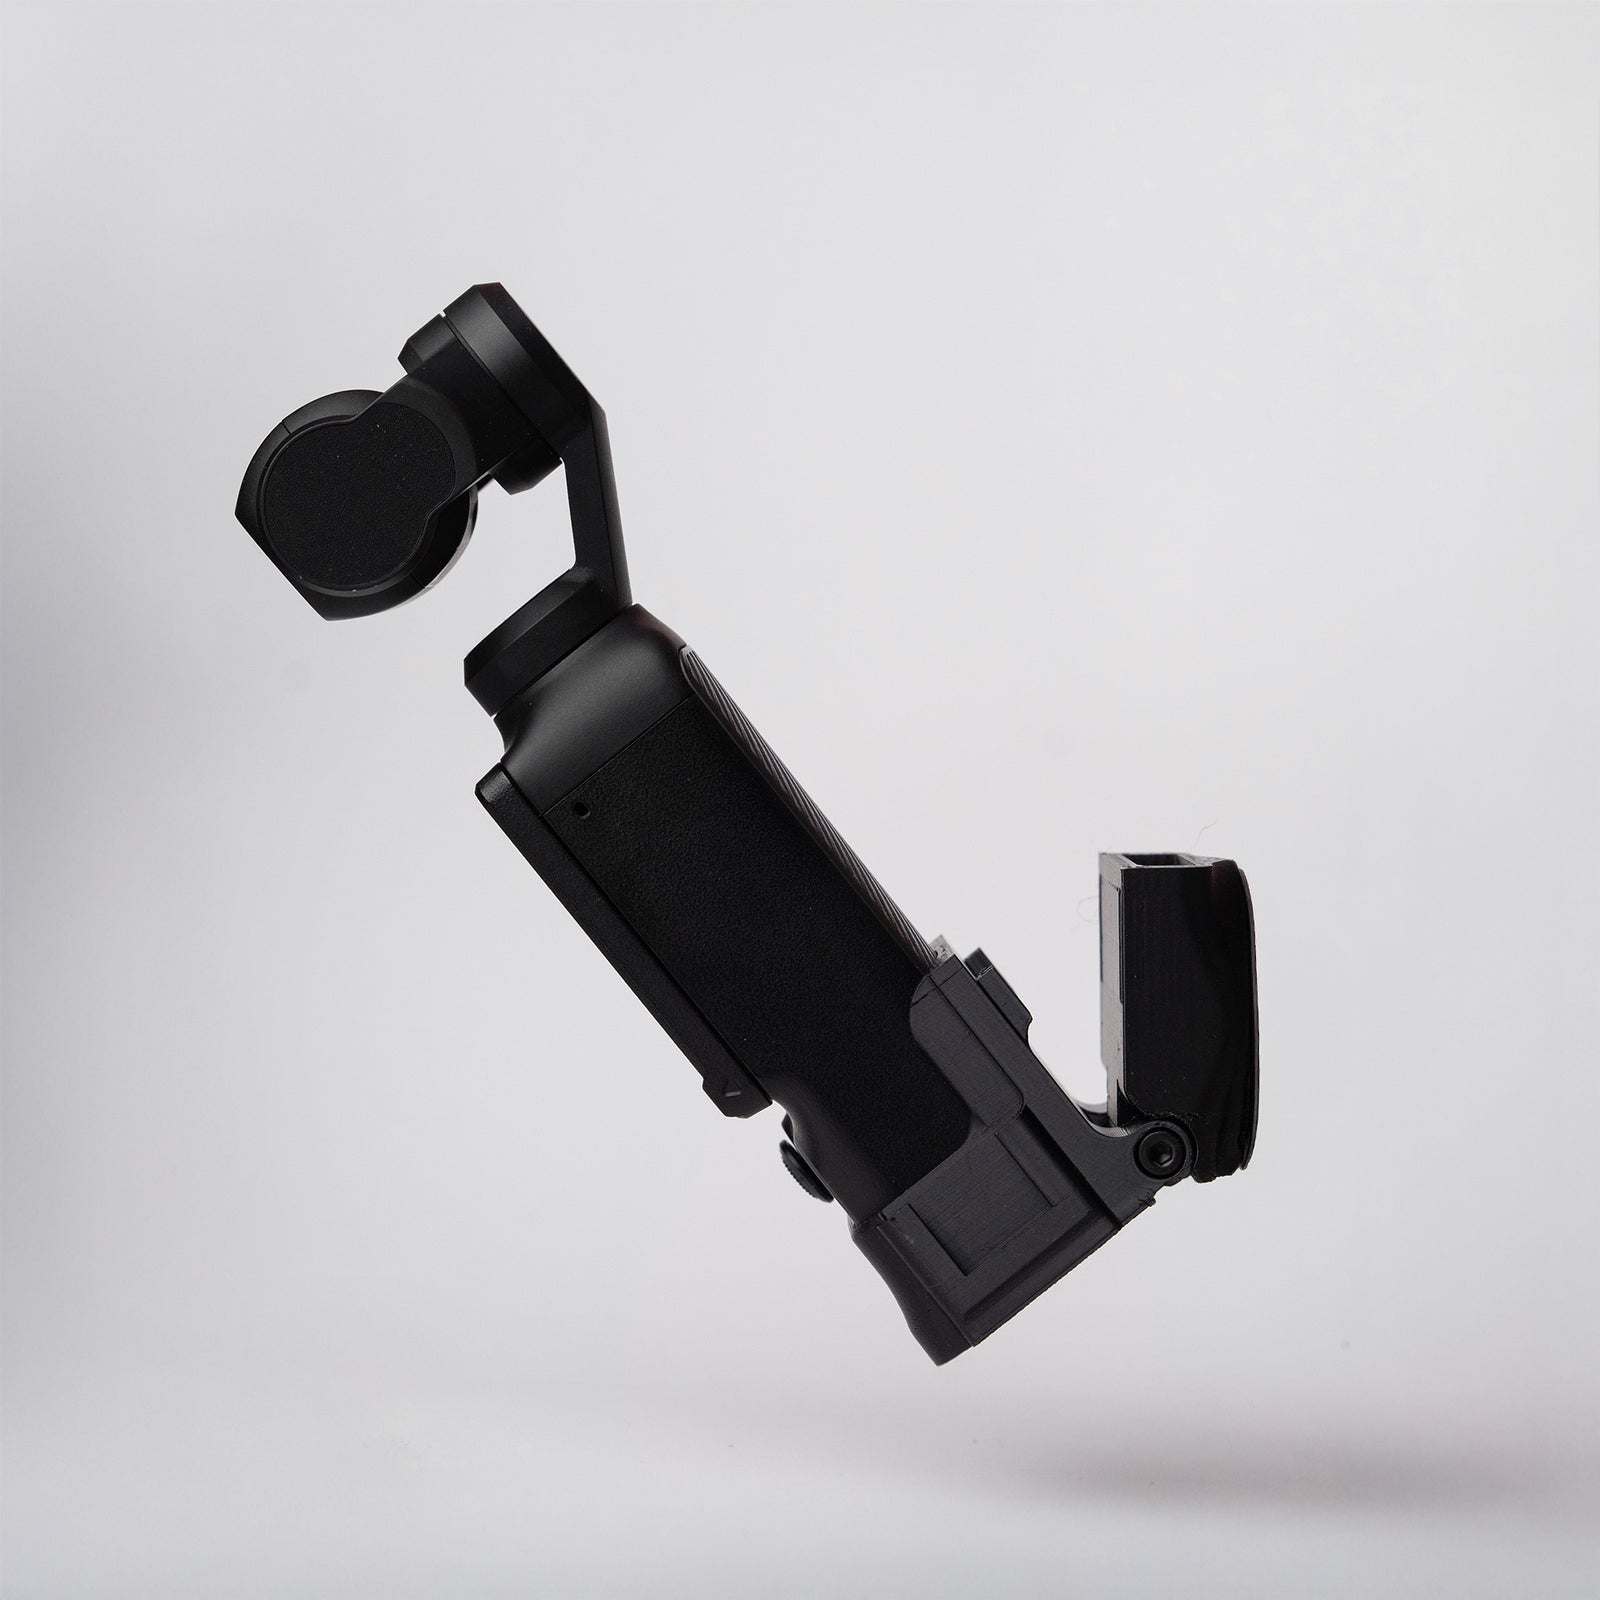
- Arca-compatible baseplate
- OSMODO Lens Cap (82mm)
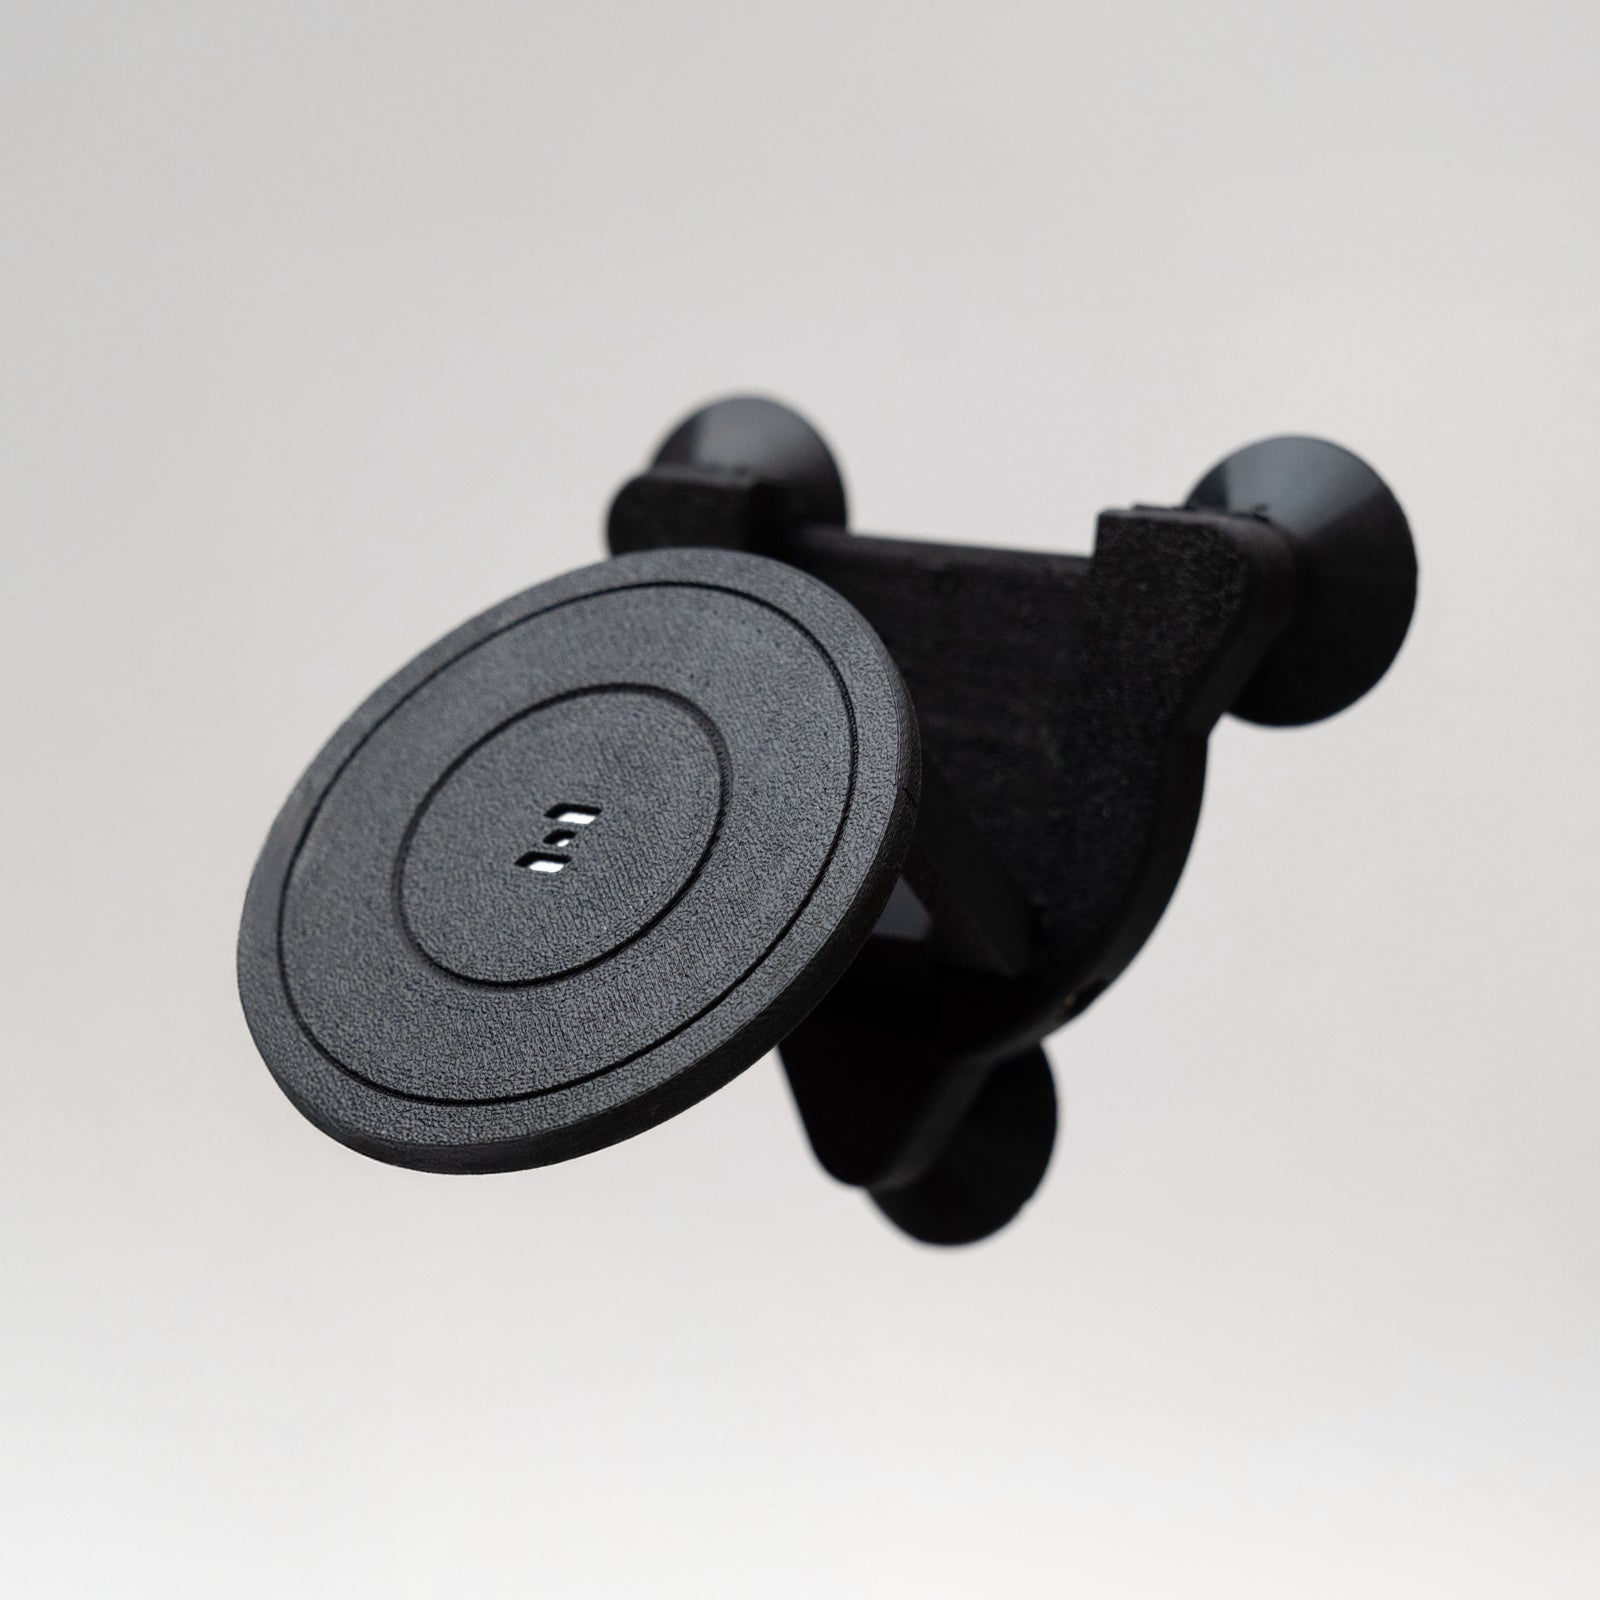
- MagDock Phone Mount (1/4-20)
- SmallRig NP-F battery plate — also charges the supplied NP-F battery
- NP-F battery
- USB-C cable
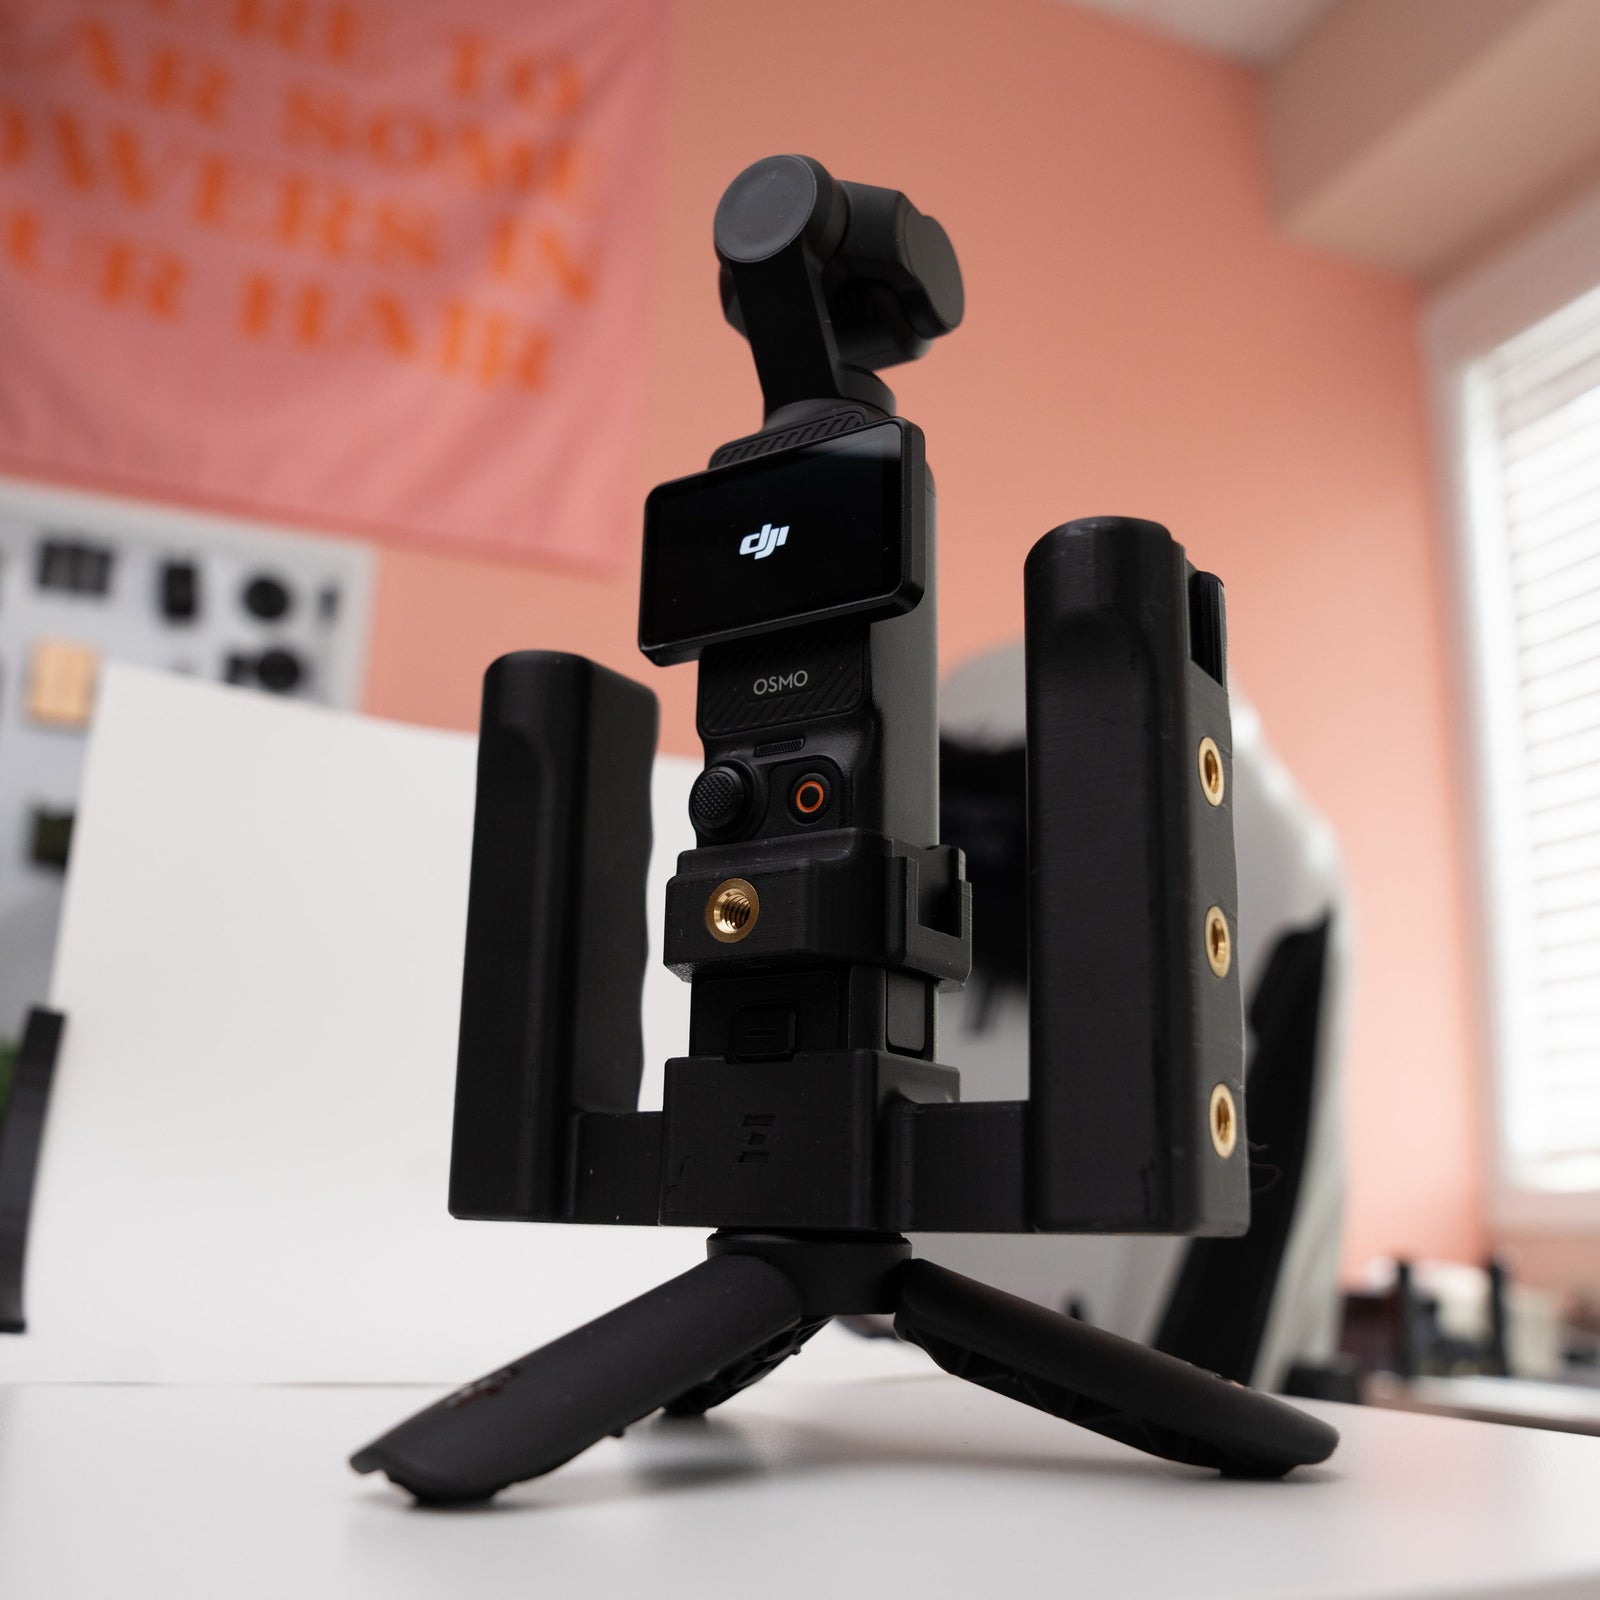
- Two OSMODO Side Handles (standard mechanical handles)
- Grip Rig 2 Cable Lock
Camera, phone, filters, matte boxes, and accessories not listed above are sold separately. The NP-F battery and SmallRig plate models may vary.
Squeeze the clamps before pulling
Squeeze both back-cover quick-release clamps before pulling the cover away from the OSMODO. There is one clamp on each side at the top, beside the side cold shoes. Pulling before releasing both clamps can damage the cover or latch.
If M3 back-cover securing screws are fitted, remove them first. Support the cover and any attached accessories while opening.
Watch: what’s new with OSMODO 2 PRO
Introducing OSMODO 2 Pro (The Ultimate Pocket Camera Rig) · 7:03
See what changed from the original OSMODO, then follow a PRO build with cooling, USB-C access, NP-F power, phone mounting, and side handles.
Use the camera-specific steps below for your selected mount. The PRO build shown in the video does not replace the Pocket 4P front-loading or Luna Ultra windscreen-removal instructions.
Before you start
- Confirm the camera name on your order: DJI Osmo Pocket 3, Pocket 4, Pocket 4P, or Insta360 Luna Ultra. Use the matching mount.
- Power off the camera and disconnect external power before fitting or removing it.
- For Insta360 Luna Ultra, remove the windscreen first. The mount uses the camera rails exposed by windscreen removal.
- Remove camera accessories that obstruct the mount or housing. Clean the camera lens.
- Leave filters and lens caps off for startup. Fit filters only after the camera is on and the gimbal has completed its startup movement.
- Support the housing on a stable surface while opening it. Keep loose cables away from the gimbal and cover.
Your prebuilt ships in Travel Mode. The NP-F battery, SmallRig battery plate, and MagDock 1/4-20 phone mount are detached to help prevent damage during transport. Set these three parts aside while installing your camera. Keep the rest of the assembled rig and cable routing in place where they do not obstruct installation. The camera is sold separately.
1. Open the rig
- Support the housing, back cover, and any accessories attached to the cover. Remove any fitted M3 back-cover securing screws before using the quick release.
- Locate the two quick-release clamps: one on each side at the top of the back cover, beside the side cold shoes.
- Squeeze both clamps before pulling the cover away from the housing. Keep the clamps released as you remove it; do not pull against an engaged latch.
- Keep attached cables supported and do not pull on the wiring. Move an accessory clear first if it blocks access to either clamp.
Do not pull first. Releasing both clamps before pulling helps prevent damage to the back cover and latch.
2. Install your camera
For PRO: during camera installation, plug the camera extension’s male USB-C lead into the camera while its port is accessible. Keep enough cable slack to position the camera and mount without pulling on the connector.
Pocket 4P owners: use the front-loading instructions below. Do not try to slide the Pocket 4P into the rear of the housing while it is attached to the cartridge.
DJI Osmo Pocket 3 and Pocket 4
- With the camera off, remove the camera-mount cartridge from the housing.
- Seat the camera in its matching mount without pressing on the gimbal head. Stop if it resists; check the mount and camera match before proceeding.
- Slide the camera and mount together into the housing. Stop if a cable, screen, or accessory catches. The assembly should seat fully before the rear cover is closed.
Insta360 Luna Ultra: remove the windscreen first
- With the camera off, remove the windscreen. The Luna Ultra camera mount uses the rails exposed by removing the windscreen to hold the camera in place.
- Seat the camera on its matching Luna Ultra mount using those rails. Do not leave the windscreen fitted or force the camera past it.
- Slide the camera and mount together into the housing. Check that the assembly is seated and that no cable, screen, or accessory catches.
DJI Osmo Pocket 4P: load through the front
- Keep the dedicated Pocket 4P camera mount inside the housing. Remove the external front adapter and any attached filter or matte box if they obstruct the front opening.
- With the camera off, carefully guide the Pocket 4P through the front Ultrasuede hood and onto its camera mount inside the housing.
- Check that the camera is seated and that the hood is not caught against the gimbal. Stop and contact support if it will not seat; do not force the camera through the rear opening.
3. Connect and close
- Check that the camera-side internal male USB-C lead is plugged into the camera. Keep the connector straight and route slack away from the gimbal and cover edges.
- Check that the mount is seated and keep the internal cables clear. Align the back cover and press its latch prongs onto the metal pins on the housing. Check that both sides are fully engaged, then gently check retention while supporting the housing.
- Use the side USB-C port for camera charging or USB 2.0 footage transfer where supported. The USB-C port at the bottom of the back of the rig only charges the fan battery.
The two ports are not labeled. Identify them by location: side = camera; rear bottom = fan charging. The side port works only when its internal male lead is plugged into the camera.
The PRO I/O kit is preinstalled. Do not follow the standalone I/O kit’s installation process unless you are replacing or upgrading that part.
We recommend fitting the supplied M3 back-cover securing screws for extra security when an NP-F battery/plate or other accessories add weight to the back cover. For a setup without added rear weight, the strong latch can be used without these screws after checking that both sides stay latched. Remove any fitted securing screws before squeezing the clamps to open the cover.
4. Connect NP-F power
Secure the back cover before adding rear weight. If the NP-F plate/battery is mounted to the back cover, we recommend fitting the supplied M3 back-cover securing screws for extra security. First check that the latch prongs are seated on the housing’s metal pins.
- Charge the supplied NP-F battery using the SmallRig plate’s battery-charging function. Follow the charging instructions and power-supply requirements for the actual supplied plate; models can vary.
- Attach the detached SmallRig battery plate to the rig using its supplied mounting hardware, then seat the NP-F battery fully in the plate.
- Connect the supplied USB-C cable from a camera-compatible power output to the side USB-C port on the rig.
- Enable the plate’s output if its instructions require it, then confirm the camera shows external power or charging.
The rear bottom USB-C port only charges the fan battery. Connecting your NP-F setup there will not charge the camera. Confirm cooling operation separately before a long recording.
Watch the NP-F power setup at 2:25.
Charge and check cooling
Charge the fan’s internal battery through the USB-C port at the bottom of the back of the rig. This port is for fan charging only. Use the external fan control and check that the fan runs before recording. Keep its intake and outlet clear of hands, cables, and accessories.
Active cooling assists airflow; it does not guarantee that the camera cannot overheat. If the camera displays a temperature warning or shuts down, stop recording and follow the camera manufacturer’s cooldown instructions.
Watch the fan overview at 0:06 and fan charging at 2:56.
Set up handles and support
- Check that the Top Handle PRO is fully seated and snapped onto the square accessory port, then secured with both provided M3 screws. For maximum security, also fit its additional 1/4-20 securing screw. It occupies the top accessory port; remove it before fitting another attachment in that same port.
- If using a tripod, fully engage the included baseplate in a compatible Arca clamp and check that the clamp is secure while supporting the rig.
- Fit or check the MagDock Phone Mount at the front 1/4-20 point on the Top Handle PRO.
- Attach a MagSafe-compatible phone or case. Support the phone while adjusting its position, then check retention.
- Check both included mechanical side handles for secure seating, then follow the height-adjustment steps below.
- Use the included Cable Lock to restrain the cable, leaving enough slack that it does not pull on the USB-C connector.
Follow the Top Handles quick start for standard, PRO, and Mini mounting, or the Accessory Port quick start for the Cold Shoe + 1/4-20, 1/4-20, and NATO Rail + 1/4-20 attachments.
Fit and adjust the MagDock phone mount
Your MagDock Phone Mount (1/4-20) ships detached in Travel Mode. Secure it with its single 1/4-20 mounting screw at the front of the Top Handle PRO. Position the hinge, then attach a MagSafe-compatible phone or case. Support the phone when adjusting the angle and check that it stays secure.
Follow the MagDock mounting and angle-adjustment guide for Standard and XL hinge options, phone fit, and troubleshooting.
Adjust the included side handles
- Support the rig on a stable surface. Keep the handle’s base attachment secure; height adjustment is separate from the base’s 1/4-20 mounting screw.
- Release the handle’s height adjustment with the supplied tool, slide the grip up or down to a comfortable position, then tighten the adjustment again.
- Set both handles to a balanced height and check that neither slides or twists before lifting the rig.
See the OSMODO Side Handle (1/4-20) mounting and height-adjustment guide for base mounting, anti-rotation pins, and adjustment troubleshooting.
Watch the Top Handle PRO overview at 1:54.
For the prebuilt accessories, jump to the MagDock phone mount at 4:10 or side-handle installation at 4:39.
Choose your front adapter
Power on before fitting filters. Leave filters and lens caps off while the camera starts up. Fit your chosen compatible adapter and filter only when the camera is on and its gimbal has completed startup. OSMODO 2 front adapters twist on and off.
- Original adapter: 82mm screw-on filters; compatible 95mm clamp-style matte boxes.
- Front Hood Protector: 82mm screw-on filters using its removable quick-release ring. It does not provide the original adapter’s 95mm matte-box clamp surface.
- 115mm adapter: 95mm screw-on filters; compatible 115mm clamp-style matte boxes.
Which adapter should I use?
Set follow speed to FAST and re-center often. The comparison below reports ZOSS test observations; it does not promise clear edges in every camera mode or movement.

| Camera | 95mm adapter | Hood | 115mm adapter |
|---|---|---|---|
| DJI Osmo Pocket 3 / 4 | Fast movements only | Rarely | Rarely |
| DJI Osmo Pocket 4P | Not recommended | Fast movements only — Not recommended with filter ring attached | Fast movements only |
| Insta360 Luna (LUNA in graphic) | Fast left turns only | Rarely — with filter off | Rarely |
Pocket 4P: the original 95mm adapter is not recommended. Choose the 115mm adapter when you need threaded filters, or use the hood without its filter ring. Fast movement can still bring edges into frame with either recommended configuration.
Luna: the hood’s “Rarely” result was with the filter off. Do not assume that result applies with a filter fitted. The 115mm adapter is the larger filter-compatible option. The original 95mm adapter showed edges on fast left turns in testing.
Watch the camera-versus-adapter comparison at 5:11, or jump to the 95mm adapter at 0:48, the hood at 1:41, or the 115mm adapter at 3:56.
If your order includes the OSMODO 2 Lens Kit, the Front Hood Protector and 115mm adapter are additional options. The kit contains adapters, not optical lenses or filters. Check your order for included promotional items.
Make your first recording
- Remove the lens cap and leave filters off. Place the rig on a stable surface and power on the camera. Let its gimbal complete startup without contacting the front adapter, hood, or cables. If obstructed, twist the lens adapter off and restart/reset with the front clear.
- Once the camera is on and the gimbal moves freely, fit the compatible front adapter if it was removed, then add your filter. Keep the lens cap off while filming.
- Set follow speed to FAST and re-center using your camera’s controls. Frame your shot and make a short test recording.
- Play back the recording and inspect all four corners. Keep the rig level and use smooth, controlled moves. Check the adapter comparison for the limitations of your camera and front setup.
Before shutdown: clear any filter, lens cap, or front adapter that would obstruct the gimbal’s lock position. Do not force the head into place.
Phone monitoring is optional where supported by your camera. For Pocket 3, use DJI Mimo. For other cameras, follow the app and pairing instructions supplied by the camera manufacturer; DJI control menus should not be assumed to apply to Insta360. Insta360 downloads.
Videos
 9:05
9:05
OSMODO 2 Lens Adapters Compared (Full Review)
Camera clearance · Filters · Matte boxes
 7:03
7:03
What’s new with OSMODO 2 PRO
New features · Cooling · Complete PRO build
Jump to a chapter
- 0:00 — Introducing OSMODO 2 Pro
- 0:06 — Active Cooling Fan
- 0:25 — Dual USB-C I/O Back Cover
- 0:43 — Quick-Release System and Base Plate
- 1:08 — Installing the Camera
- 1:54 — Top Handle Pro
- 2:25 — Adding NP-F Battery Power
- 2:56 — Fan Charging and Battery Life
- 3:17 — OSMODO Hood
- 4:10 — MagDock Phone Mount and Teleprompter
- 4:39 — Installing the Side Handles
- 5:24 — Adding an 82mm VND Filter
- 5:59 — Installing a Matte Box
- 6:32 — Finished Build and Pre-Orders
Troubleshooting
My camera will not fit. What should I check?
Match the camera to the mount listed on your order. Pocket 3, Pocket 4, and Luna Ultra go onto their mount before the assembly enters the housing. Remove the Luna Ultra windscreen first: its mount uses the exposed rails to hold the camera. Pocket 4P enters through the front Ultrasuede hood onto the mount already inside. Remove anything that catches, keep the camera off, and do not force it. If the correct camera still will not seat, contact support with a photo of the camera, mount, and point of interference.
Why will my Luna Ultra not slide onto its mount?
Remove the windscreen before mounting the camera. The Luna Ultra mount uses the rails exposed by removing the windscreen to hold the camera in place. With the windscreen removed, seat the camera on its matching mount, then slide the camera-and-mount assembly into the housing. Do not force it past an attached windscreen.
The back cover is not staying latched. What should I do?
Place the rig on a stable surface and support the cover and attached accessories. Check that the camera mount is fully seated and no cable crosses the cover’s edge or release mechanism. Align the back cover and press its latch prongs onto the metal pins on the housing. Check that both sides are fully engaged, then gently check retention while supporting the housing. The supplied M3 back-cover securing screws provide extra security, especially with an NP-F battery/plate or other weight on the cover. Seat the cover correctly before adding the screws; do not use them to pull misaligned parts together. If the latch prongs or pins are damaged, or the cover still will not stay secure, contact support before using the rig.
How do I release the back cover without damaging it?
Remove any fitted M3 back-cover securing screws first, then support the cover and attached accessories. Squeeze both back-cover quick-release clamps before pulling the cover away from the OSMODO. There is one clamp on each side at the top, beside the side cold shoes. Pulling before releasing both clamps can damage the cover or latch. Keep cables supported and do not pull on the wiring.
Do I need the M3 back-cover screws?
We recommend fitting the supplied M3 back-cover securing screws for extra security when an NP-F battery/plate or other accessories add weight to the back cover. For a setup without added rear weight, the strong latch can be used without these screws after checking that both sides stay latched. Remove any fitted securing screws before squeezing the clamps to open the cover.
I can see the hood or adapter in my footage.
Set follow speed to FAST, re-center the camera, and keep the rig level. Repeat the shot with a slower pan or tilt. For Pocket 4P, the original 95mm adapter is not recommended; use the 115mm adapter or the hood with its filter ring removed. For Luna, the hood’s “Rarely” result was with the filter off; the original 95mm adapter showed edges on fast left turns. See the camera-by-camera comparison and the comparison video at 5:11. Results describe ZOSS testing, not a guarantee for every move.
Why will the gimbal not lock with a filter or lens cap attached?
Some larger camera heads protrude in certain gimbal lock positions and can contact an attached filter or lens cap. Leave filters and lens caps off before powering on. If the head is obstructed, twist the front lens adapter off to provide clearance, then follow your camera’s documented reset/startup procedure with the front clear. Once the camera is on and the gimbal moves freely, fit a compatible adapter and filter. Do not force the head into lock mode against an attachment.
The camera reports a gimbal error or touches a filter.
If the head is obstructed, twist the front lens adapter off to give the gimbal space. Remove the lens cap and leave filters off. Follow the camera’s documented reset/startup procedure with the front clear; also check for a trapped hood, cable, or incorrectly seated camera. Attach a compatible filter only after the camera is on and the gimbal moves freely. Do not force the head or use a partly loosened filter. If the error remains with the front clear, test the camera outside the rig and contact support.
My filter or matte box does not fit.
Check both the adapter type and the attachment type. The original adapter uses 82mm filter threads and a 95mm outer matte-box clamp. The larger adapter uses 95mm filter threads and a 115mm outer clamp. A 95mm threaded filter is not the same connection as a 95mm matte-box clamp. The Front Hood Protector uses an 82mm ring and does not accept the original adapter’s 95mm clamp connection.
Why are parts detached on my prebuilt?
Your rig ships in Travel Mode to help prevent damage in transport. The NP-F battery, SmallRig battery plate, and MagDock 1/4-20 phone mount are intentionally detached. Install your camera first, then attach these parts and check each connection before use.
The NP-F battery is attached, but the camera is not charging.
Check that the battery is charged and fully seated, then check the battery plate’s output setting or power control using the instructions for the actual supplied model. Confirm that the cable is connected to a camera-compatible output. The supplied SmallRig plate can also charge the NP-F battery; follow its instructions for battery charging versus powering the camera. Battery and plate models can vary. Test the same camera with a known-working camera-compatible charger and cable to isolate the power source from the rig.
My phone will not stay on the MagDock mount.
The mount needs a MagSafe-compatible phone or case. Check that the phone is centered on the magnetic pad and that its case is compatible. Remove obstructions between the phone and pad. Support the phone while testing the connection and repositioning the hinge. See the MagDock Phone Mount (1/4-20) setup and adjustment guide. If retention is weak, use a compatible case or contact support before filming with it attached.
The camera charges, but the cooling fan does not run.
The side USB-C port connects only to the camera. The fan has a separate battery: charge it through the USB-C port at the bottom of the back of the rig, then check the fan switch. These ports are not labeled. Keep the airflow path clear. If the fan still will not run after charging, contact support with the rig version and a photo of the connection and switch. Do not put tools into the fan to try to start it.
Footage transfer is slow, or the computer cannot see the camera.
Use the side USB-C port and a data-capable USB cable. Check that the internal male USB-C lead is plugged into the camera. The rear bottom port only charges the fan battery and cannot transfer camera footage. Follow your camera’s instructions for selecting USB transfer mode. The OSMODO 2 camera connection supports USB 2.0, where the camera supports transfer, so it can be slower than a direct connection. For maximum performance, remove the camera and connect it directly. These ports are not a general-purpose USB hub.
The camera is still getting hot with the fan on.
Check that the fan is running and neither airflow opening is covered. Follow any on-screen heat warning and allow the camera to cool. Use the camera maker’s guidance for recording settings and ambient conditions. The fan helps airflow but does not remove the camera’s operating limits.
My side handle slips or twists after adjustment.
Support the rig. If the grip slides up or down, secure its height adjustment with the supplied tool. If the base twists, check that the anti-rotation pins are seated and the base mounting screw is snug. These are separate connections. Follow the side-handle mounting and adjustment guide and recheck before lifting the rig.
Should the included side handles have a Record button?
The PRO Prebuilt includes two standard mechanical OSMODO Side Handles. The Bluetooth OSMODO Handle PRO is a different accessory. If you purchased that upgrade, use its Bluetooth setup guide. The documented workflow pairs the handle with your phone and controls recording in DJI Mimo; it does not pair directly to the camera. Do not assume that workflow provides Luna Ultra control.
Still need help?
Start a chat on the store or contact ZOSS support. Include your order number, OSMODO version, exact camera model, front adapter, and a photo of the problem. For charging or transfer issues, include the battery plate, cable, and connected device, plus the checks you have already tried.